Removal & Installation: Console: Installation
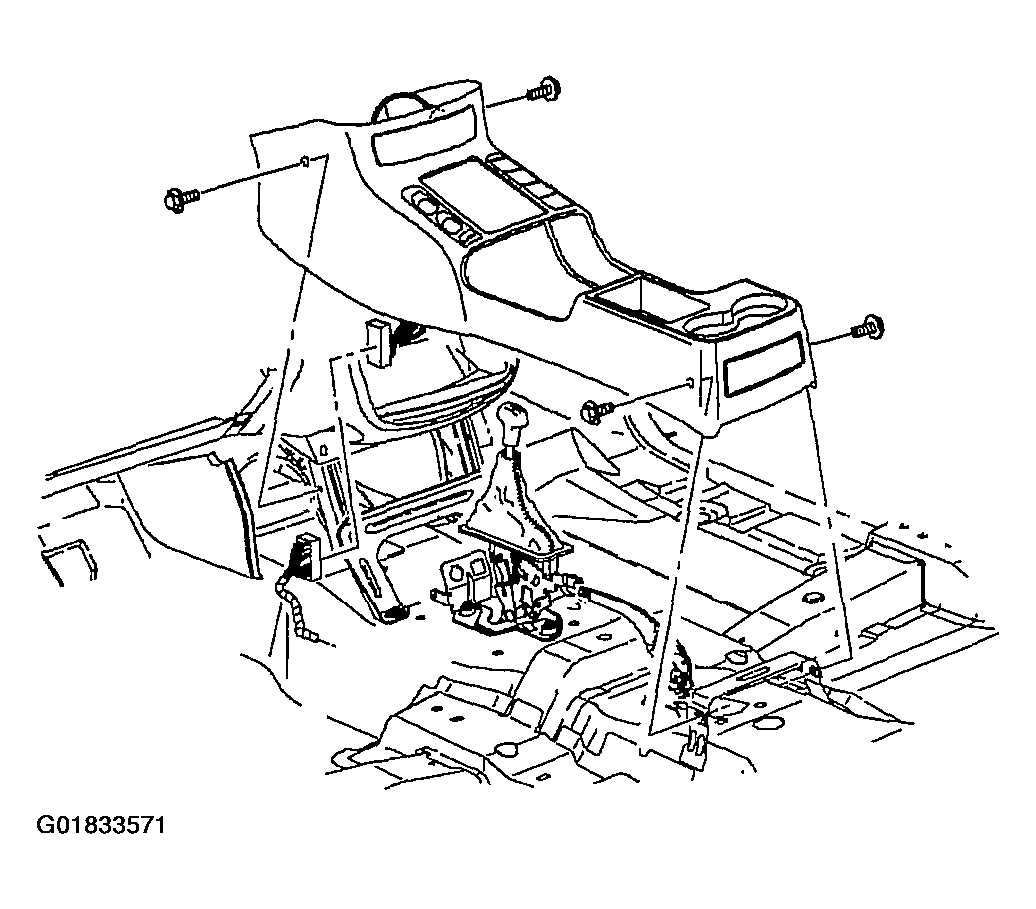
- Position console into vehicle. Route shifter/PRNDL boot through console opening.
 Courtesy of GENERAL MOTORS CORP.
- Install console front fasteners. Tighten console fasteners to 2.5 N.m (22 in lbs).
- Move front seats forward and install console rear fasteners. Tighten console fasteners to 2.5 N.m (22 in lbs).
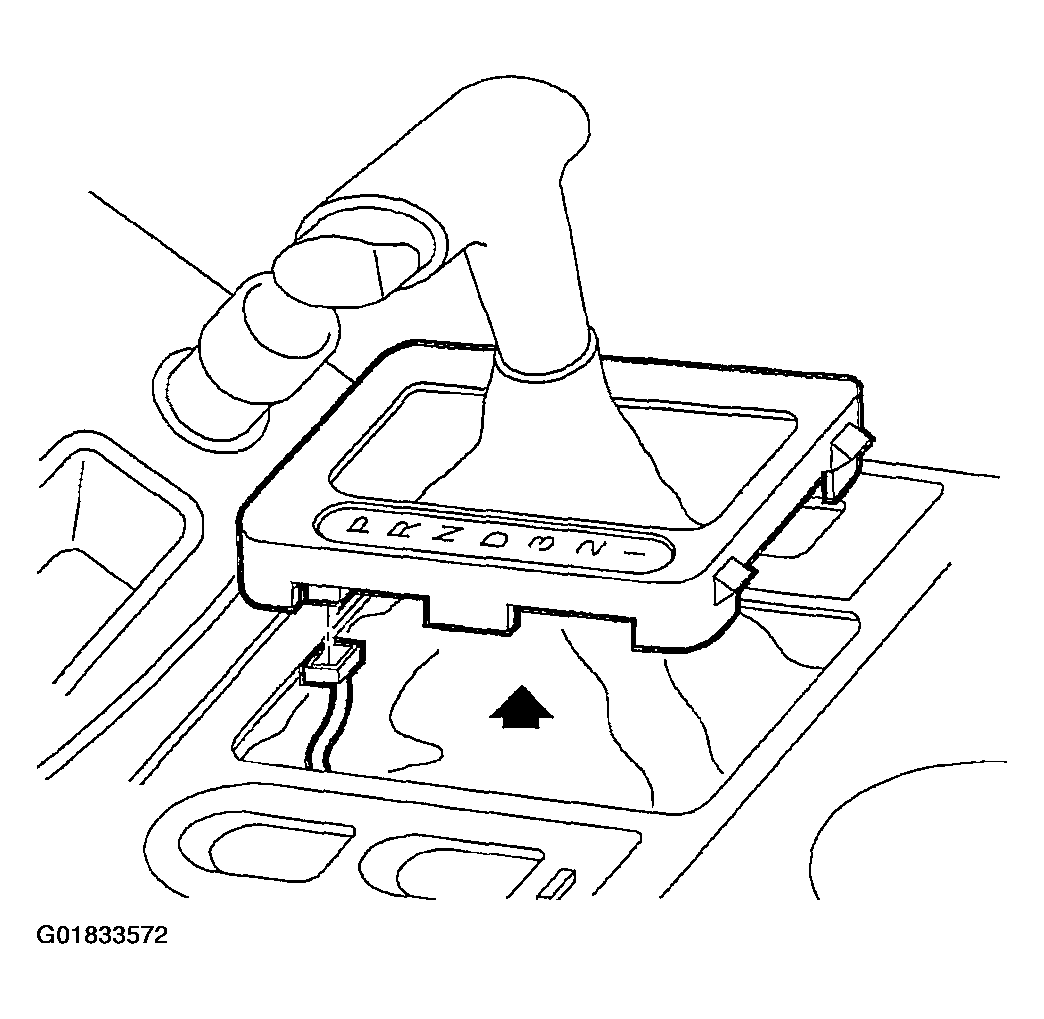
- On automatic transmissions, snap PRNDL cover into console opening.
 Courtesy of GENERAL MOTORS CORP.
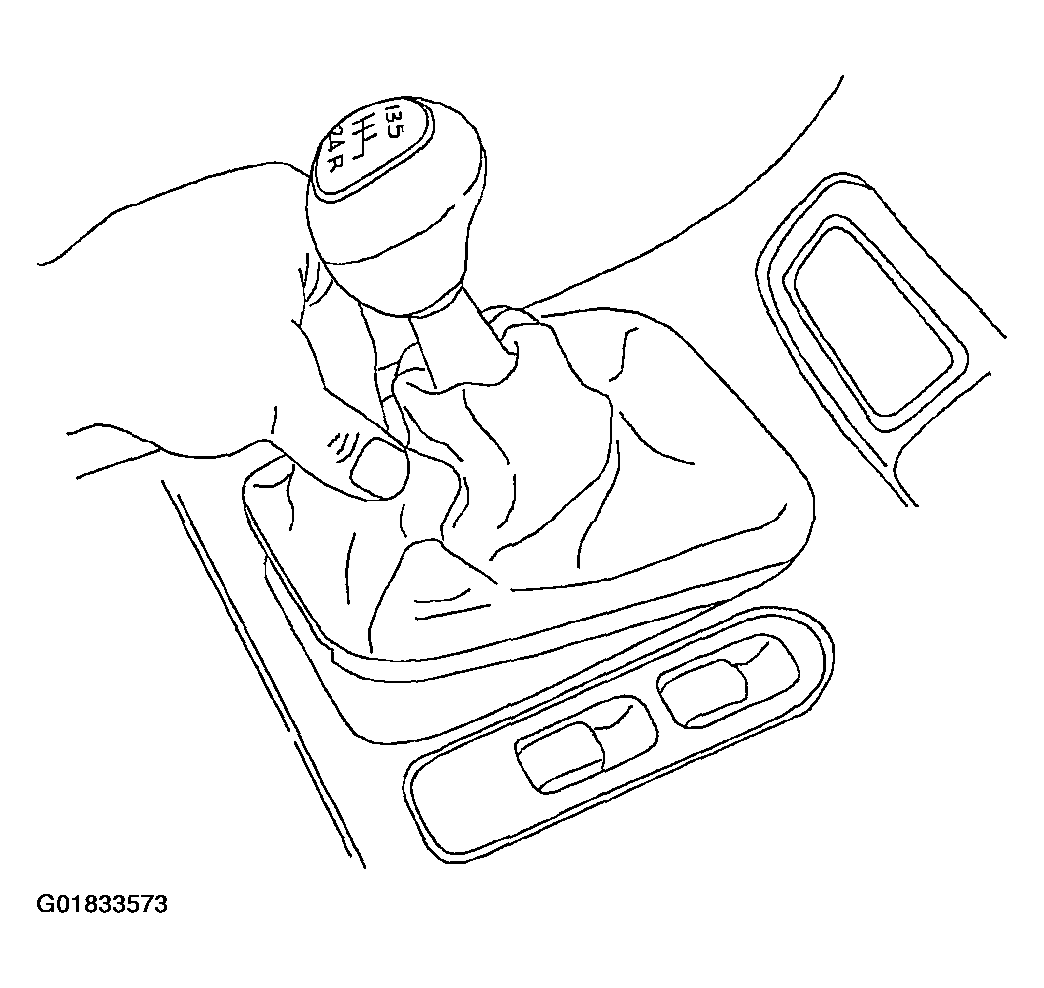
- On 5-speed transmissions, snap shifter boot into console opening.
 Courtesy of GENERAL MOTORS CORP.
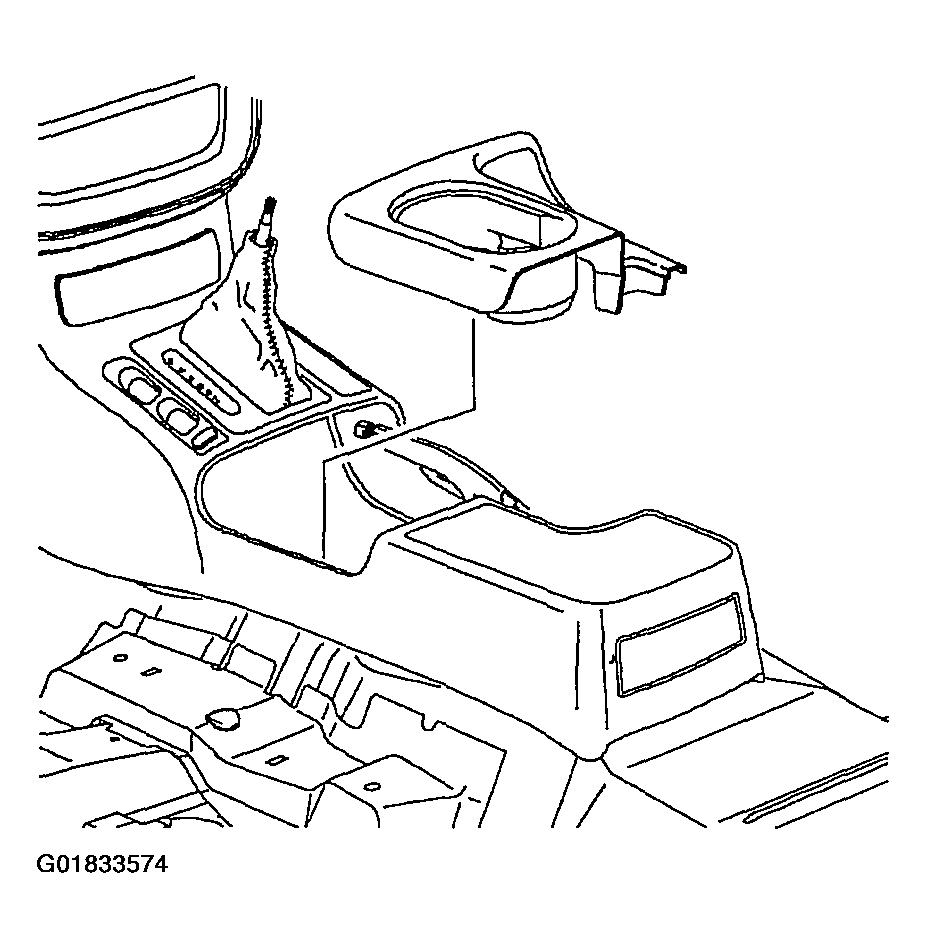
- Snap console front tray into console.
 Courtesy of GENERAL MOTORS CORP.
- Connect console wiring harness to main body harness located under front console tray.
- On power windows, connect power window harness to power window switch and snap switch into place.
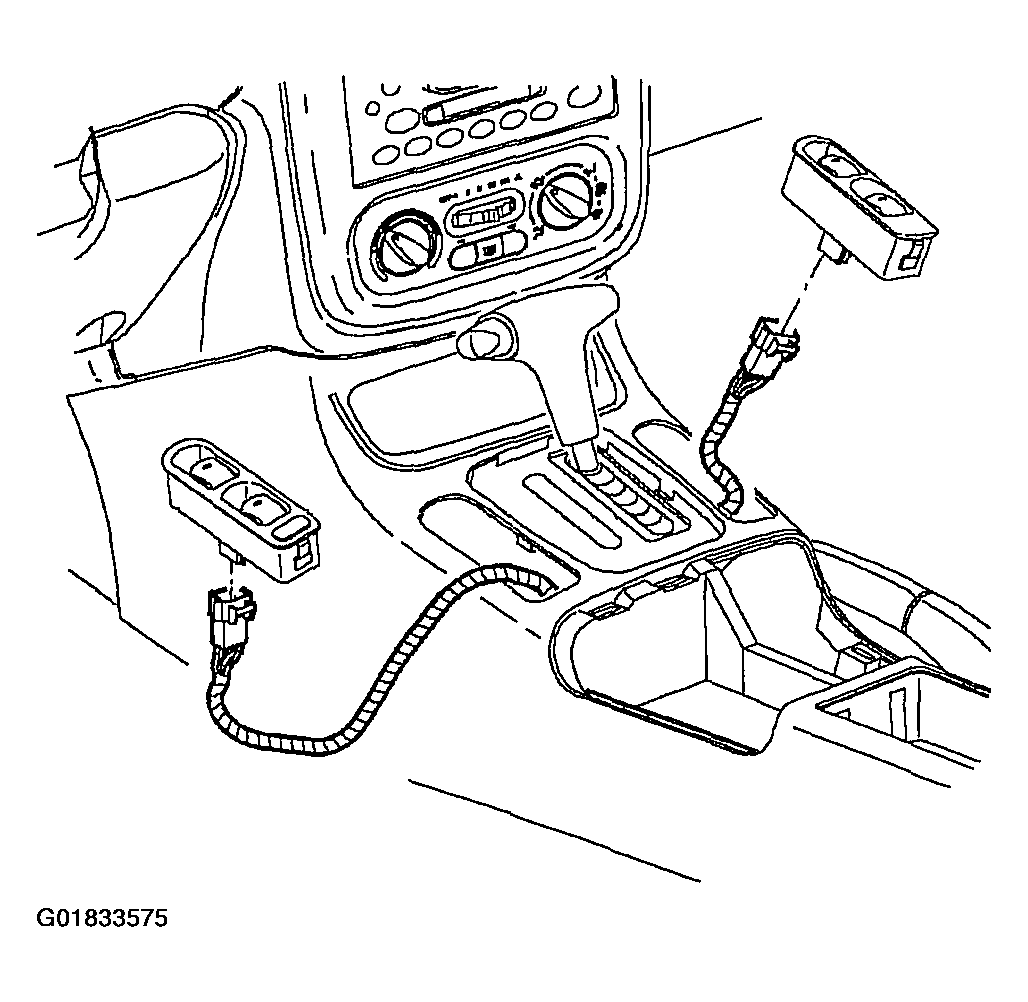 Courtesy of GENERAL MOTORS CORP.
- Snap park brake boot into place.
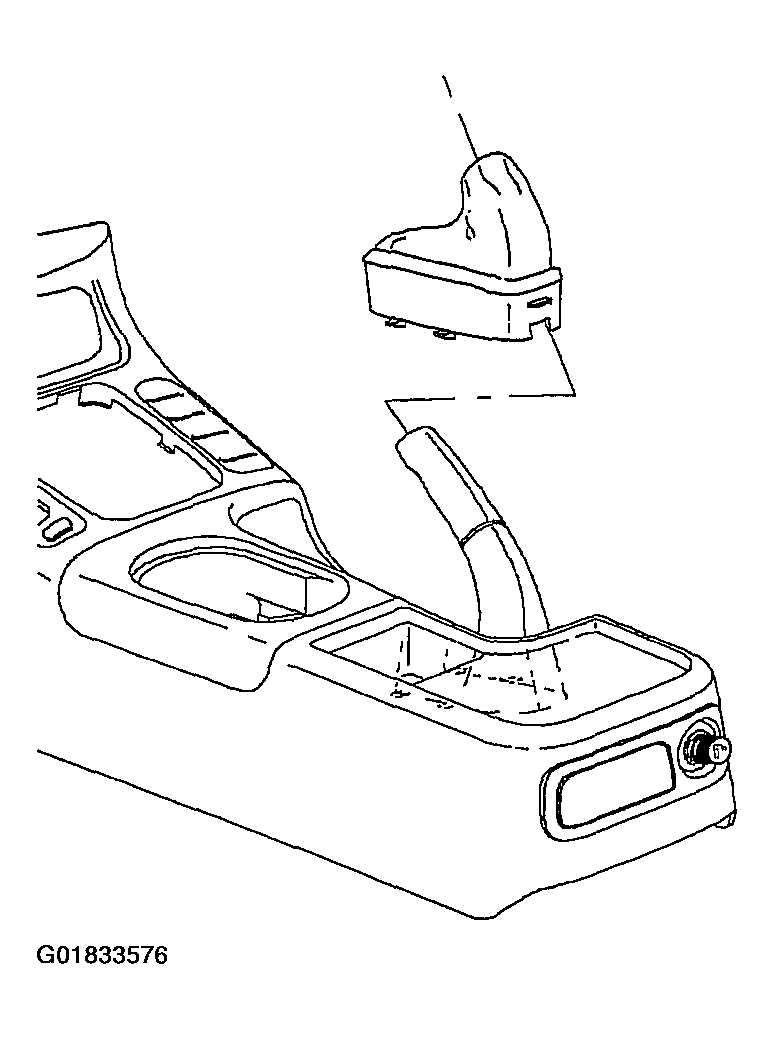 Courtesy of GENERAL MOTORS CORP.
- Install console extensions.
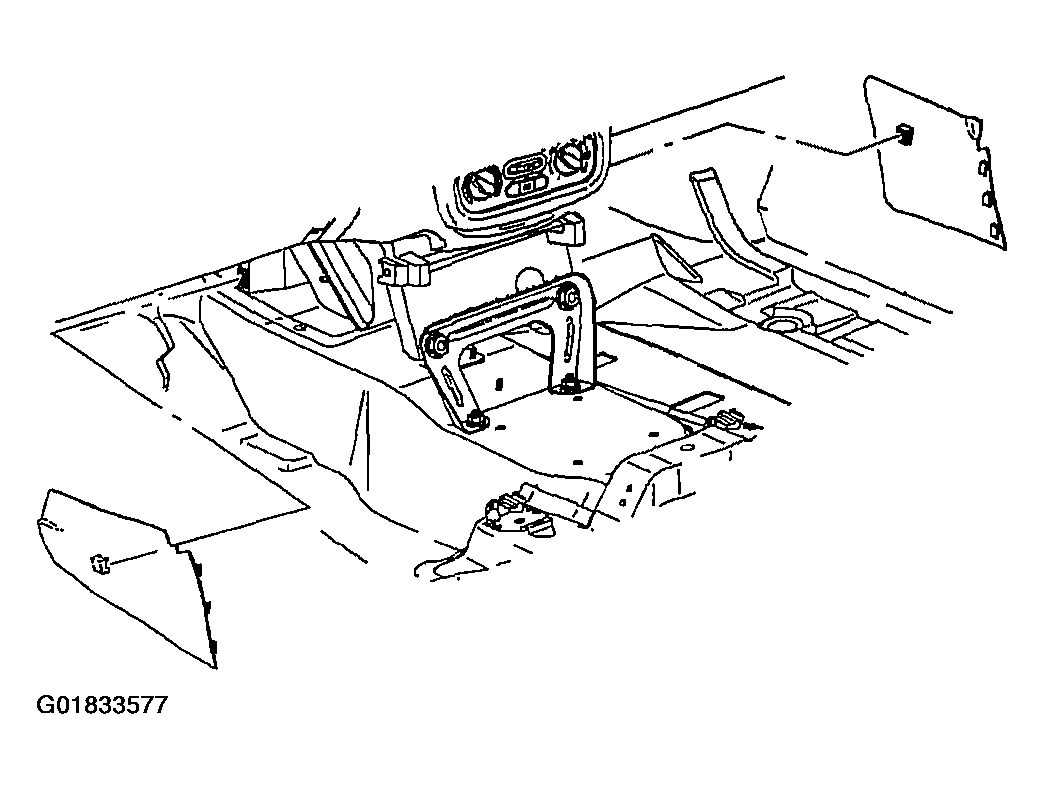 Courtesy of GENERAL MOTORS CORP.