Valve Body Actuator Replacement
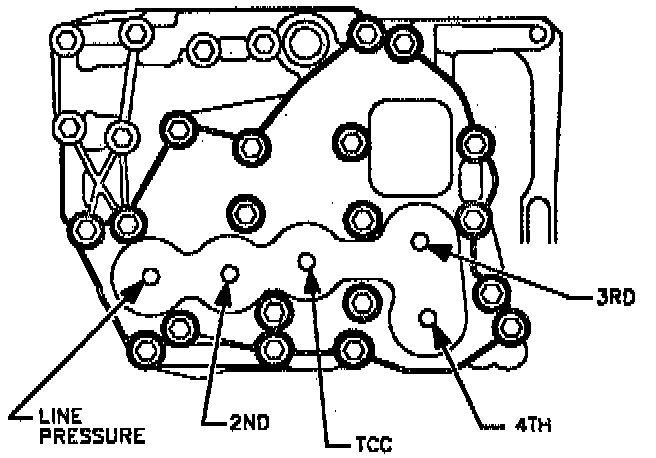
REMOVAL
1. Remove valve body cover. (Refer to "Valve body Removal" procedure to gain access to actuators while in the vehicle.)
IMPORTANT: Only remove valve body cover. The valve body does not have to be removed from the transaxle to gain access to the actuators.
2. Remove actuator cover-to-valve body bolts (identified by the heavy circles) and remove actuator cover.
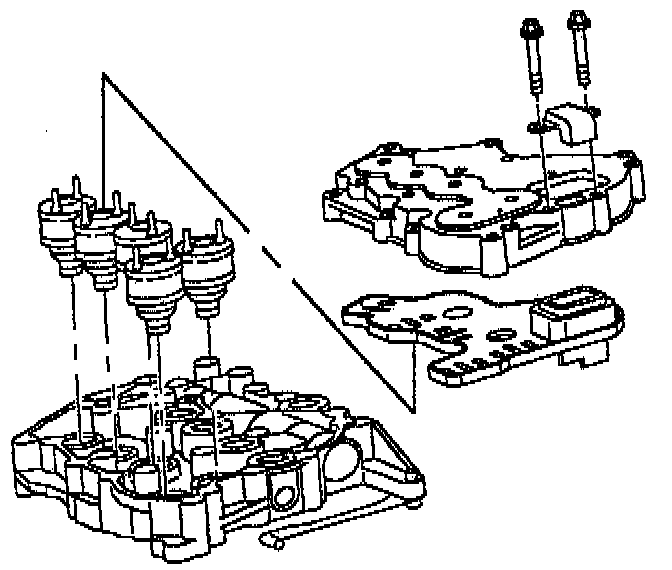
3. Lift actuator connector plate off actuator pins using care not to damage connector plate.
4. Remove actuator by twisting as the actuator is removed.
INSTALLATION
1. Lube actuator O-rings.
2. Install actuators with a twisting motion.
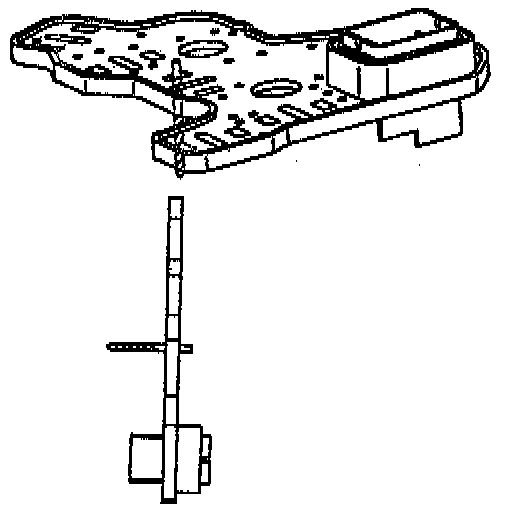
3. Check connector plate terminals with a #43 (2.25 mm) drill bit. There should be a slight drag on the shank. If there is no drag replace the connector plate.
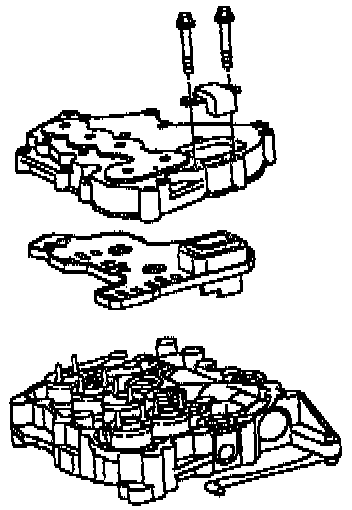
4. Align the actuator pins to the connector plate.
5. Install the connector plate.
6. Install the actuator cover.
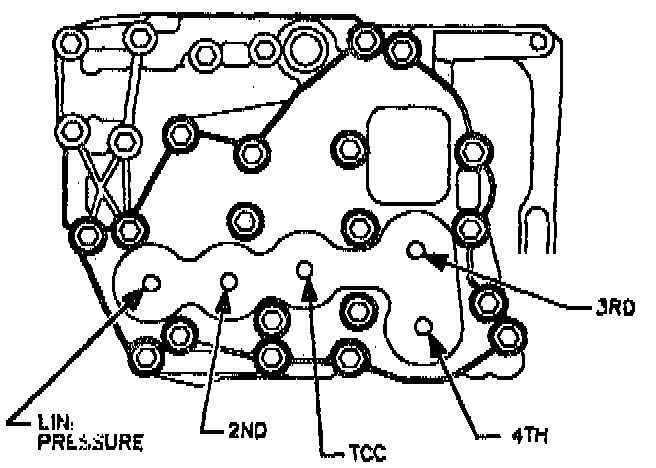
7. Install the actuator cover bolts and finger tighten.
IMPORTANT: Clean and lubricate fasteners with Transaxle Fluid. Wipe off excess fluid and install.
IMPORTANT: The dowel bolts must be placed in the holes shown to align the upper valve body to the lower valve body.
NOTICE: Over-torqueing bolts can cause valves to bind.
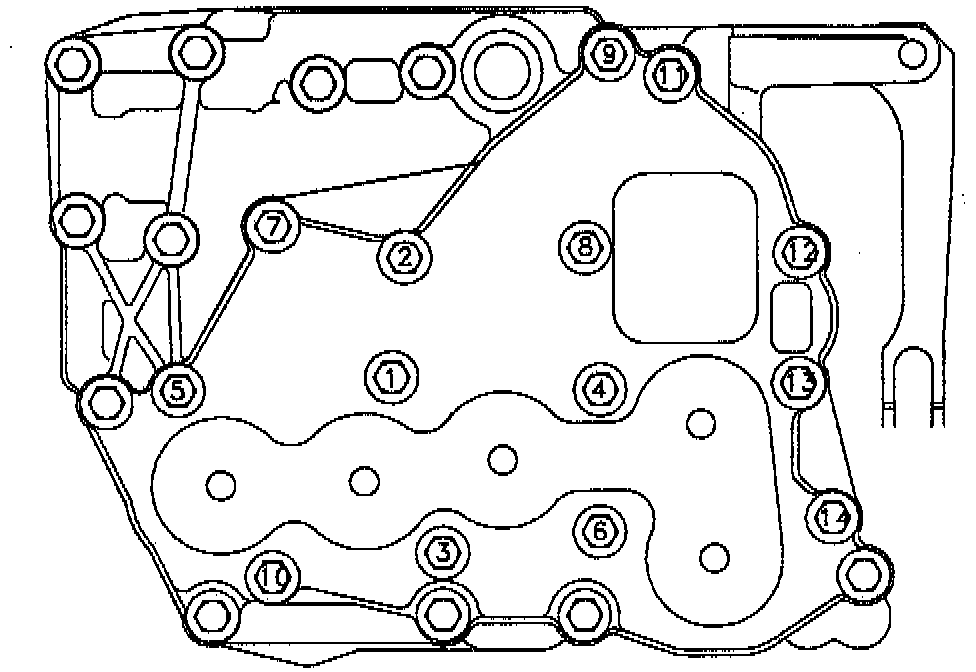
8. Torque actuator cover bolts using torque sequence shown in illustration.
- Torque: 11 N.m (97 inch lbs).
IMPORTANT: Using the service stall system, reset the adaptives before driving vehicle if the line pressure actuator was replaced.
9. Install valve body cover. (Refer to "Valve body Installation" procedures.)