Installation
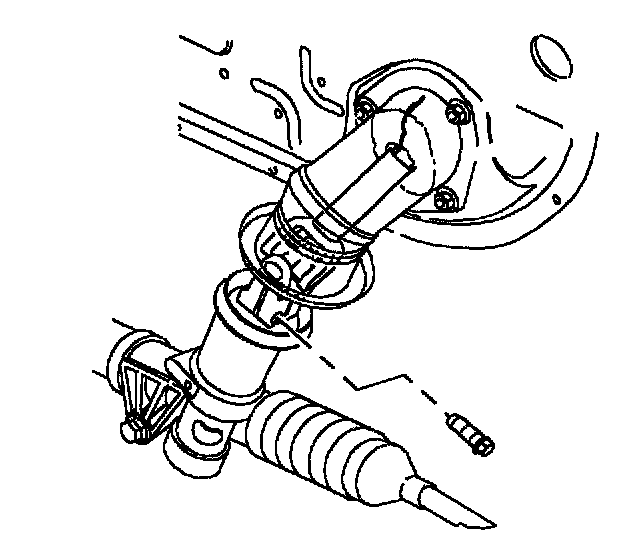
1. Place steering gear in vehicle.
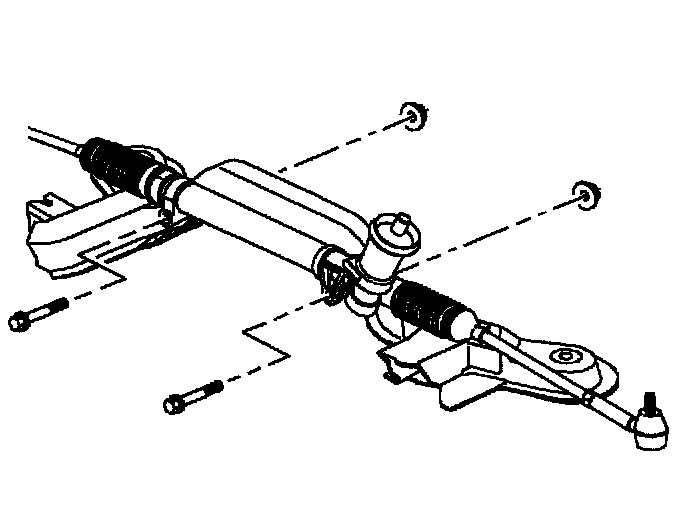
2. Install steering gear-to-cradle bolts and new nuts.
- Torque: 50 Nm (37 ft. lbs.)
3. Install intermediate shaft onto the steering gear and torque pinch bolt.
- Torque: 47 Nm (35 ft. lbs.)
IMPORTANT: Use Loctite(r) 242 Threadlocker (or equivalent) on thread of pinch bolt.
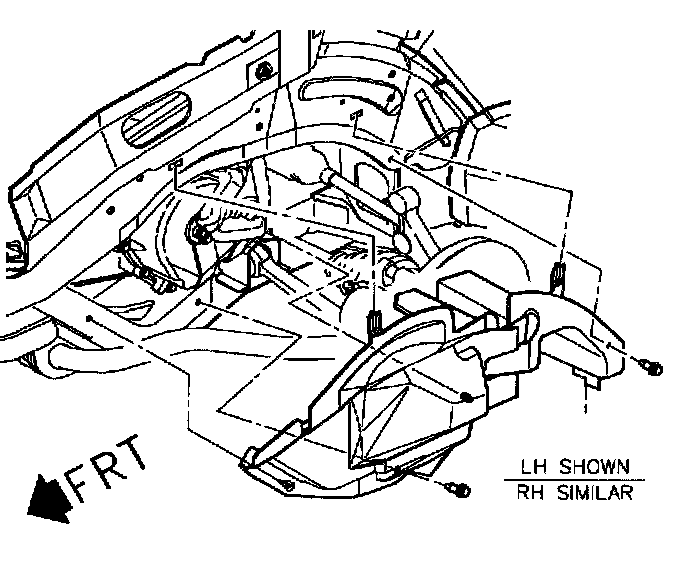
4. Install left side splash shield.
IMPORTANT: Install rear section of shield first, then front
5. Install tabs in body cut-out.
6. Align molded-in shield fasteners with holes in cradle. Push straight in to install.
7. Install push pins.
IMPORTANT: Make sure shield flaps are tucked in at body locations.
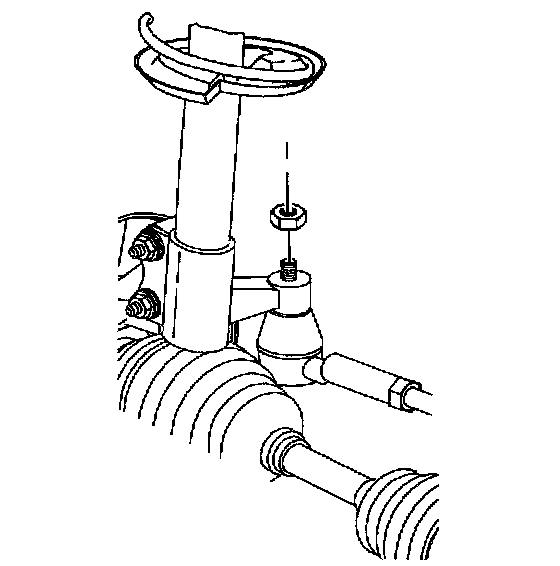
IMPORTANT: Tie rod end threads must be thoroughly cleaned and lubricated before tightening nut. Lubricate only the thread part of the stud. Do not lubricate the smooth tapered portion of stud.
8. Install tie rod ends into steering knuckles. Torque castle nuts.
- Torque: 45 Nm (33 ft. lbs.)
IMPORTANT: If it is necessary to rotate the castle nut after tightening to orient it to the hole in the stud, always tighten the nut to align it; never loosen it.
9. Install new cotter pins into castle nuts.
10. Connect negative battery cable.
- Torque: 17 Nm (151 inch lbs.)
NOTICE: Before installing wheels remove rust or corrosion from wheel mounting surfaces and brake rotors/drums. Failure to do so can cause wheel lug nuts to loosen in service.
11. Position wheel onto hub.
12. Install wheel nuts and tighten in a crisscross pattern. Repeat tightening pattern to make sure torque is correct.
- Torque: 140 Nm (103 ft. lbs.)
13. Lower vehicle from hoist.
14. Set toe. (Refer to Alignment)