Vacuum Brake Booster: Service and Repair
NOTE: The vacuum booster and pushpin are a matched set. Boosters are measured during manufacture and a pushpin of the correct length is selected and fitted to the booster. Boosters and pushpins are not interchangeable and must always be installed as a set.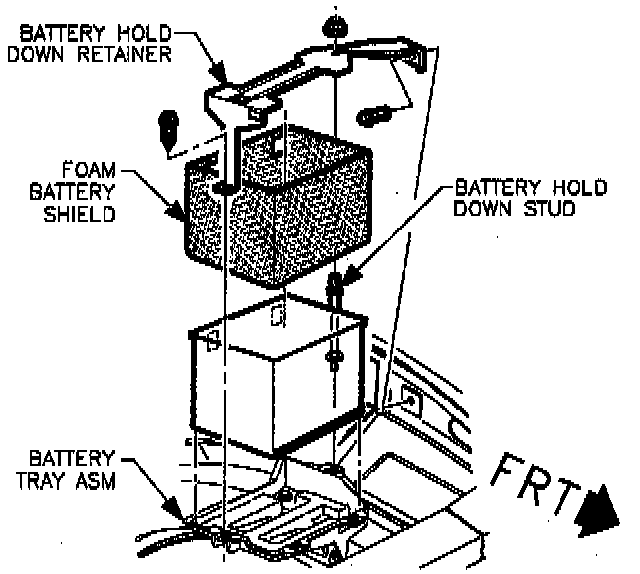
REMOVAL
1. Disconnect negative battery cable.
2. Remove air cleaner from vehicle.
3. Disconnect positive battery cable from terminal.
4. Remove battery hold-down retaining nut and screw, and lift off battery hold-down retainer.
5. Lift the battery off vehicle, and place in a safe location.
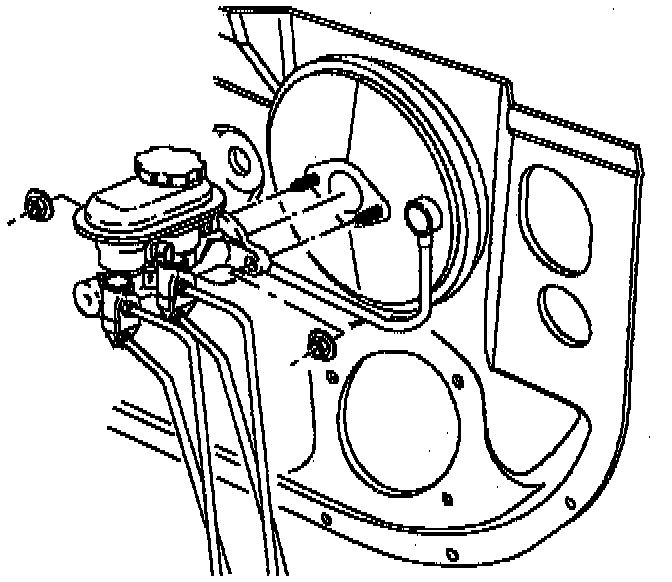
6. Remove two ABS control assembly to brake booster nuts.
CAUTION: Do not bend brake lines.
7. Move ABS control assembly away from booster, far enough that brake booster can be removed.
8. Disconnect vacuum hose from vacuum check valve.
9. Remove booster push rod retainer and washer.
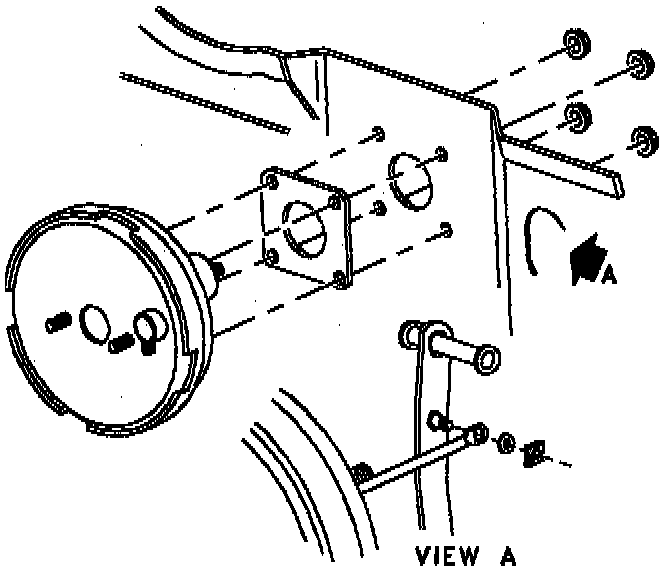
10. Remove four nuts attaching vacuum booster to vehicle interior.
11. From under hood, remove booster; tilt booster to disengage push rod from brake pedal pin.
INSTALLATION
1. Position booster in vehicle. Do not install fasteners at this time.
2. Install booster push rod onto brake pedal pushrod pin with retainer and washer.
3. Install four booster-to-body fasteners.
^ Torque to 27 Nm (20 ft. lbs.)
4. Connect vacuum hose-to-vacuum check valve.
CAUTION: Do not bend brake lines.
5. Position ABS control assembly onto brake booster and install fastening nuts.
^ Torque to 27 Nm (20 ft. lbs.)
NOTE: Make sure battery tray is clean. Make sure that the battery cable ends are clean and free of corrosion. (Clean with a wire brush.) Make sure that the battery is in good physical condition (e.g., no cracks, or obvious damage) and that the terminals are clean.
6. Install battery carefully in the battery tray; make sure that the terminals do not short against any metal during the installation.
7. Install the battery hold-down retainer, locking the battery into the tray. Install and tighten the hold-down retainer nut and screw.
^ Torque to 9 Nm (80 inch lbs.)
8. Install the positive battery cable first.
^ Torque to 17 Nm (151 inch lbs.)
9. Install the negative battery cable last.
^ Torque to 17 Nm (151 inch lbs.)
10. Install air cleaner assembly in vehicle.
11. Check and adjust stop lamp switch. Refer to Lighting and Horns. Lighting and Horns