Section of rear floor 5D: Fitting
 Courtesy of SAAB-SCANIA OF AMERICA, INC.
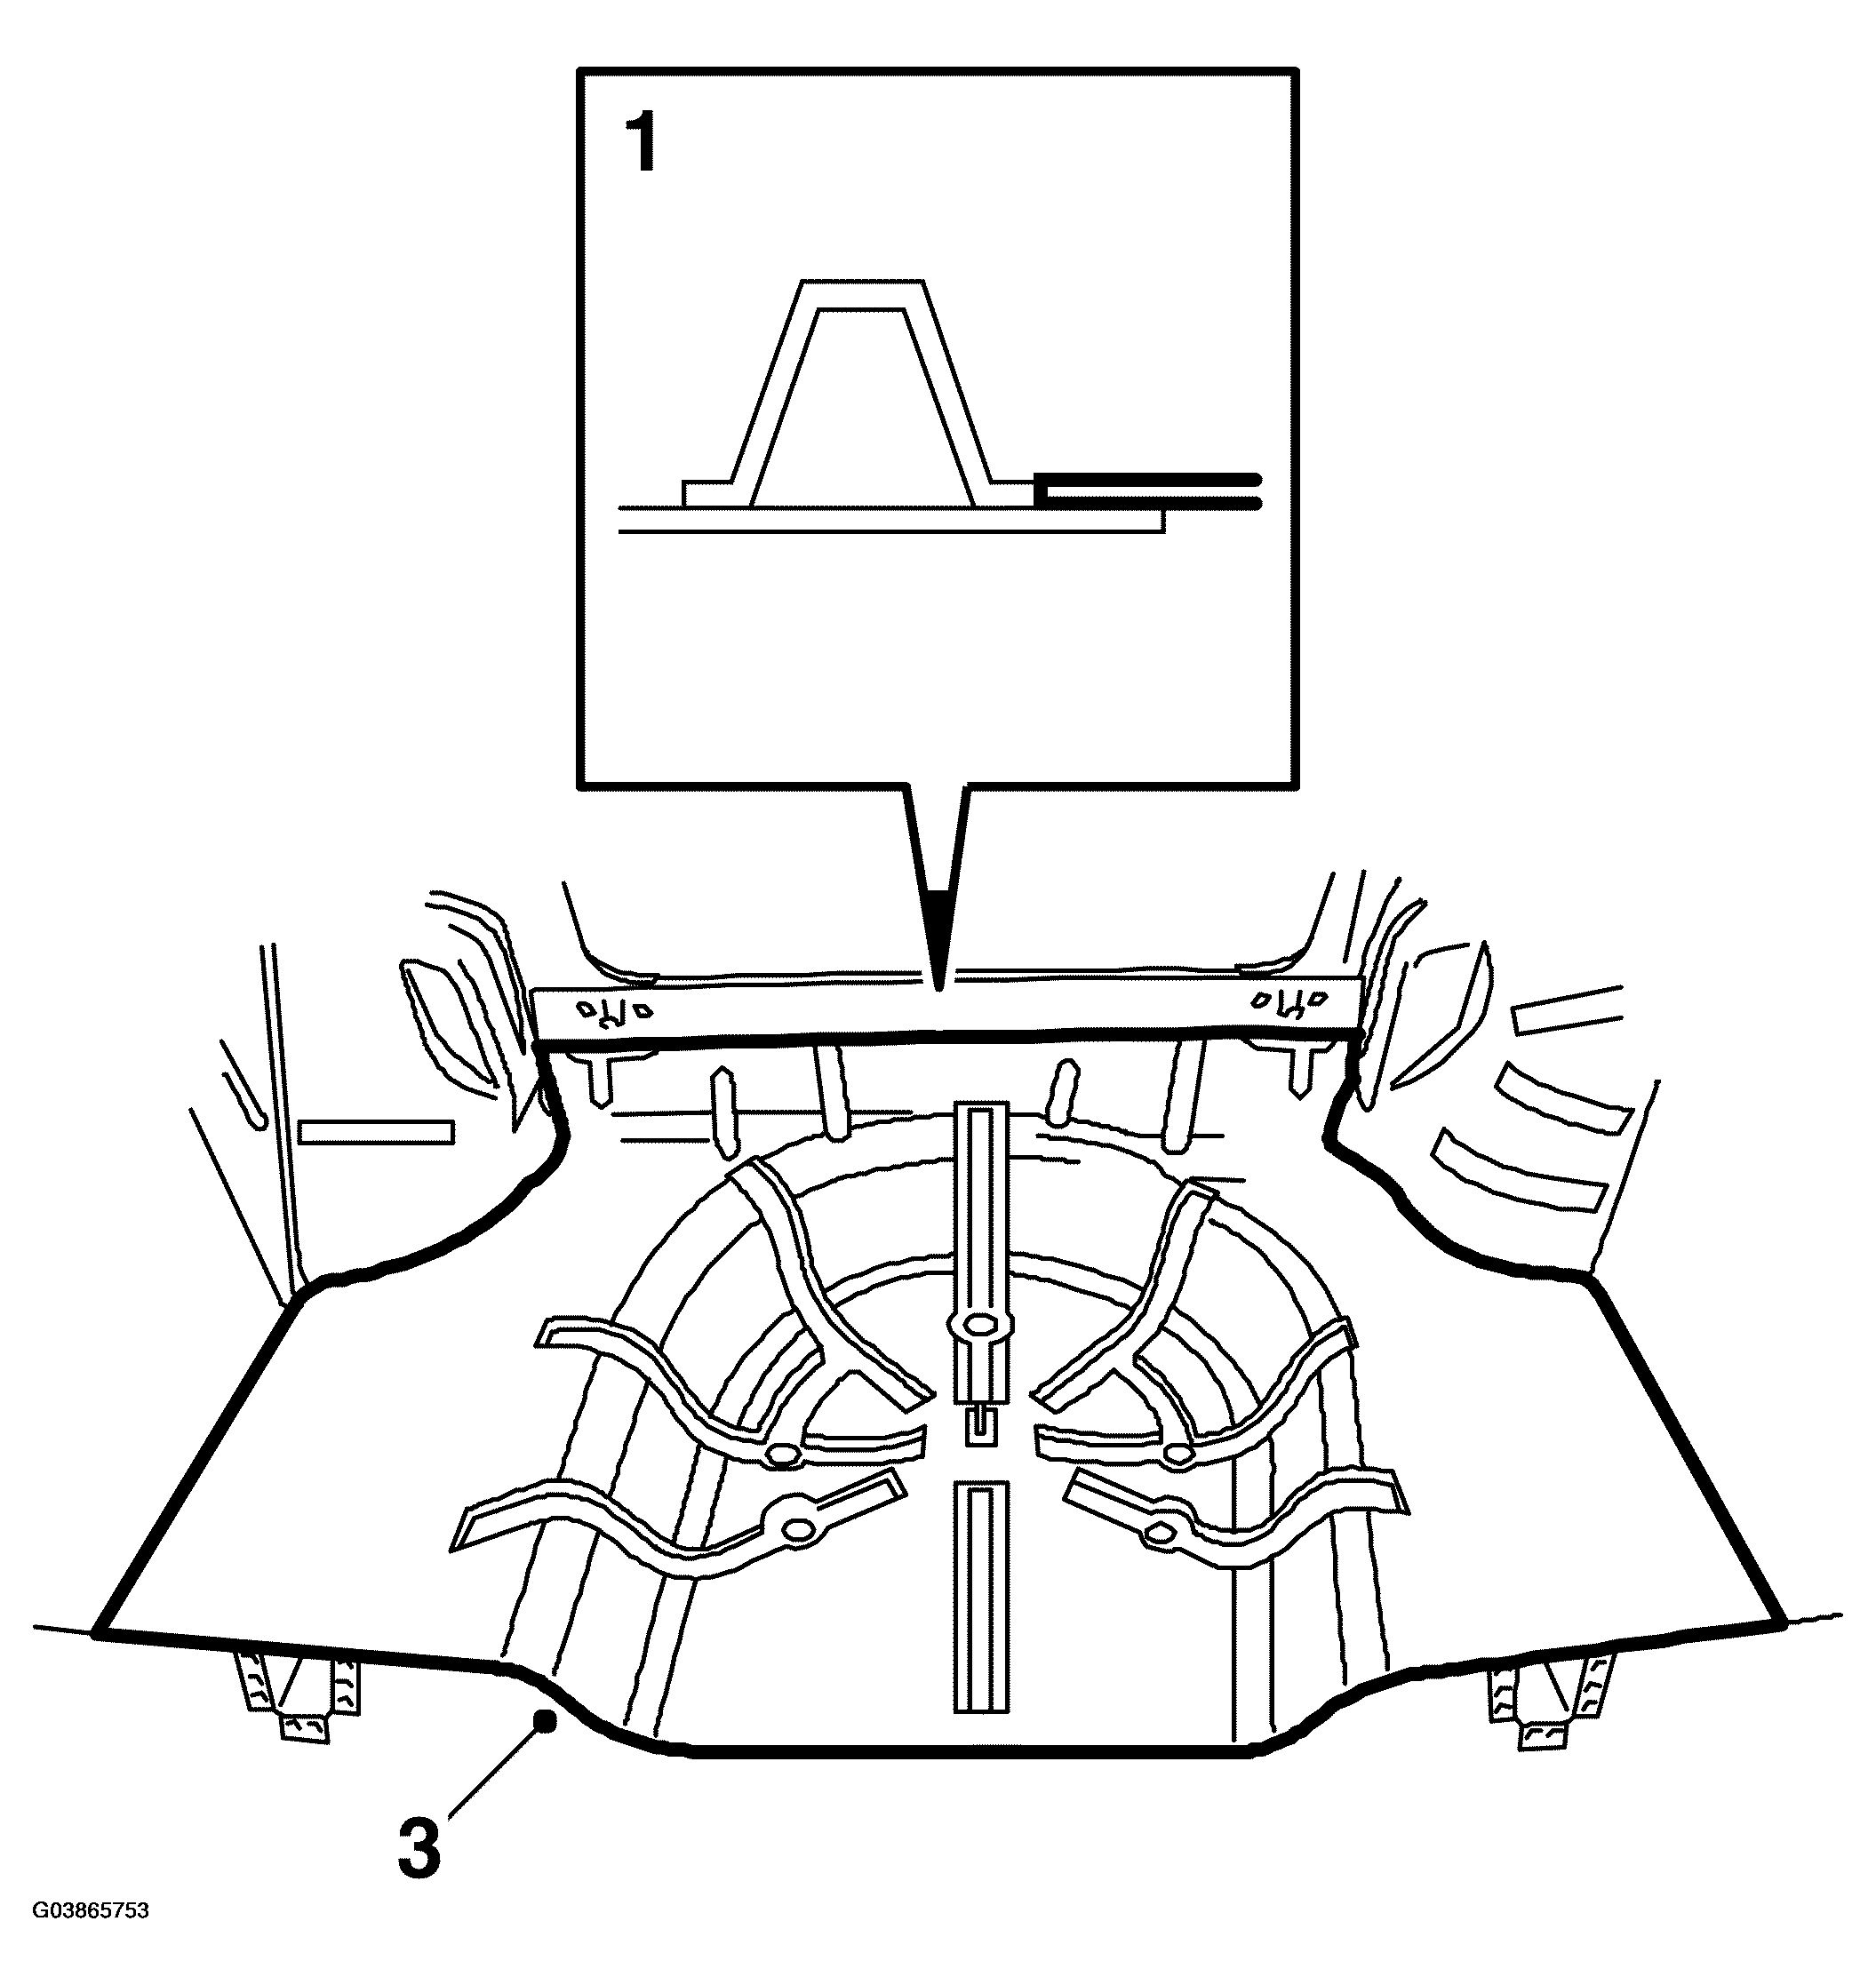
- Cut the floor so that it fits against the flange on the cross-member.
- Grind all the surfaces that are to be welded.
- Position the floor and mark it by scribing where the frame members are located.
- Remove the floor and drill holes for plug-welding.
- Cut out the corners above the frame members so that they fit against the existing floor.
 Courtesy of SAAB-SCANIA OF AMERICA, INC.
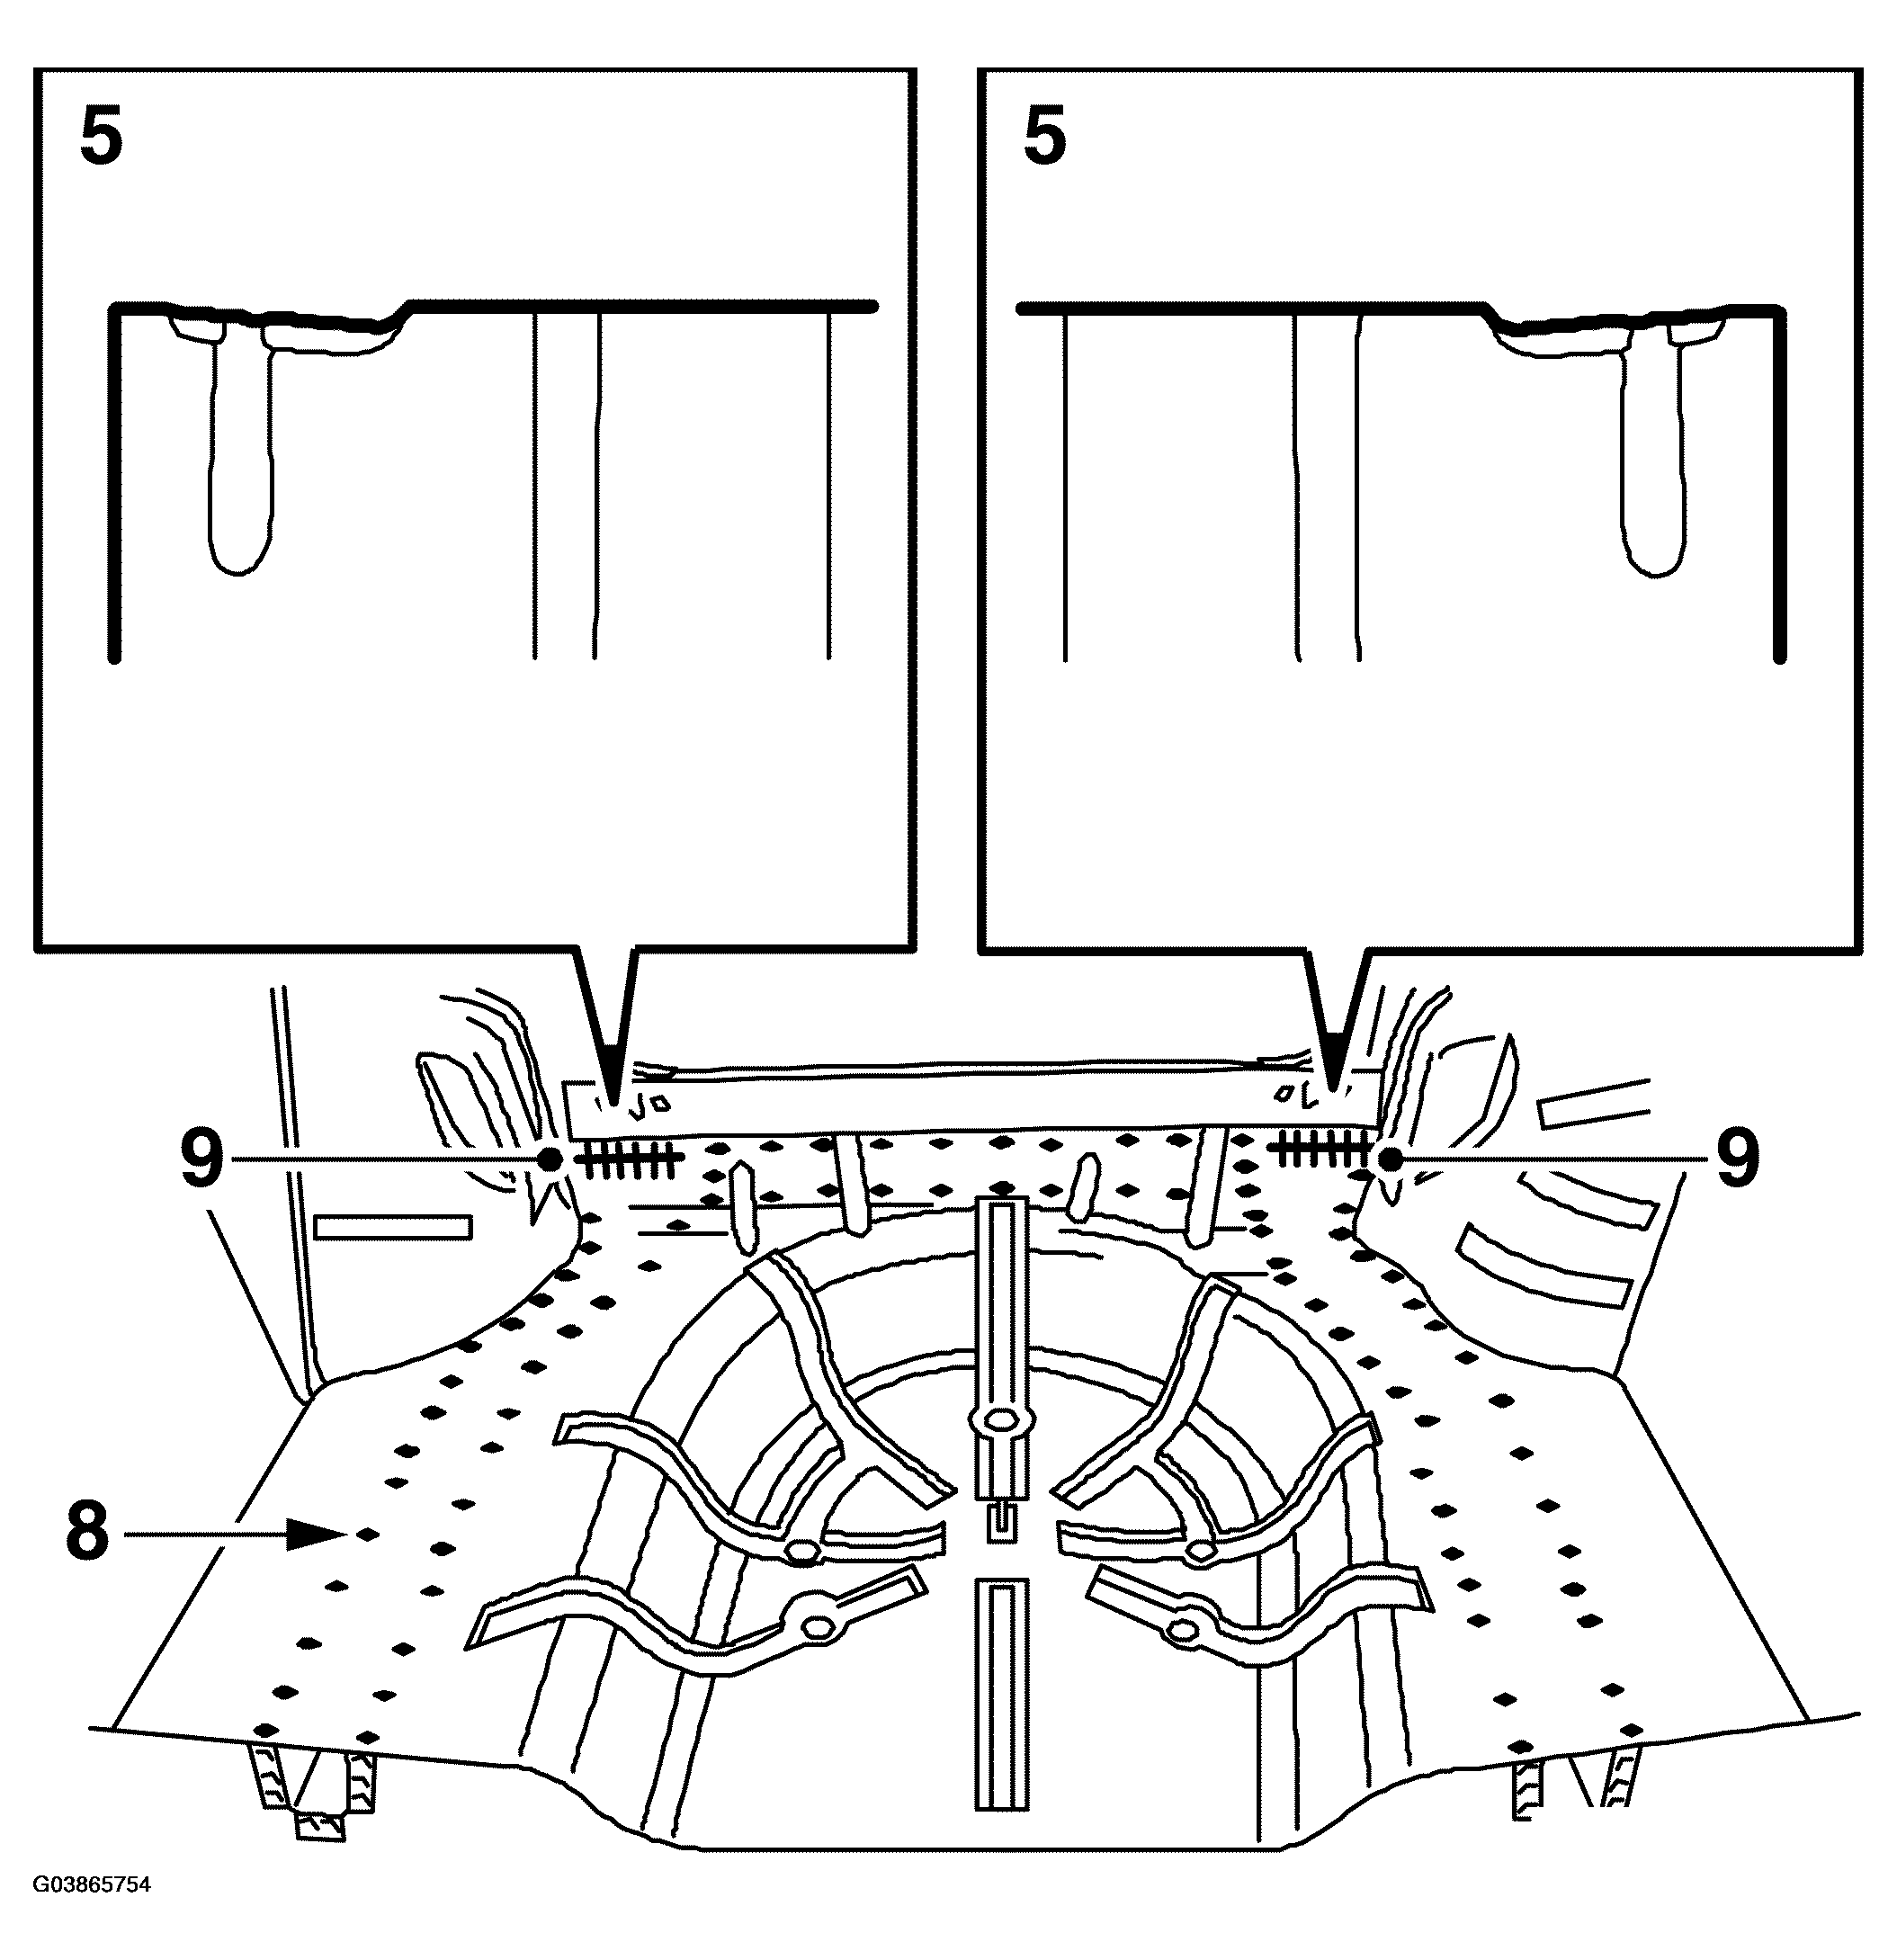
- Apply welding primer to all surfaces to be plug or spot -welded.
- Fit the floor and fixate with a few welding clamps.
- Plug-weld the floor.
- Seam-weld the corners that have been cut out.
- Spot-weld the floor to the wheel housing.
 Courtesy of SAAB-SCANIA OF AMERICA, INC.
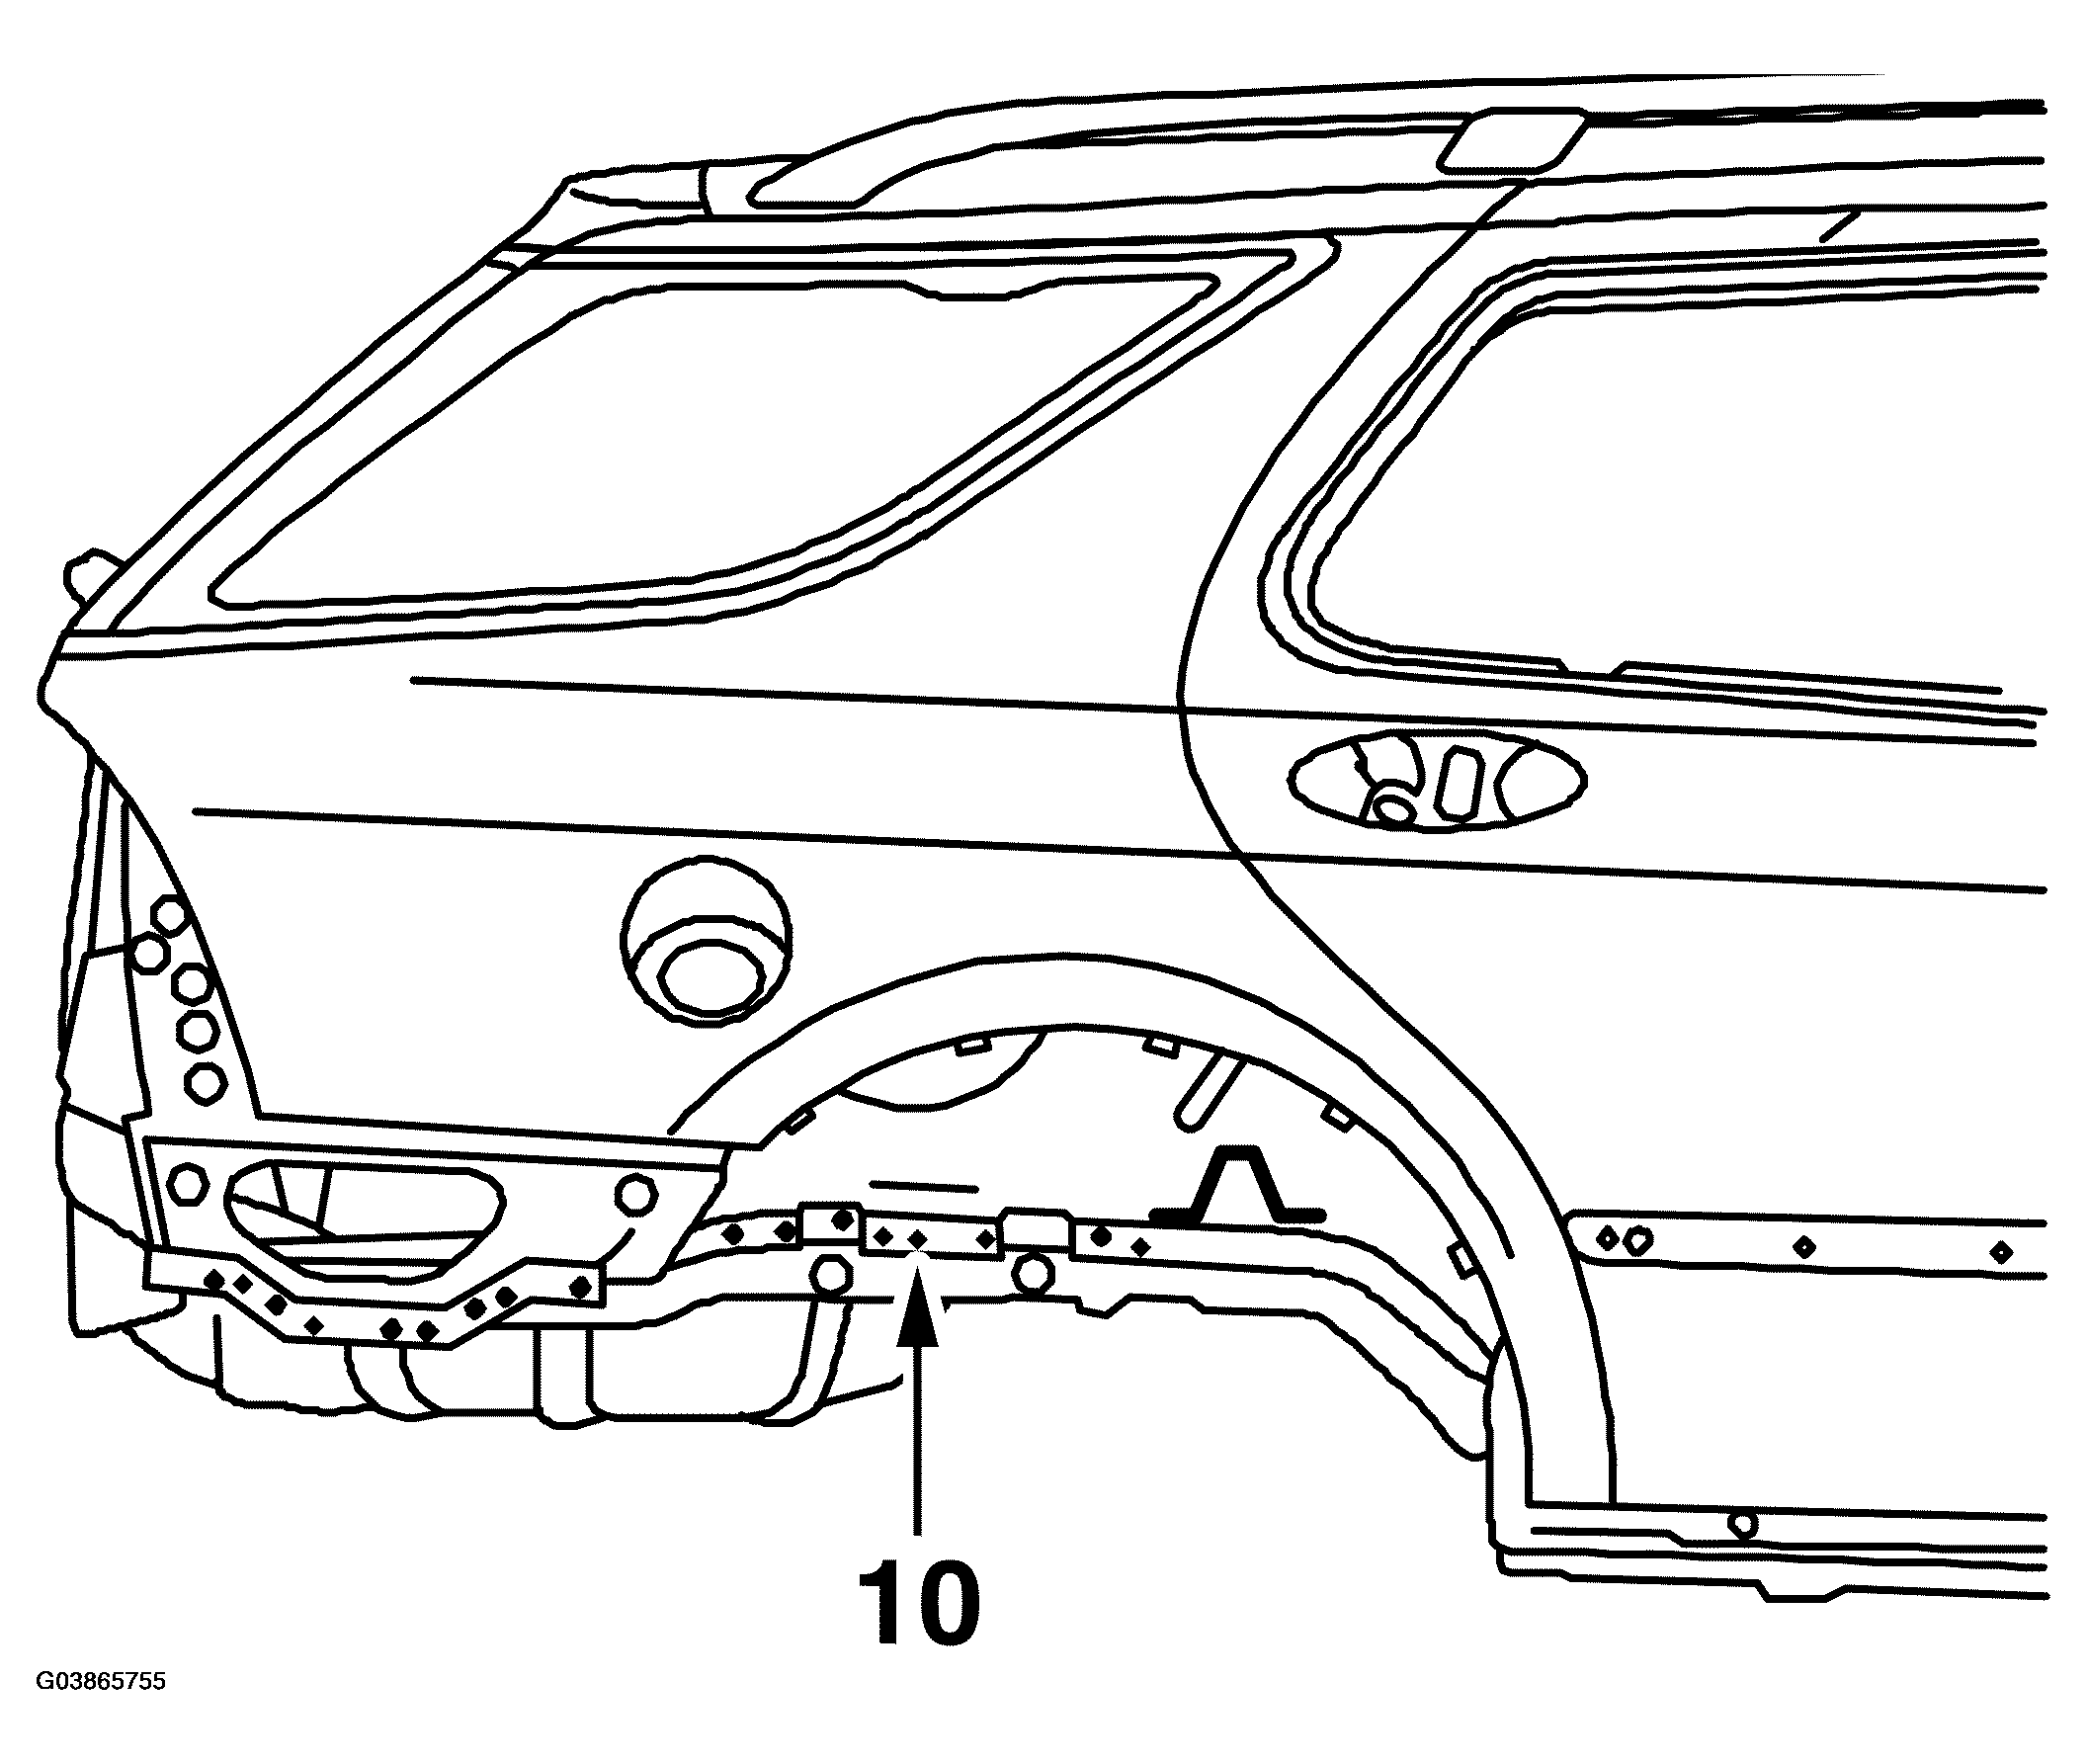
- Fit the rear plate.
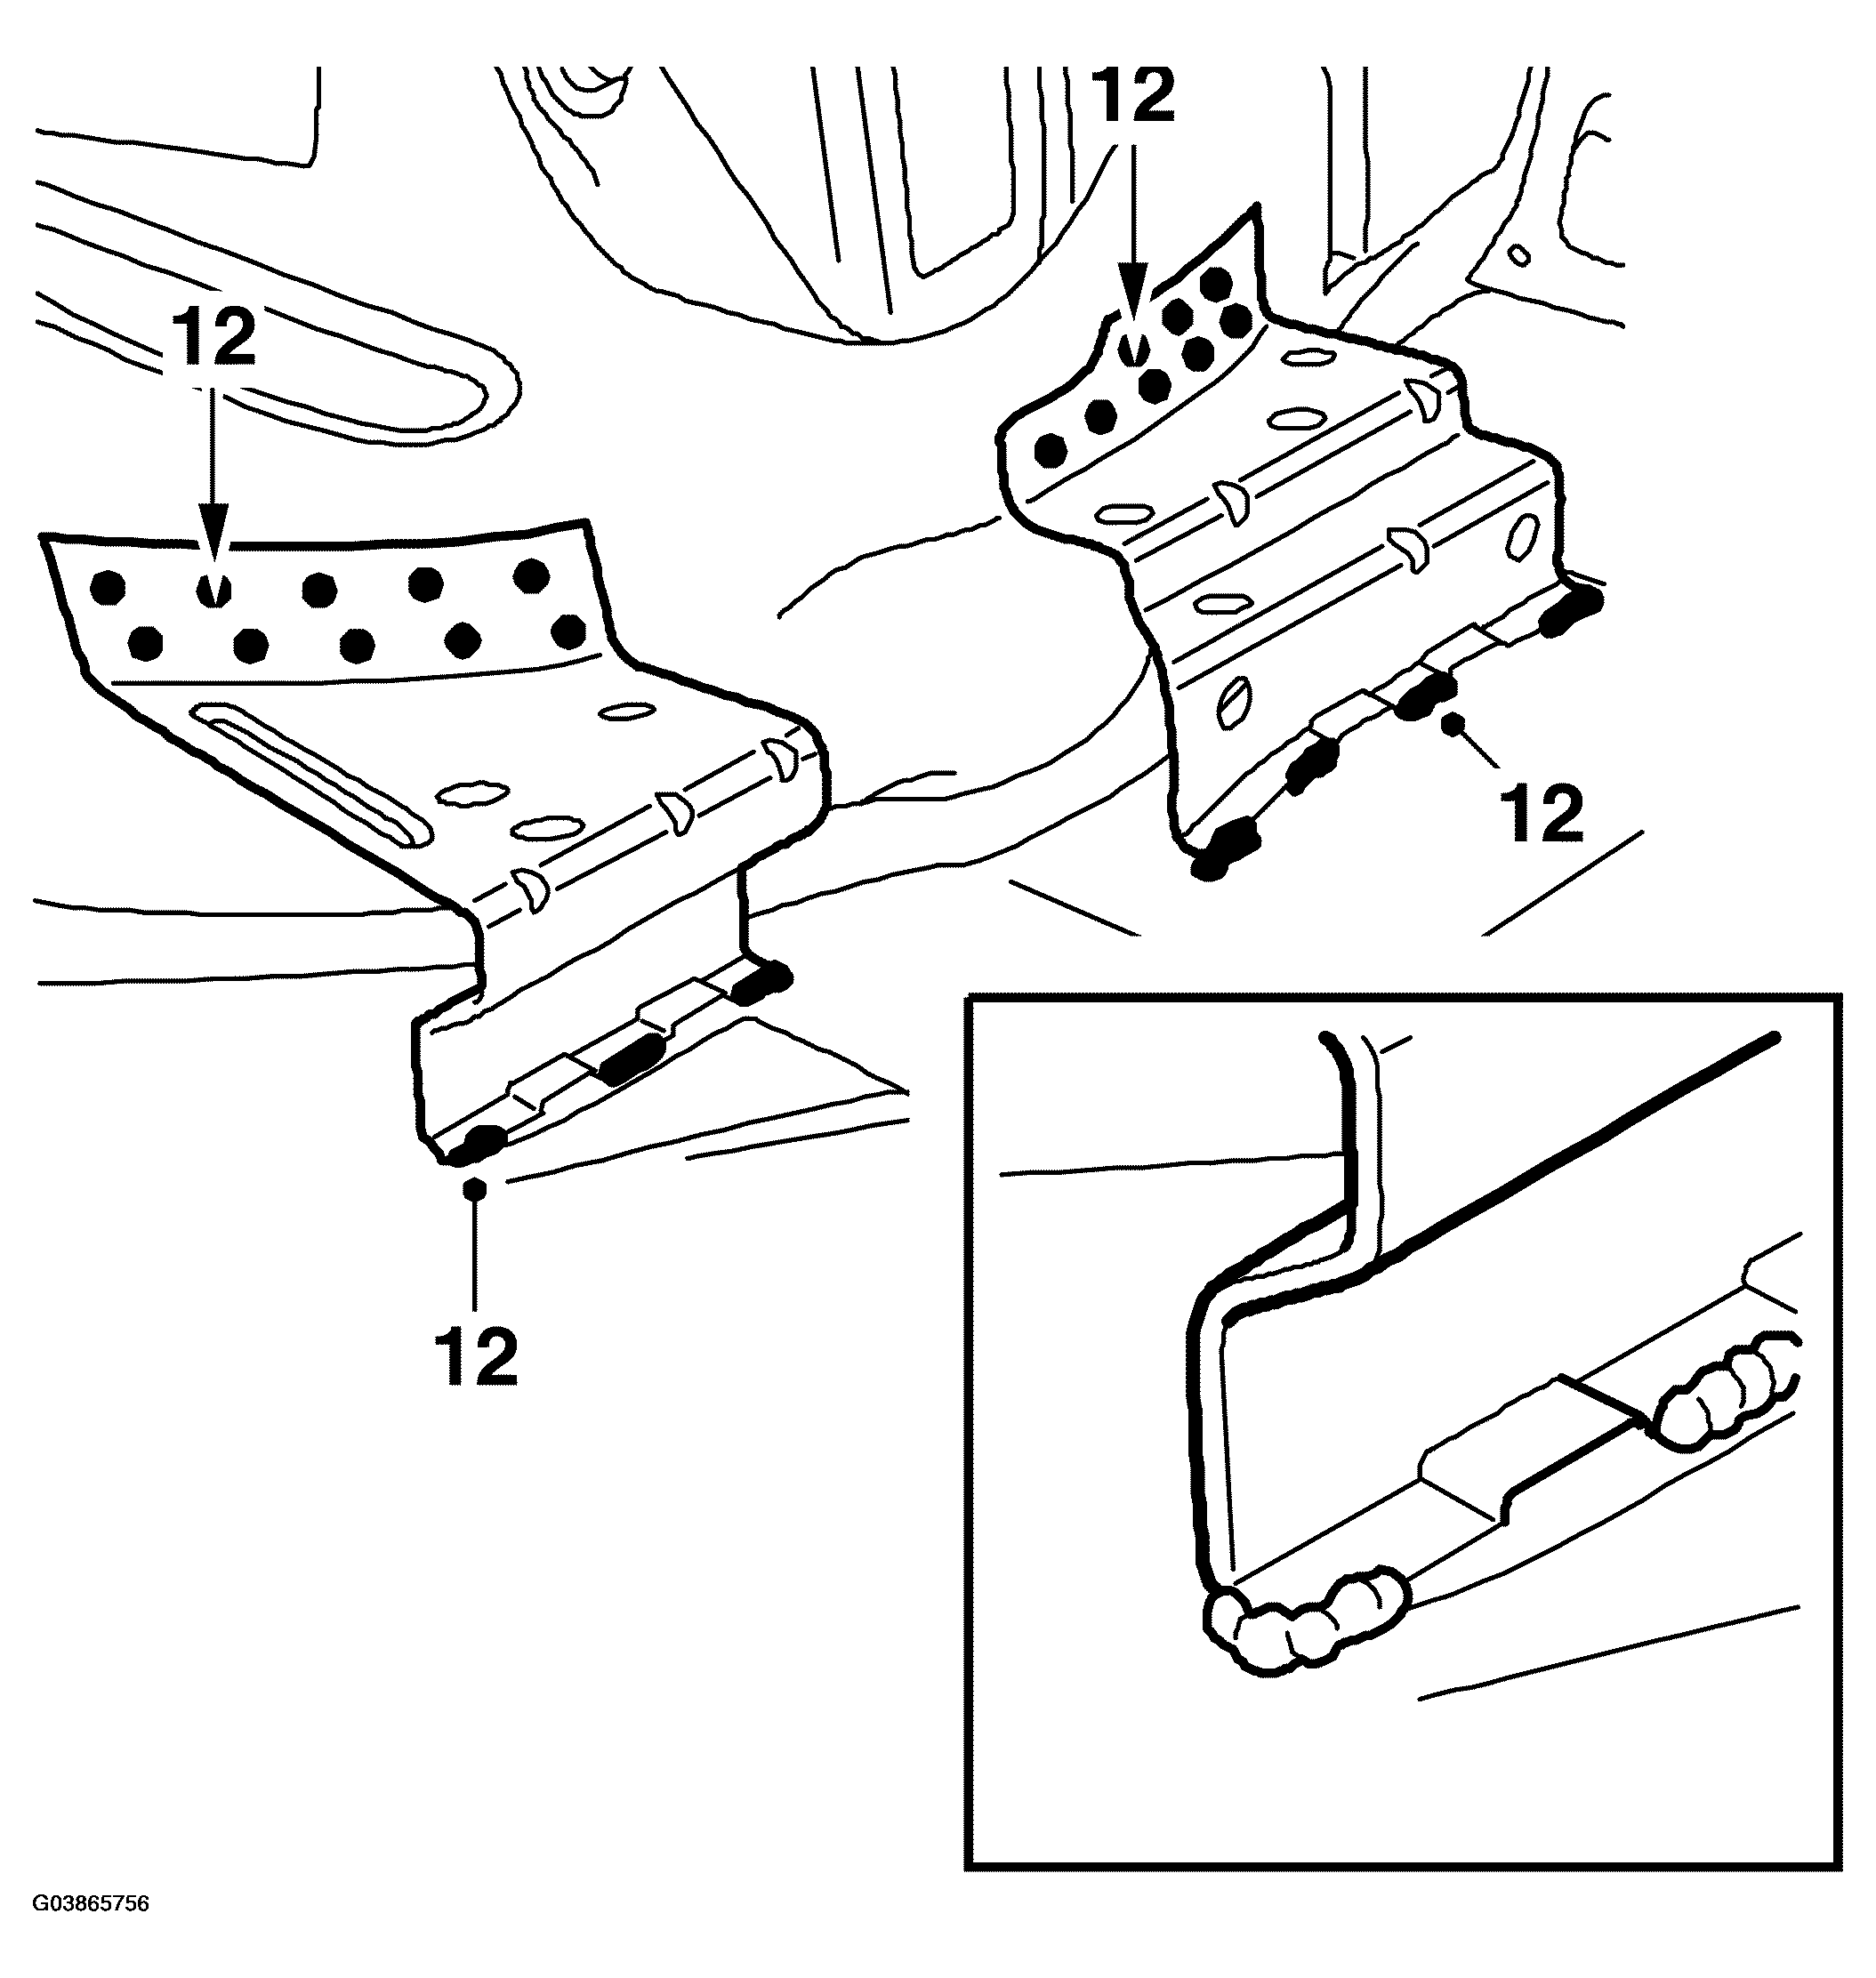
- Fit the luggage compartment floor reinforcement elements. Use the luggage compartment floor rails as guides so that the reinforcement elements will be correctly positioned. Plug weld and seam weld the luggage compartment floor reinforcement elements.
 Courtesy of SAAB-SCANIA OF AMERICA, INC.
- Smooth off the welds.
- Remove any remaining welding primer. Welding primer reduces adhesion of paint, filler and sealant.
- Apply primer to all bare metal surfaces.
- Seal joints and seams with sealant.
- Apply PVC substitute on the underside of the floor.
- Apply a thin coating of anti-corrosion agent in members and cavities after painting.