Section of rear floor 4D: Fitting
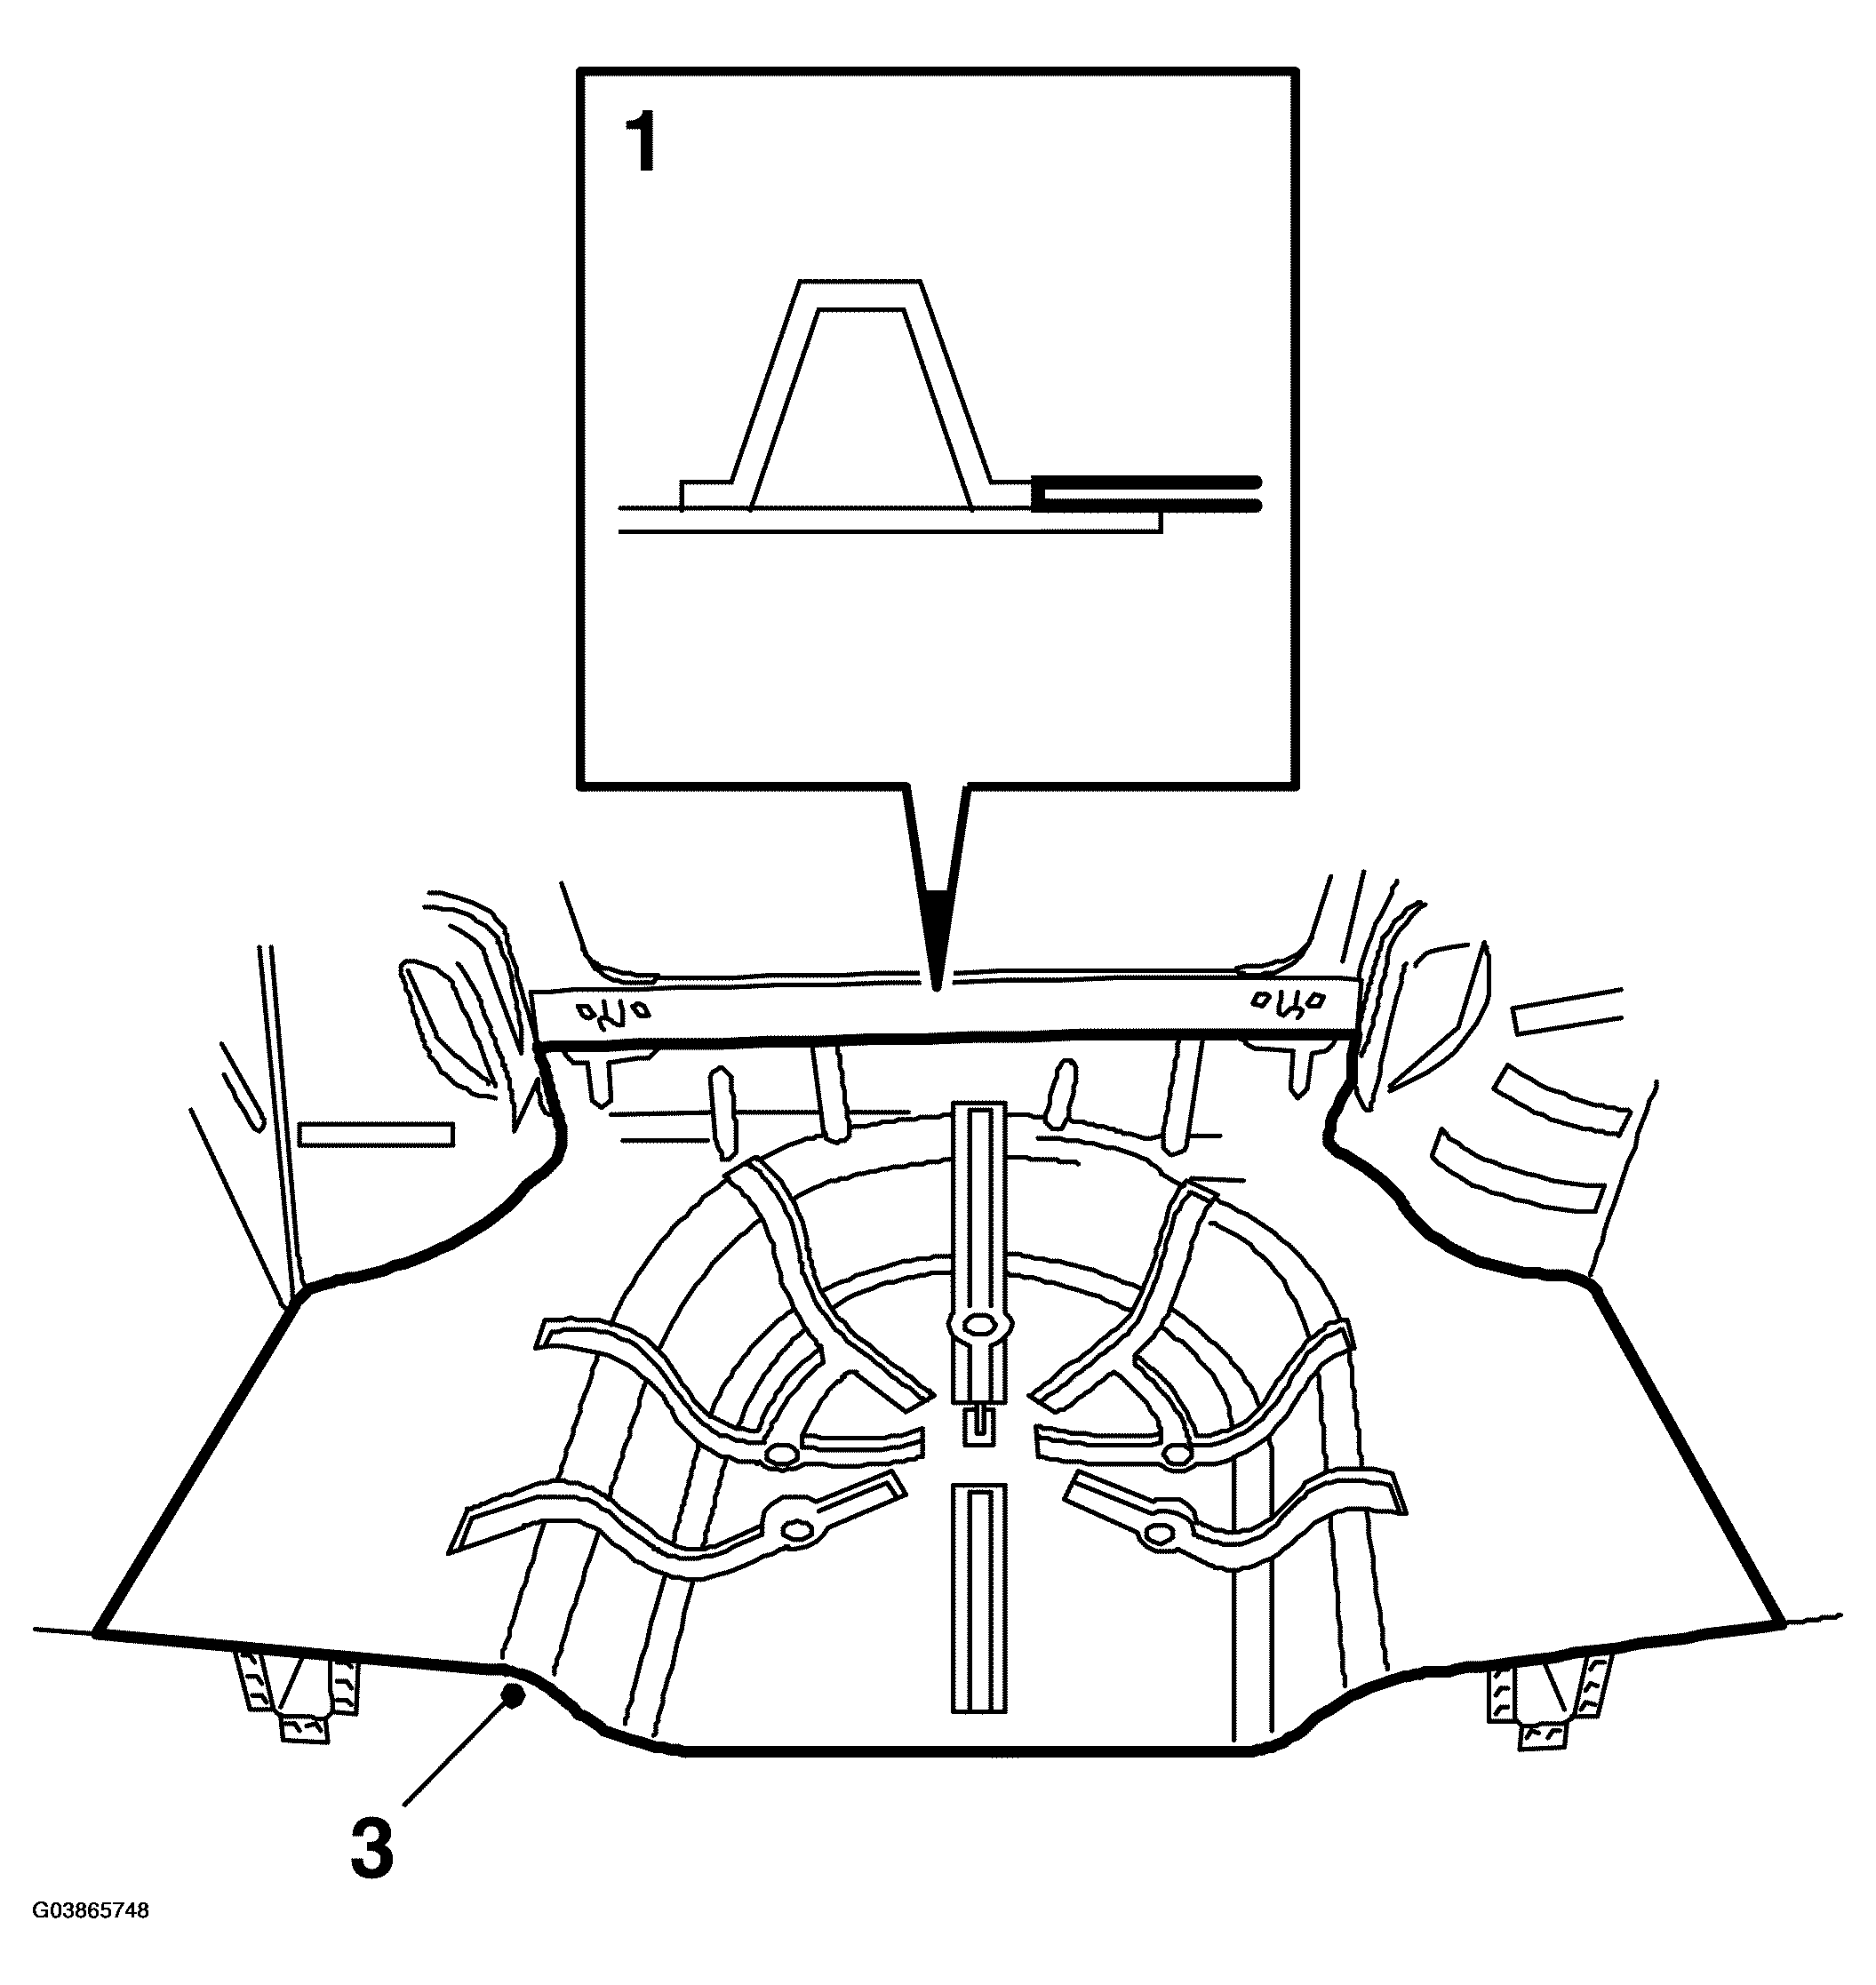 Courtesy of SAAB-SCANIA OF AMERICA, INC.
- Cut the floor so that it fits against the flange on the cross-member.
- Grind all the surfaces that are to be welded.
- Position the floor and mark it by scribing where the frame members are located.
- Remove the floor and drill holes for plug-welding.
- Cut out the corners above the frame members so that they fit against the existing floor.
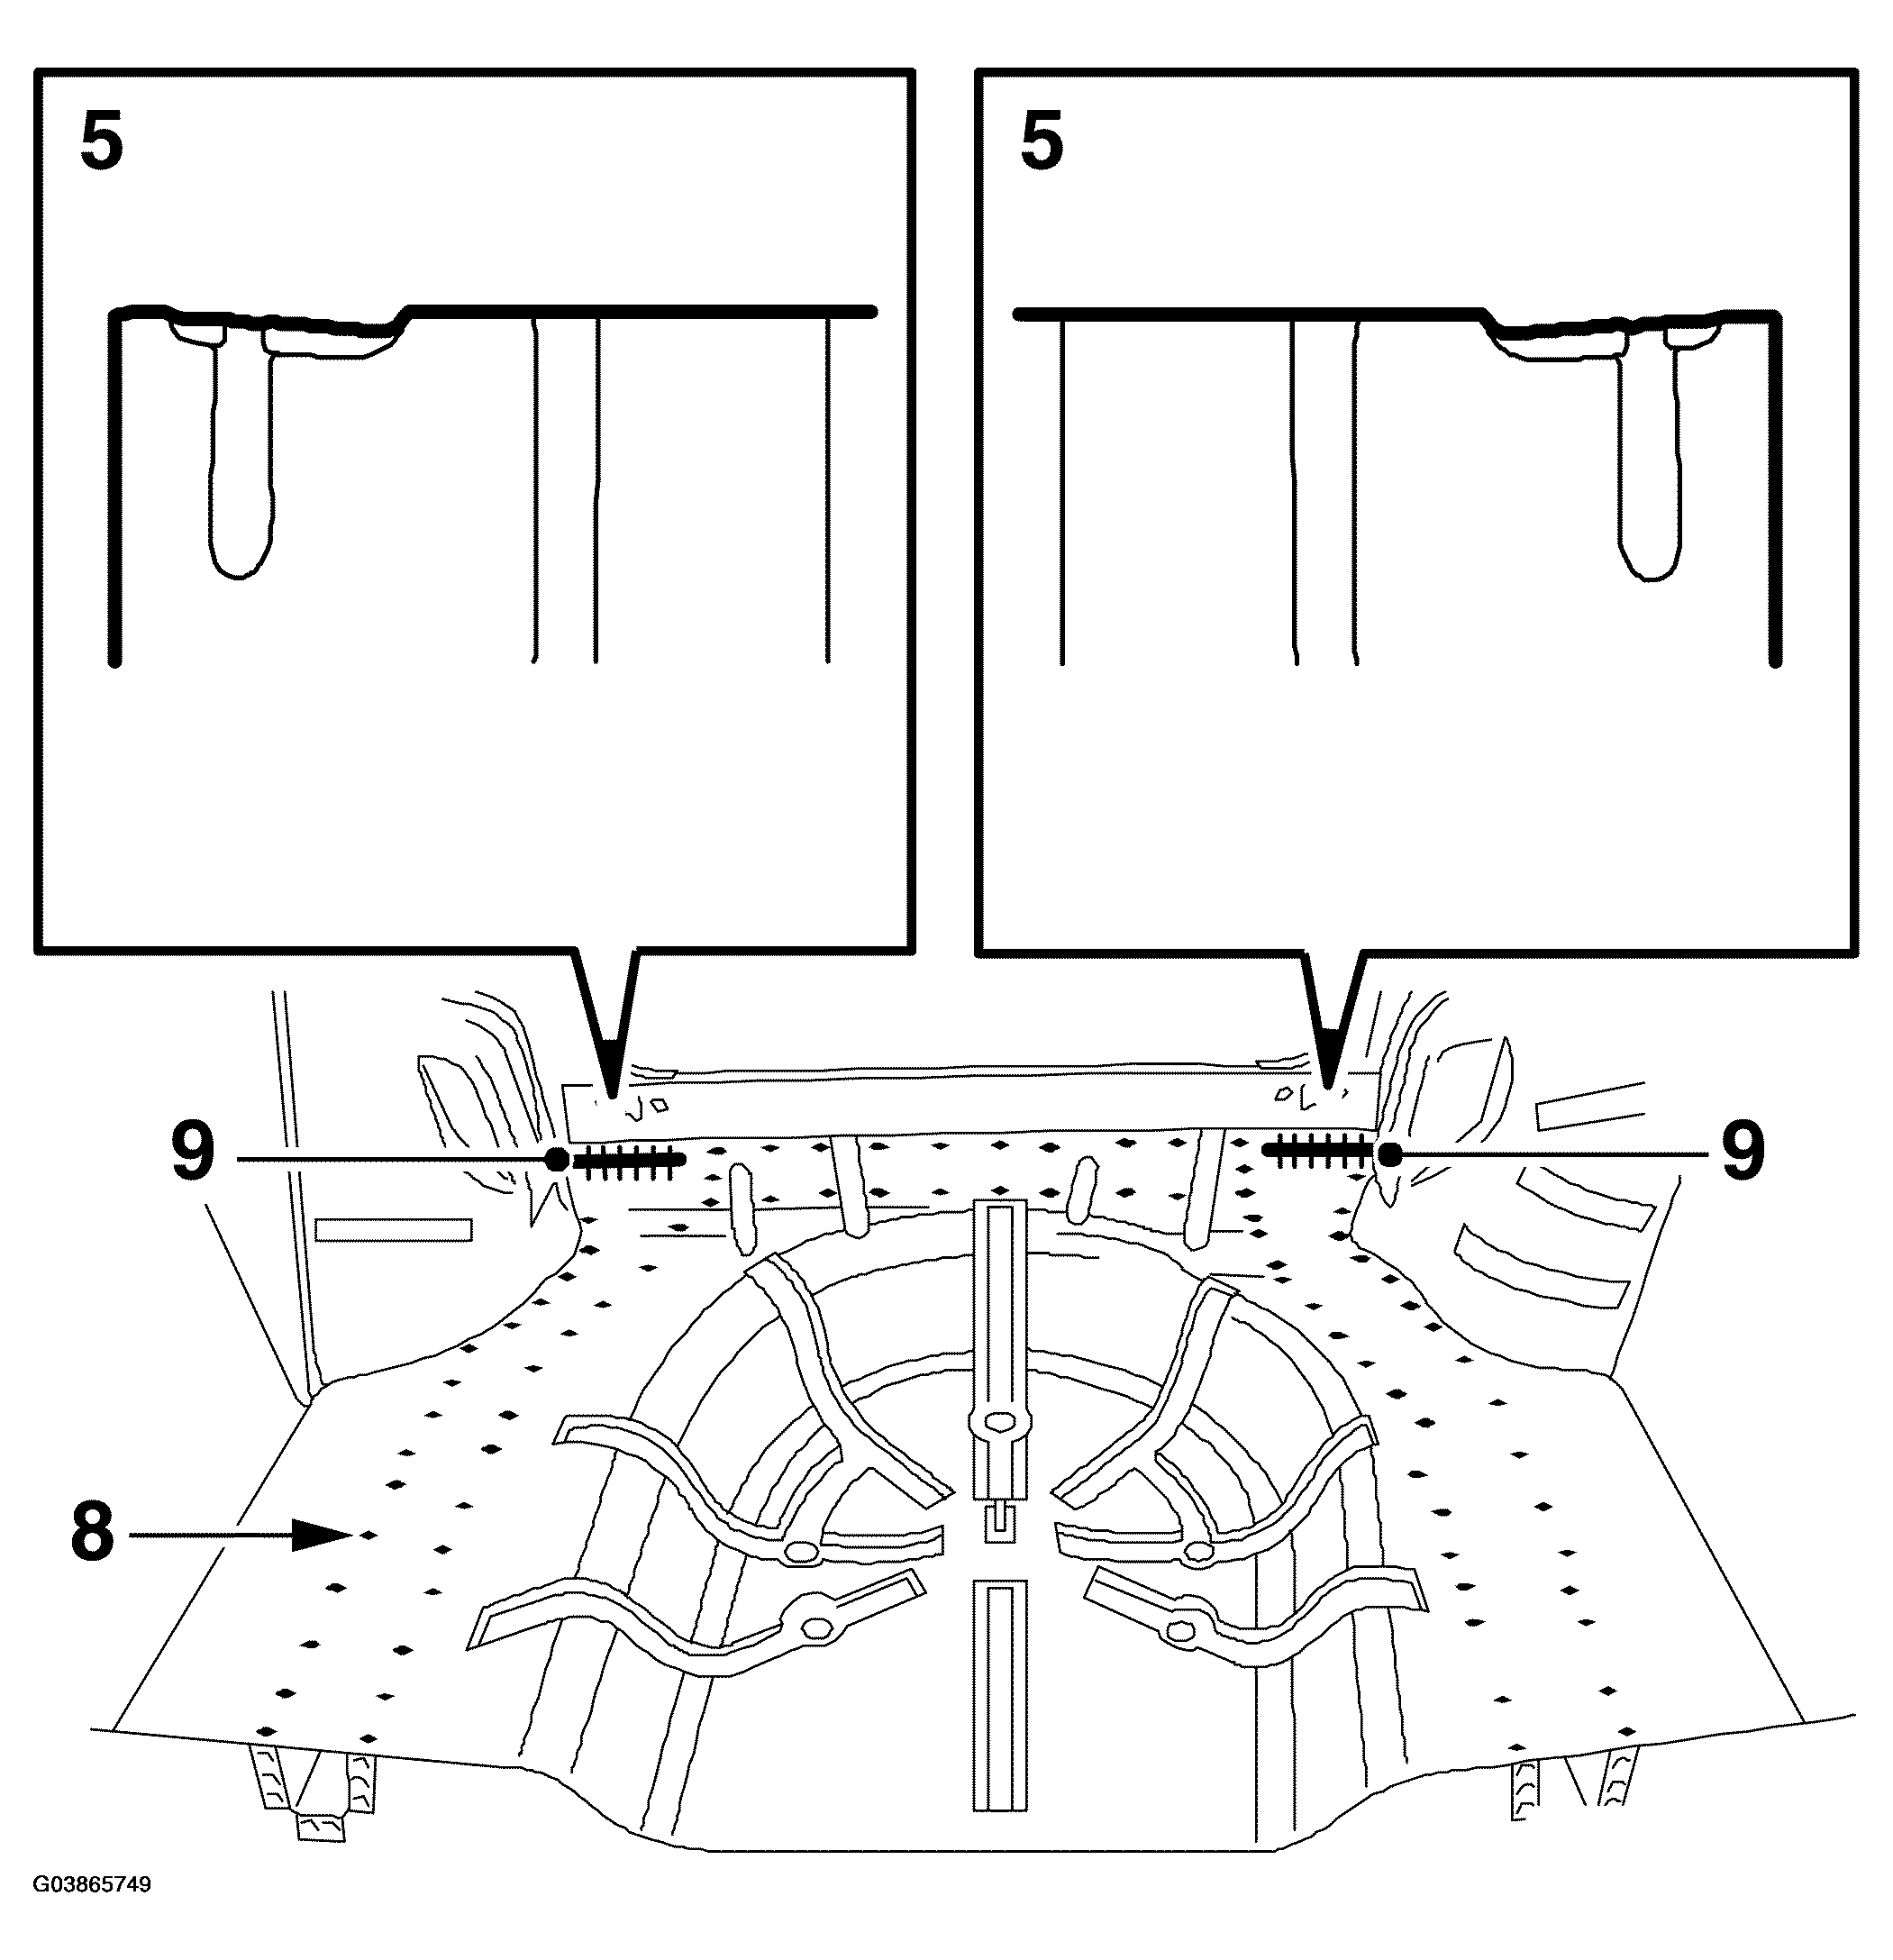 Courtesy of SAAB-SCANIA OF AMERICA, INC.
- Apply welding primer to all surfaces to be plug or spot -welded.
- Fit the floor and fixate with a few welding clamps.
- Plug-weld the floor.
- Seam-weld the corners that have been cut out.
- Spot-weld the floor to the wheel housing.
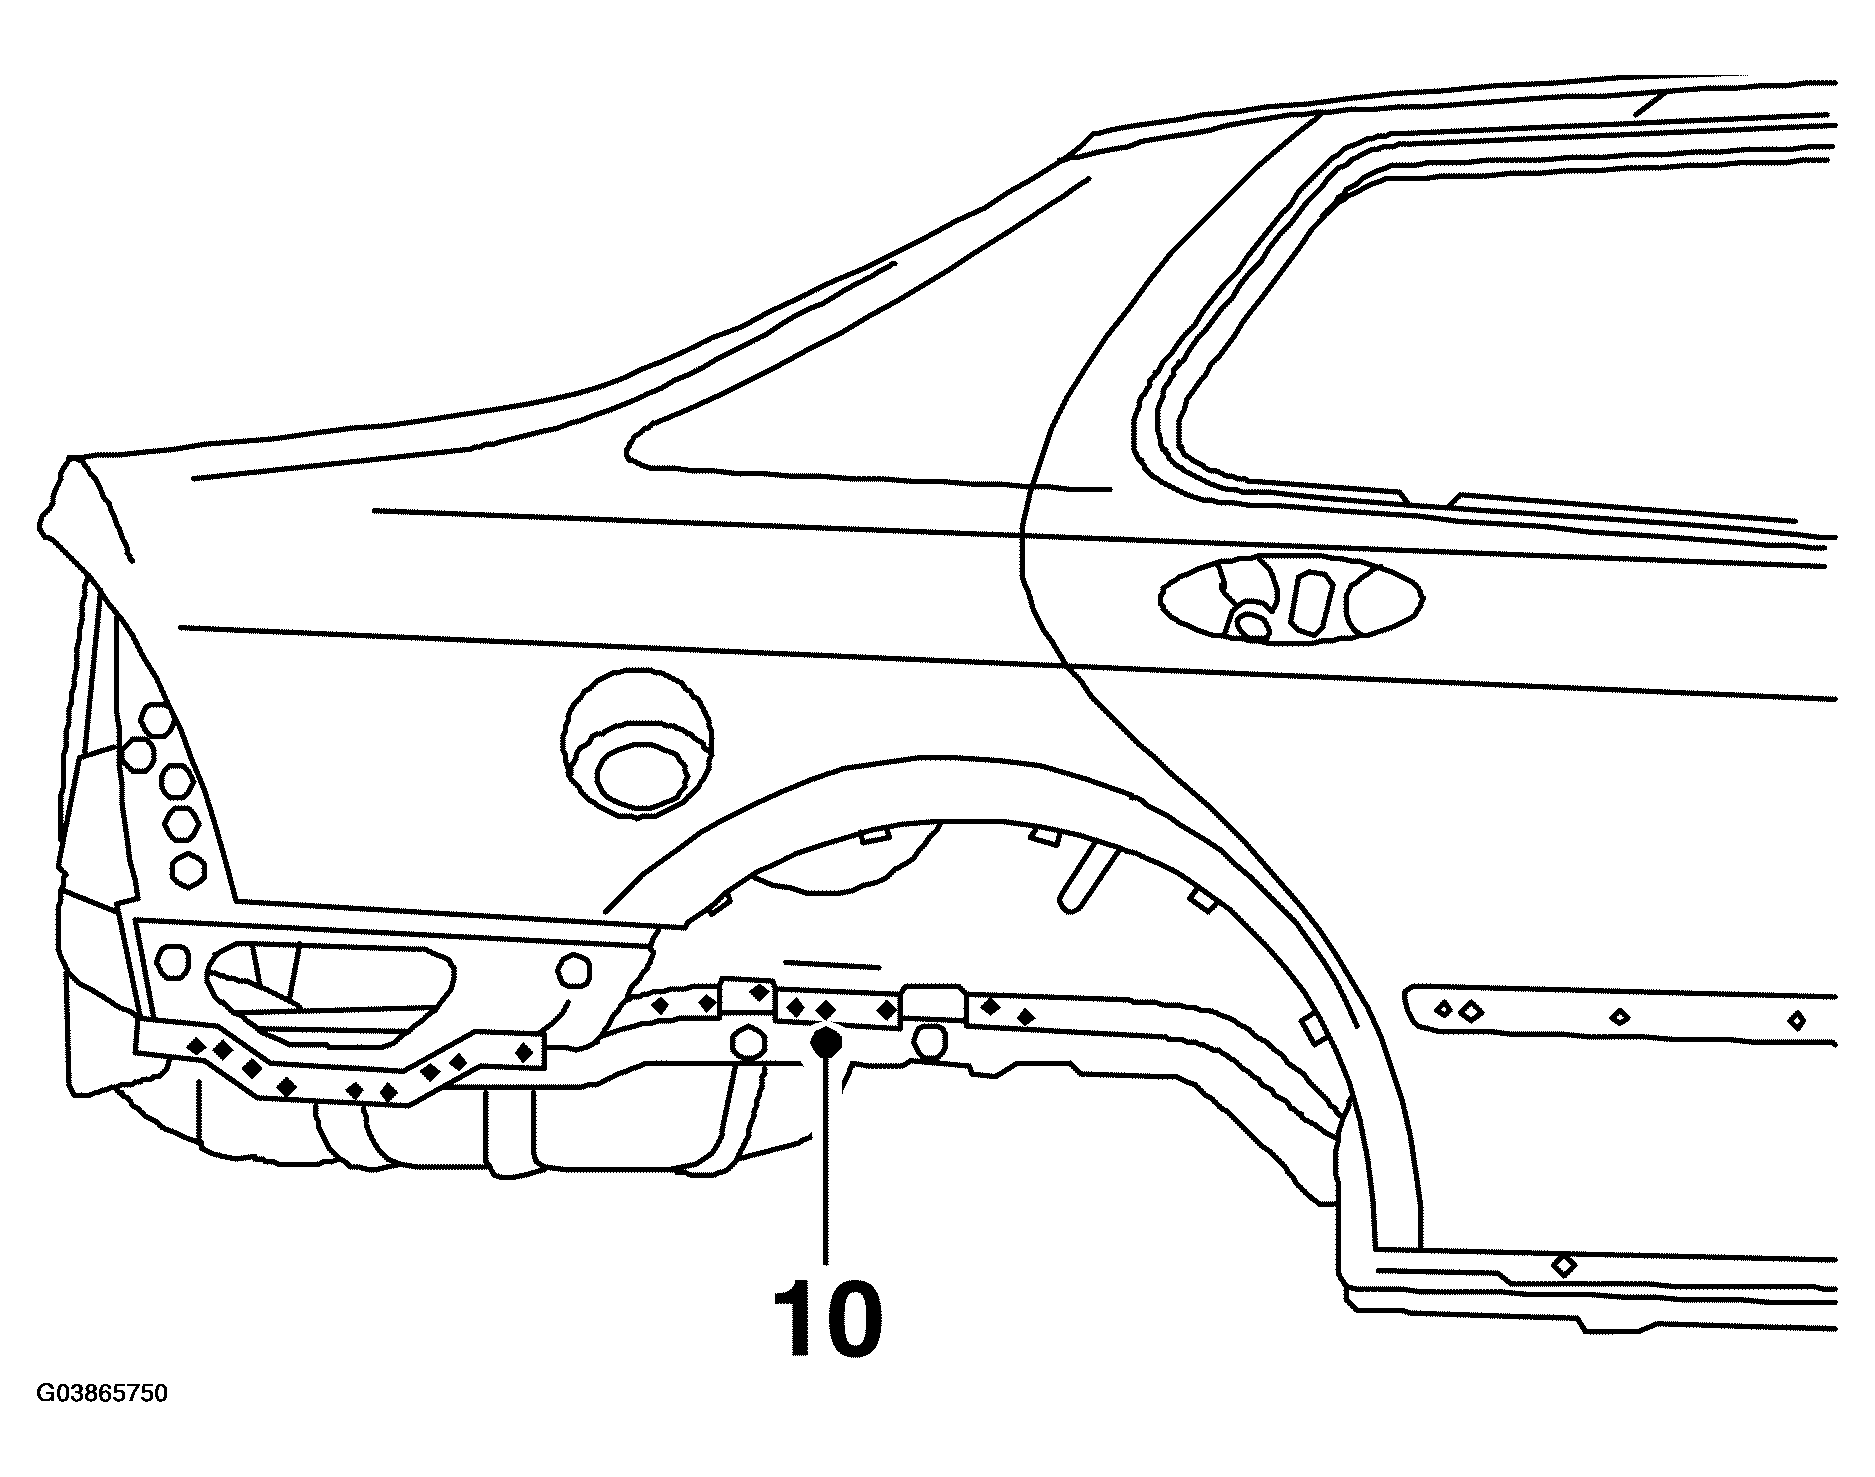 Courtesy of SAAB-SCANIA OF AMERICA, INC.
- Smooth off the welds.
- Remove any remaining welding primer. Welding primer reduces adhesion of paint, filler and sealant.
- Apply primer to all bare metal surfaces.
- Fit the rear plate.
- Seal joints and seams with sealant.
- Apply PVC substitute on the underside of the floor.
- Apply a thin layer of anti-corrosion agent into members and cavities.