To remove
- Turn the ignition switch to the LOCK position.
- Remove on both sides the A-pillar trim.
- Remove the speaker grille from the dashboard.
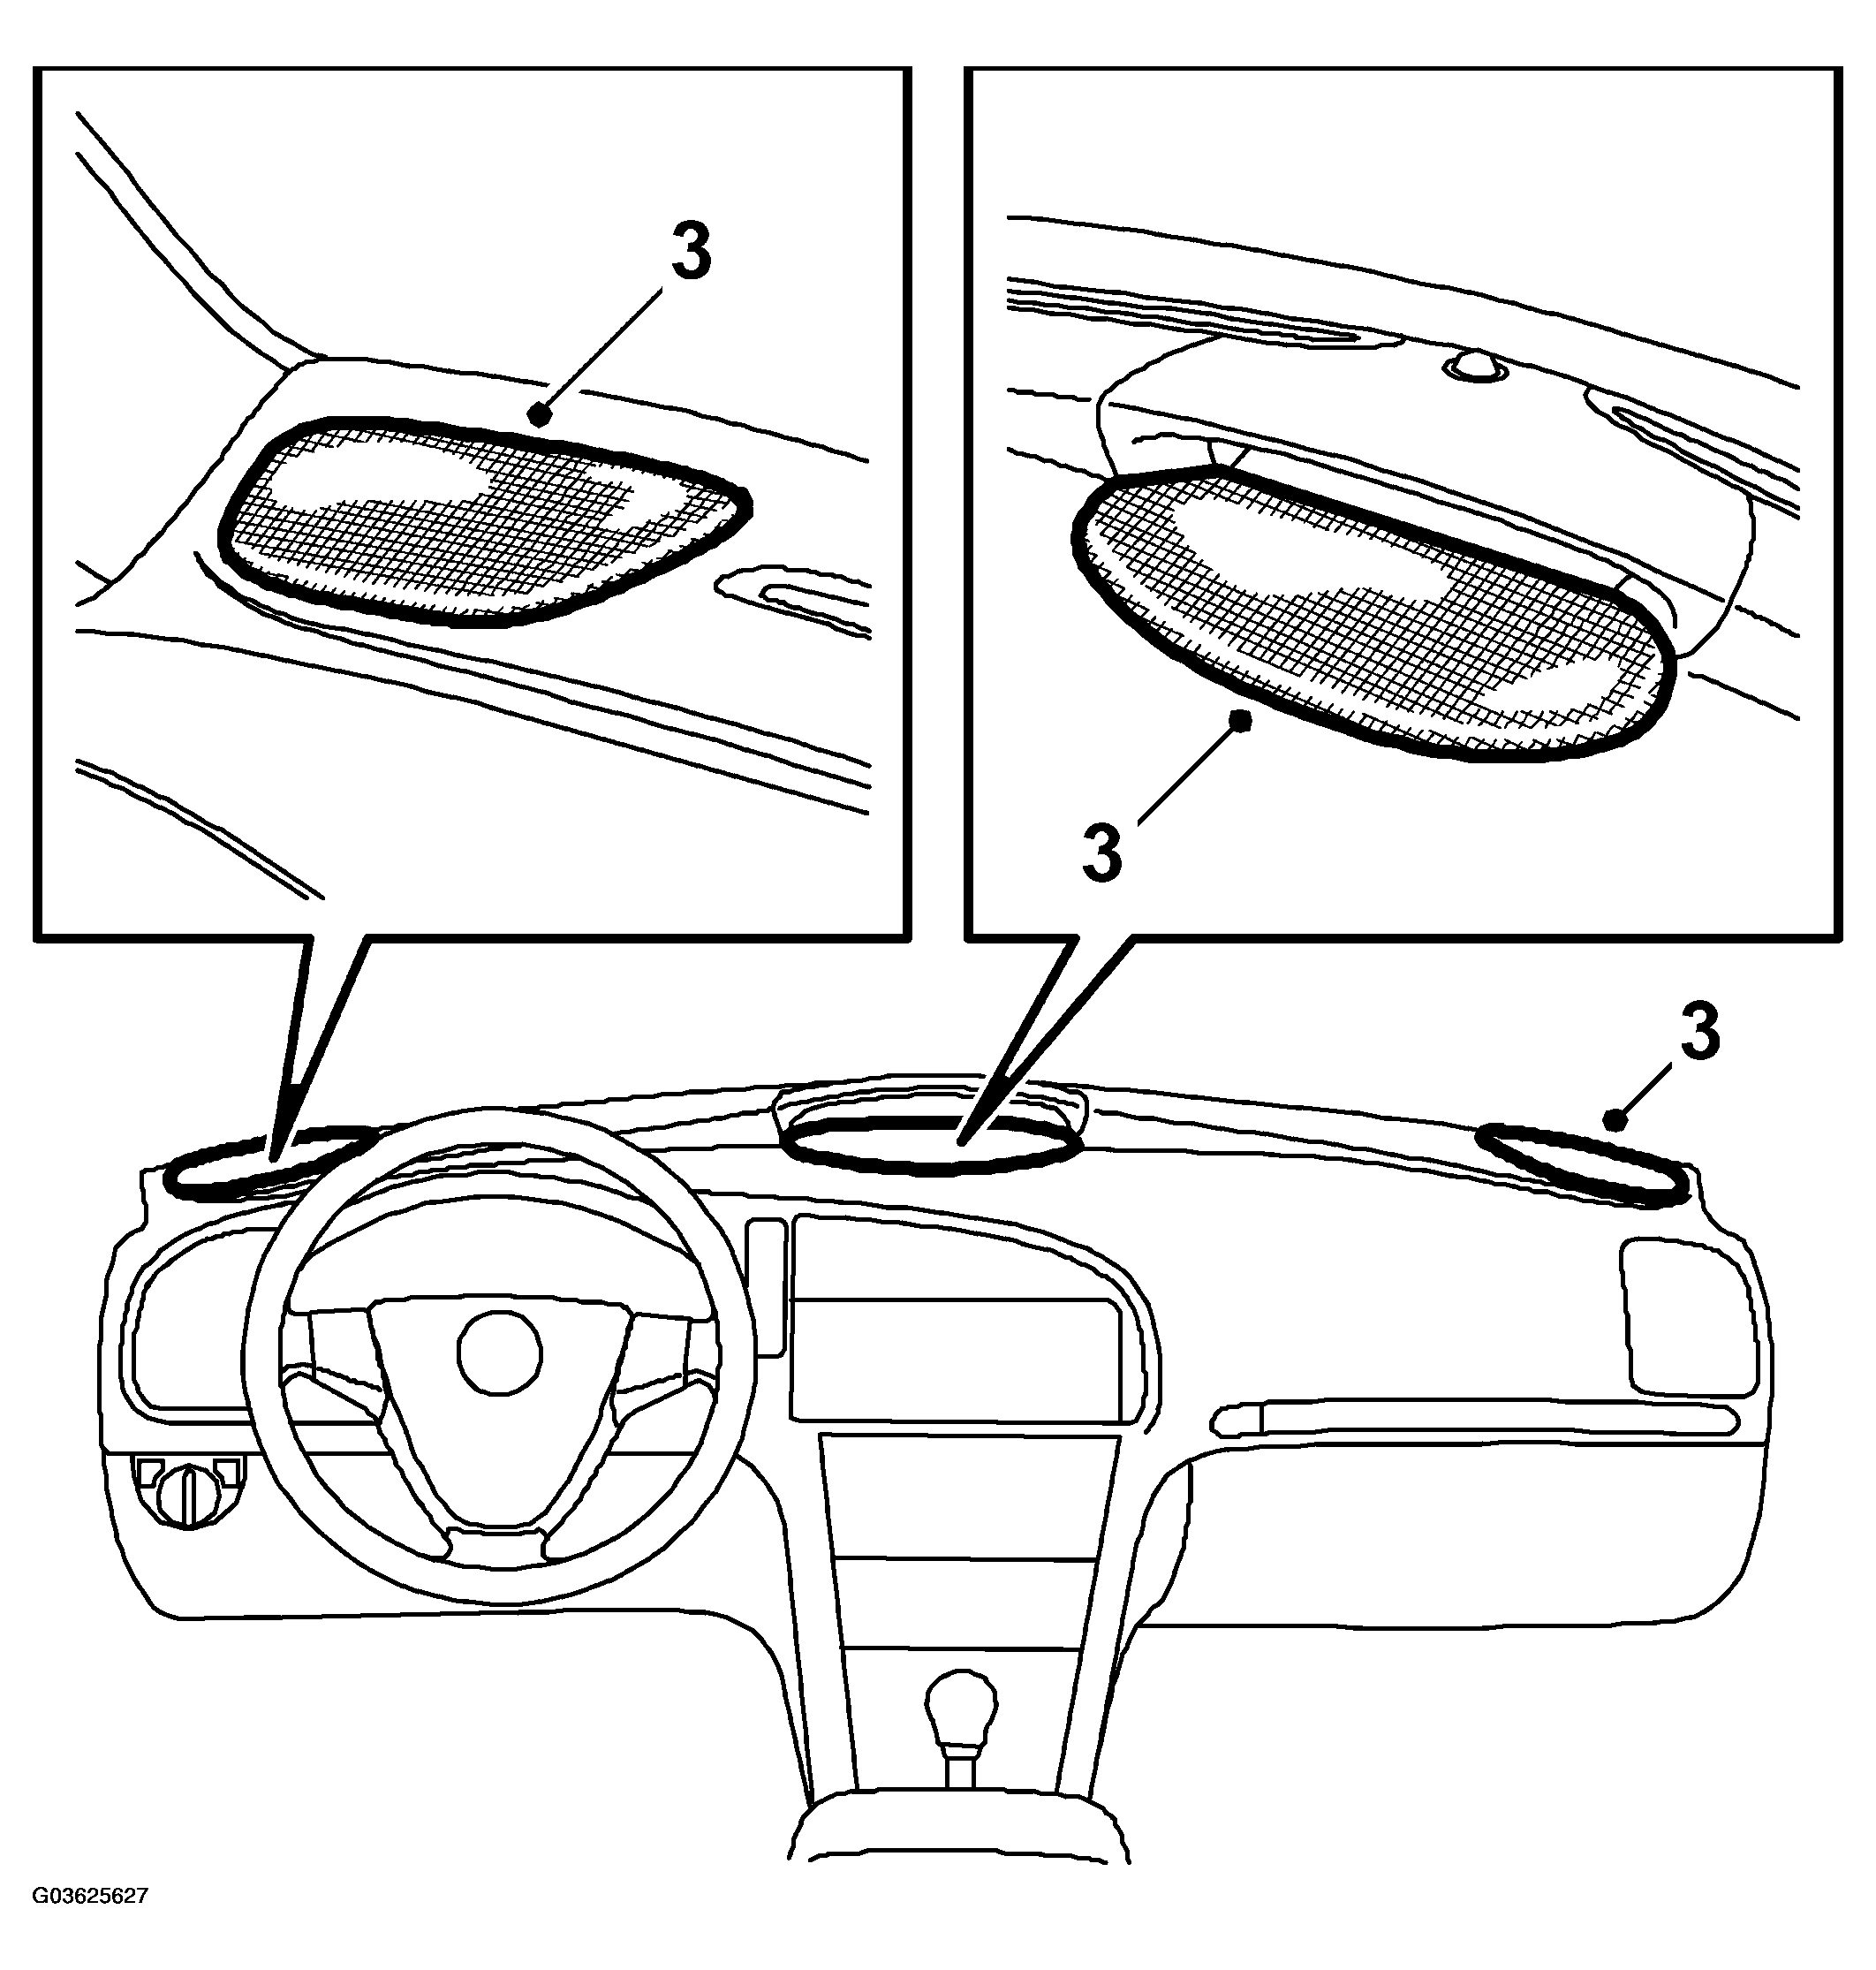 Courtesy of SAAB-SCANIA OF AMERICA, INC.
- Remove the speakers and unplug their connectors.
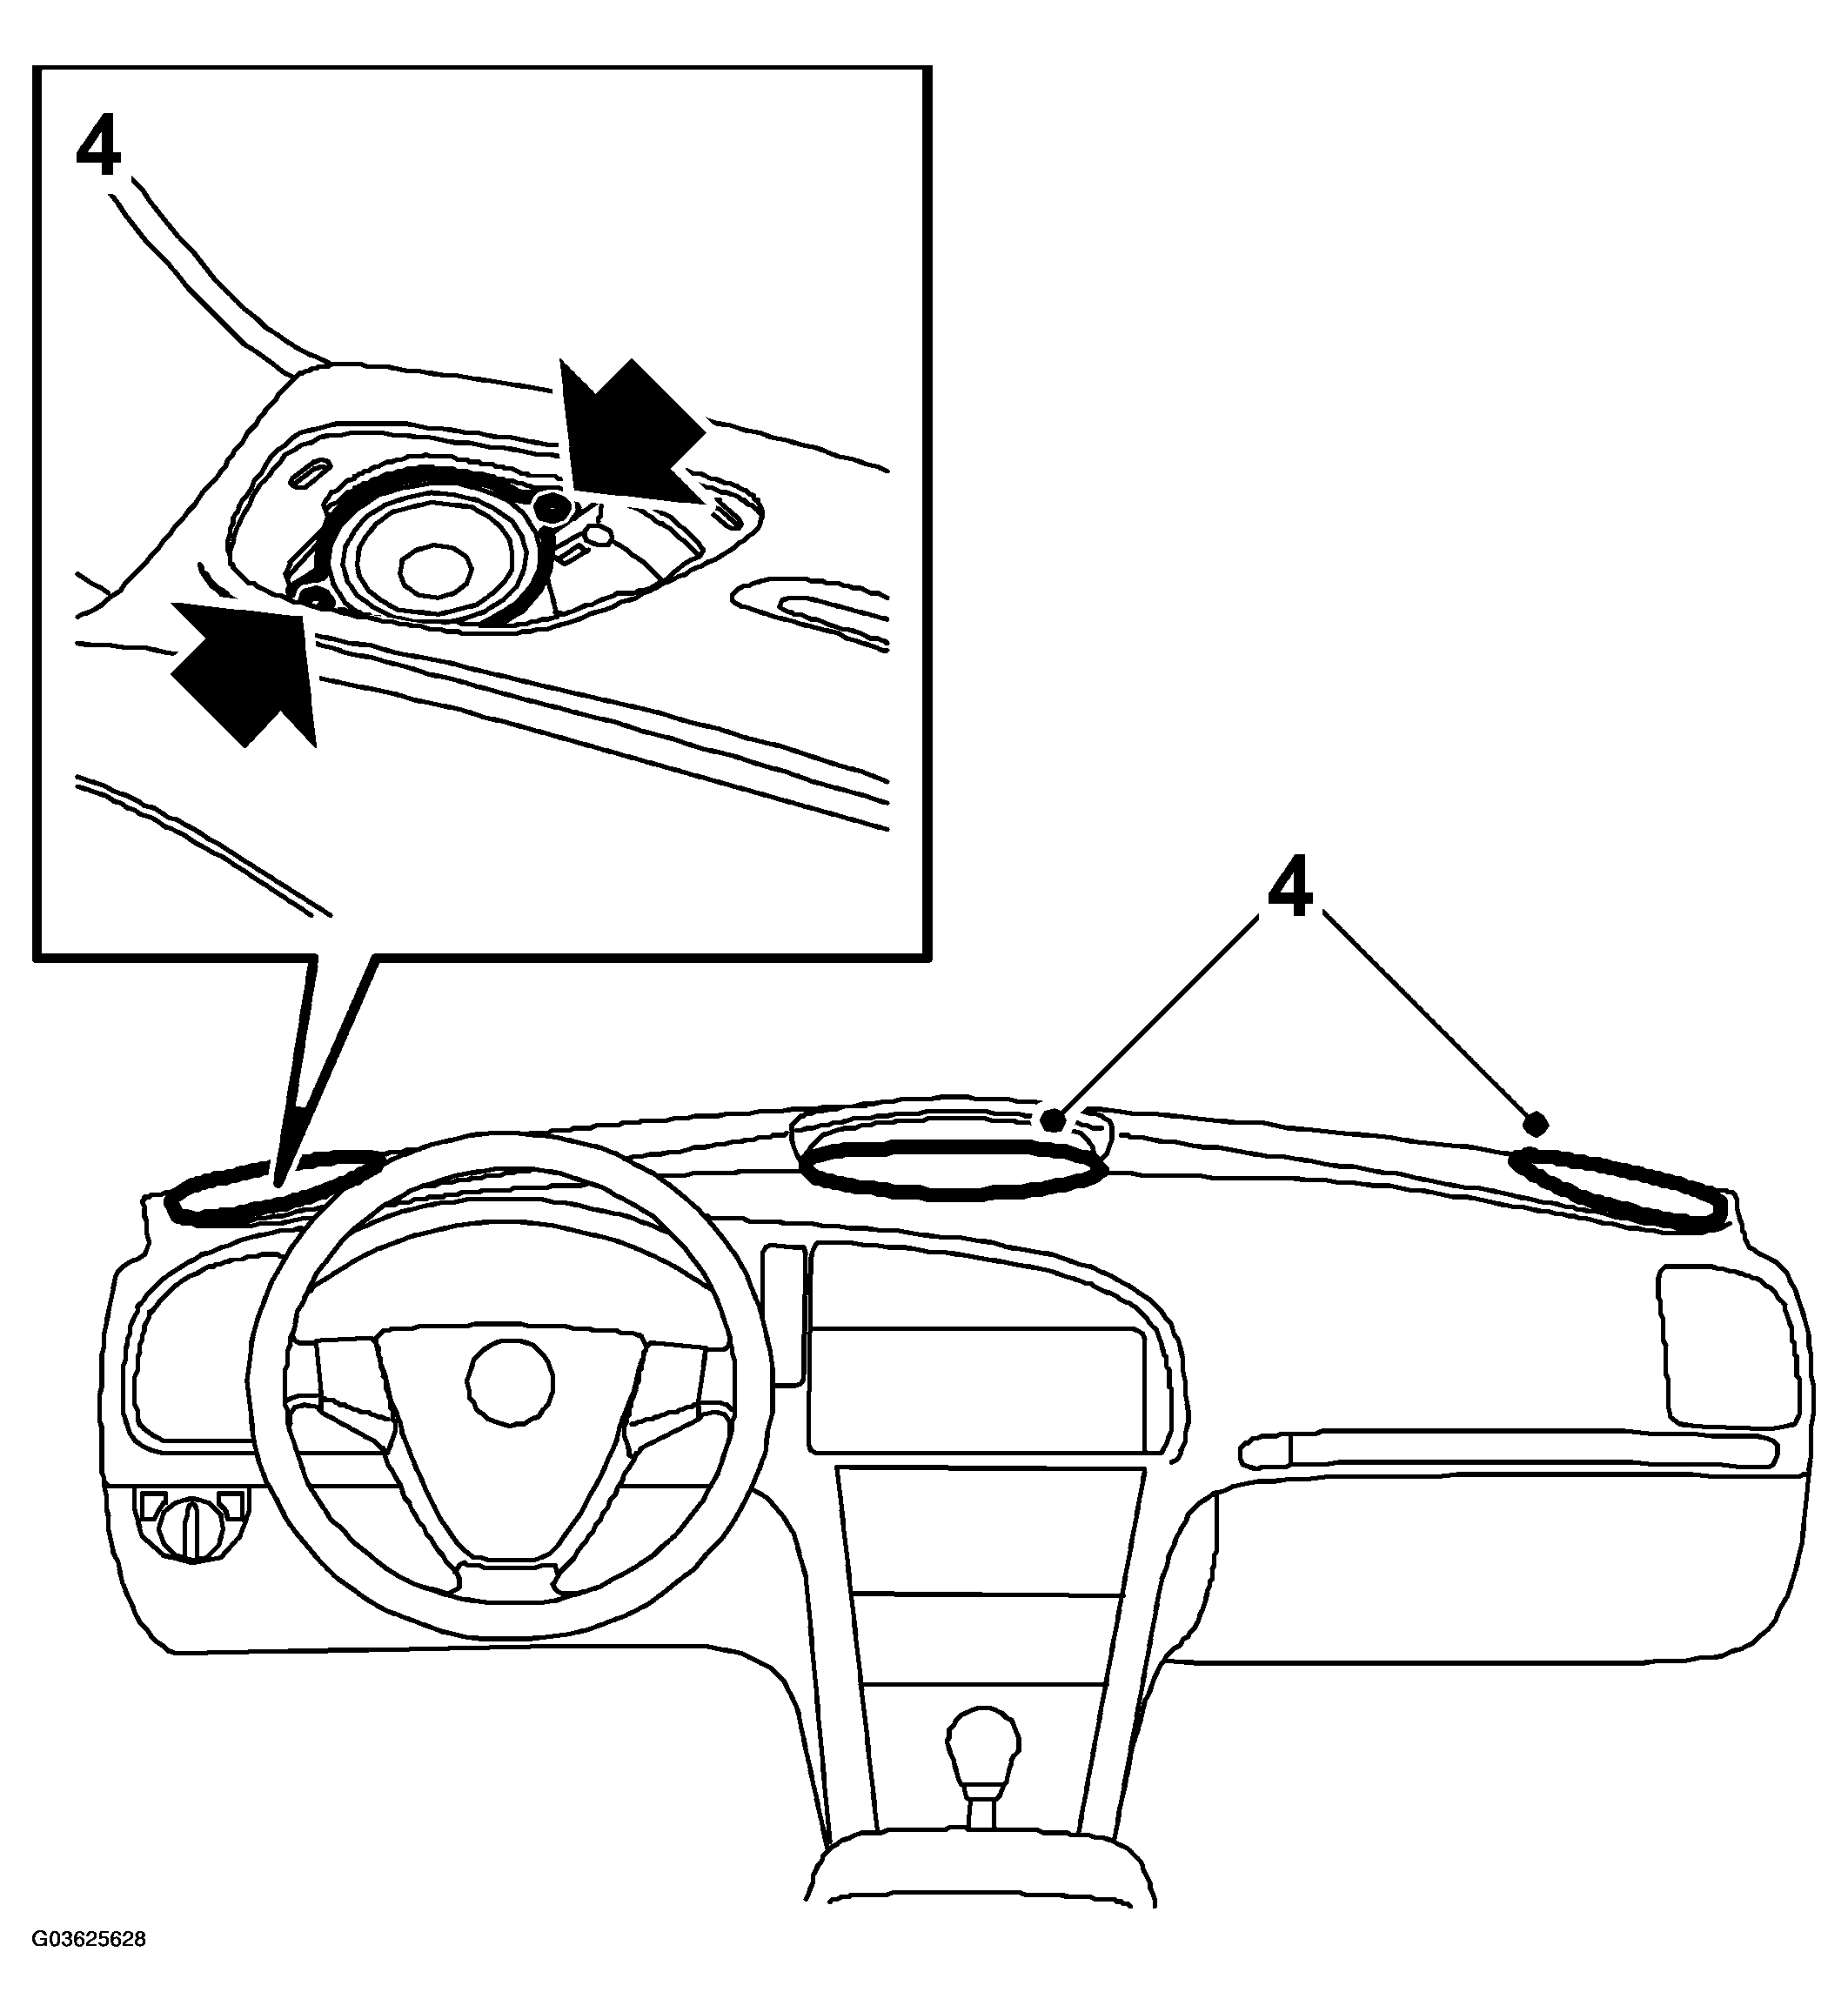 Courtesy of SAAB-SCANIA OF AMERICA, INC.
- Remove SID (Saab Information Display) and unplug the connector.
- Remove the side covers from the dashboard (right and left-hand) and unscrew the nuts holding the dashboard.
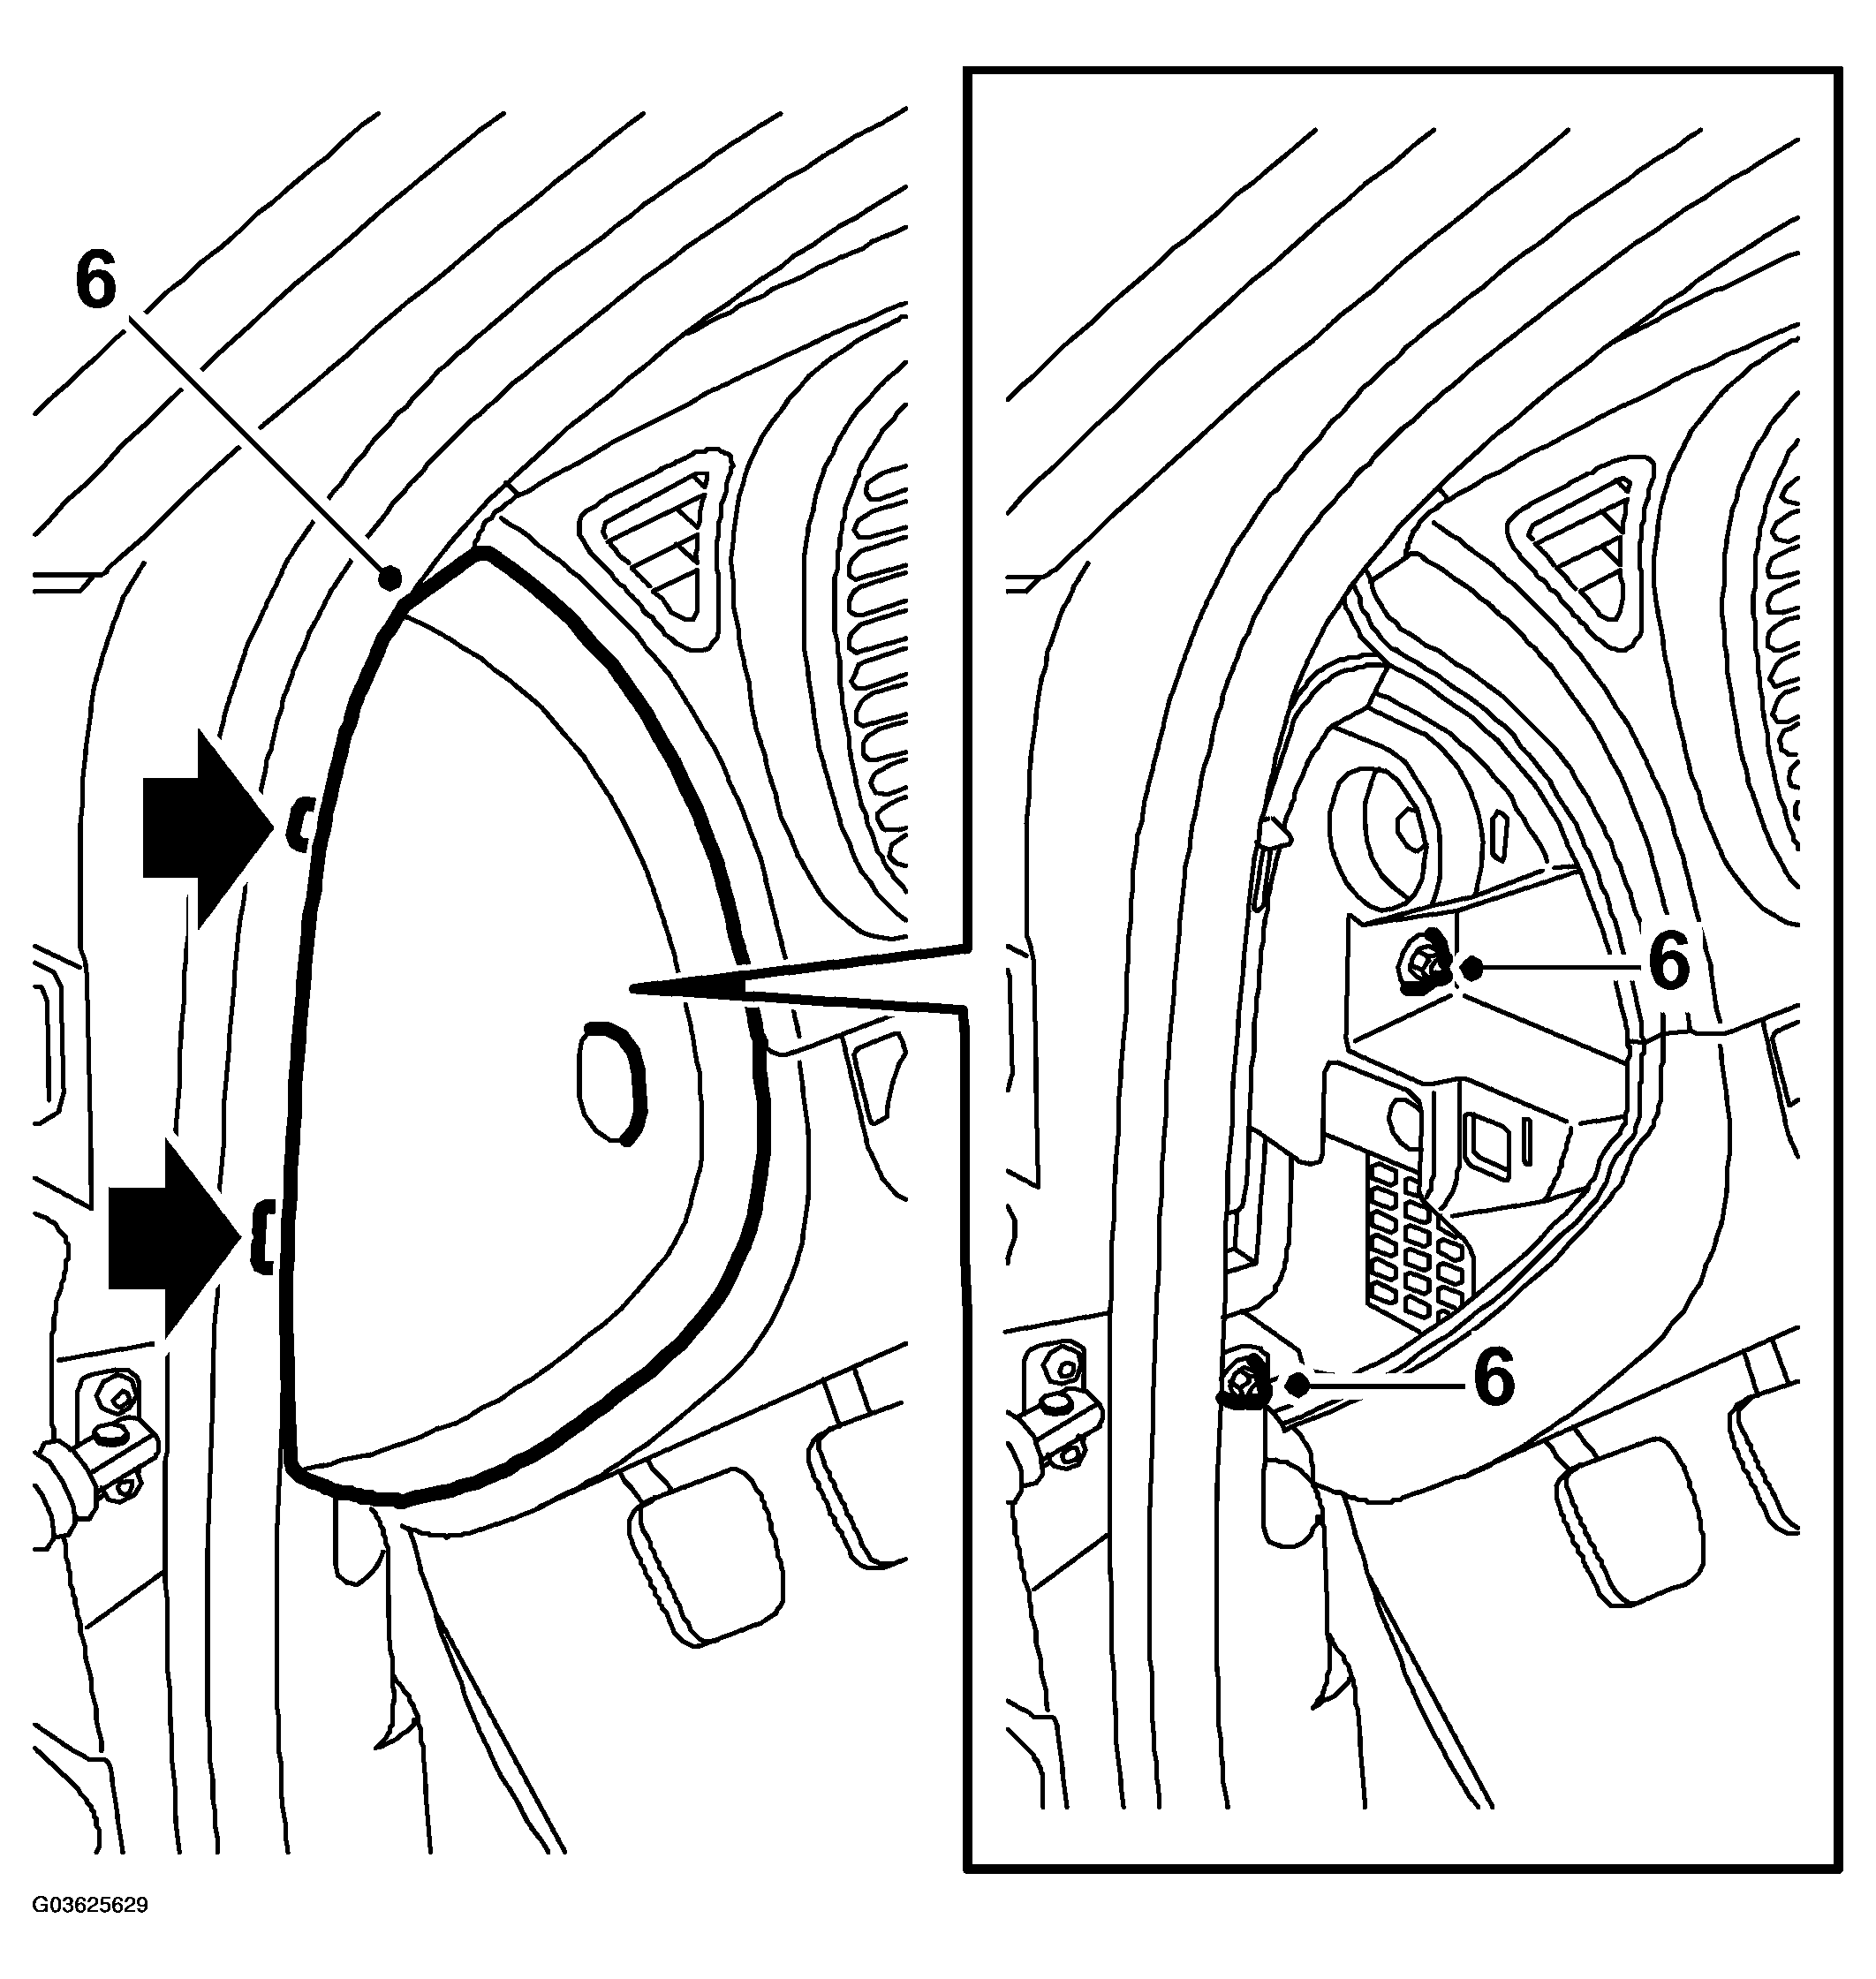 Courtesy of SAAB-SCANIA OF AMERICA, INC.
- Remove the driver airbag.
- Remove the STEERING WHEEL .
- Remove the Column integration module CIM (703).
- Remove the MIU (Main Instrument Unit).
- Remove the ACC-unit, or alternatively the MCC-unit, and unplug the connector.
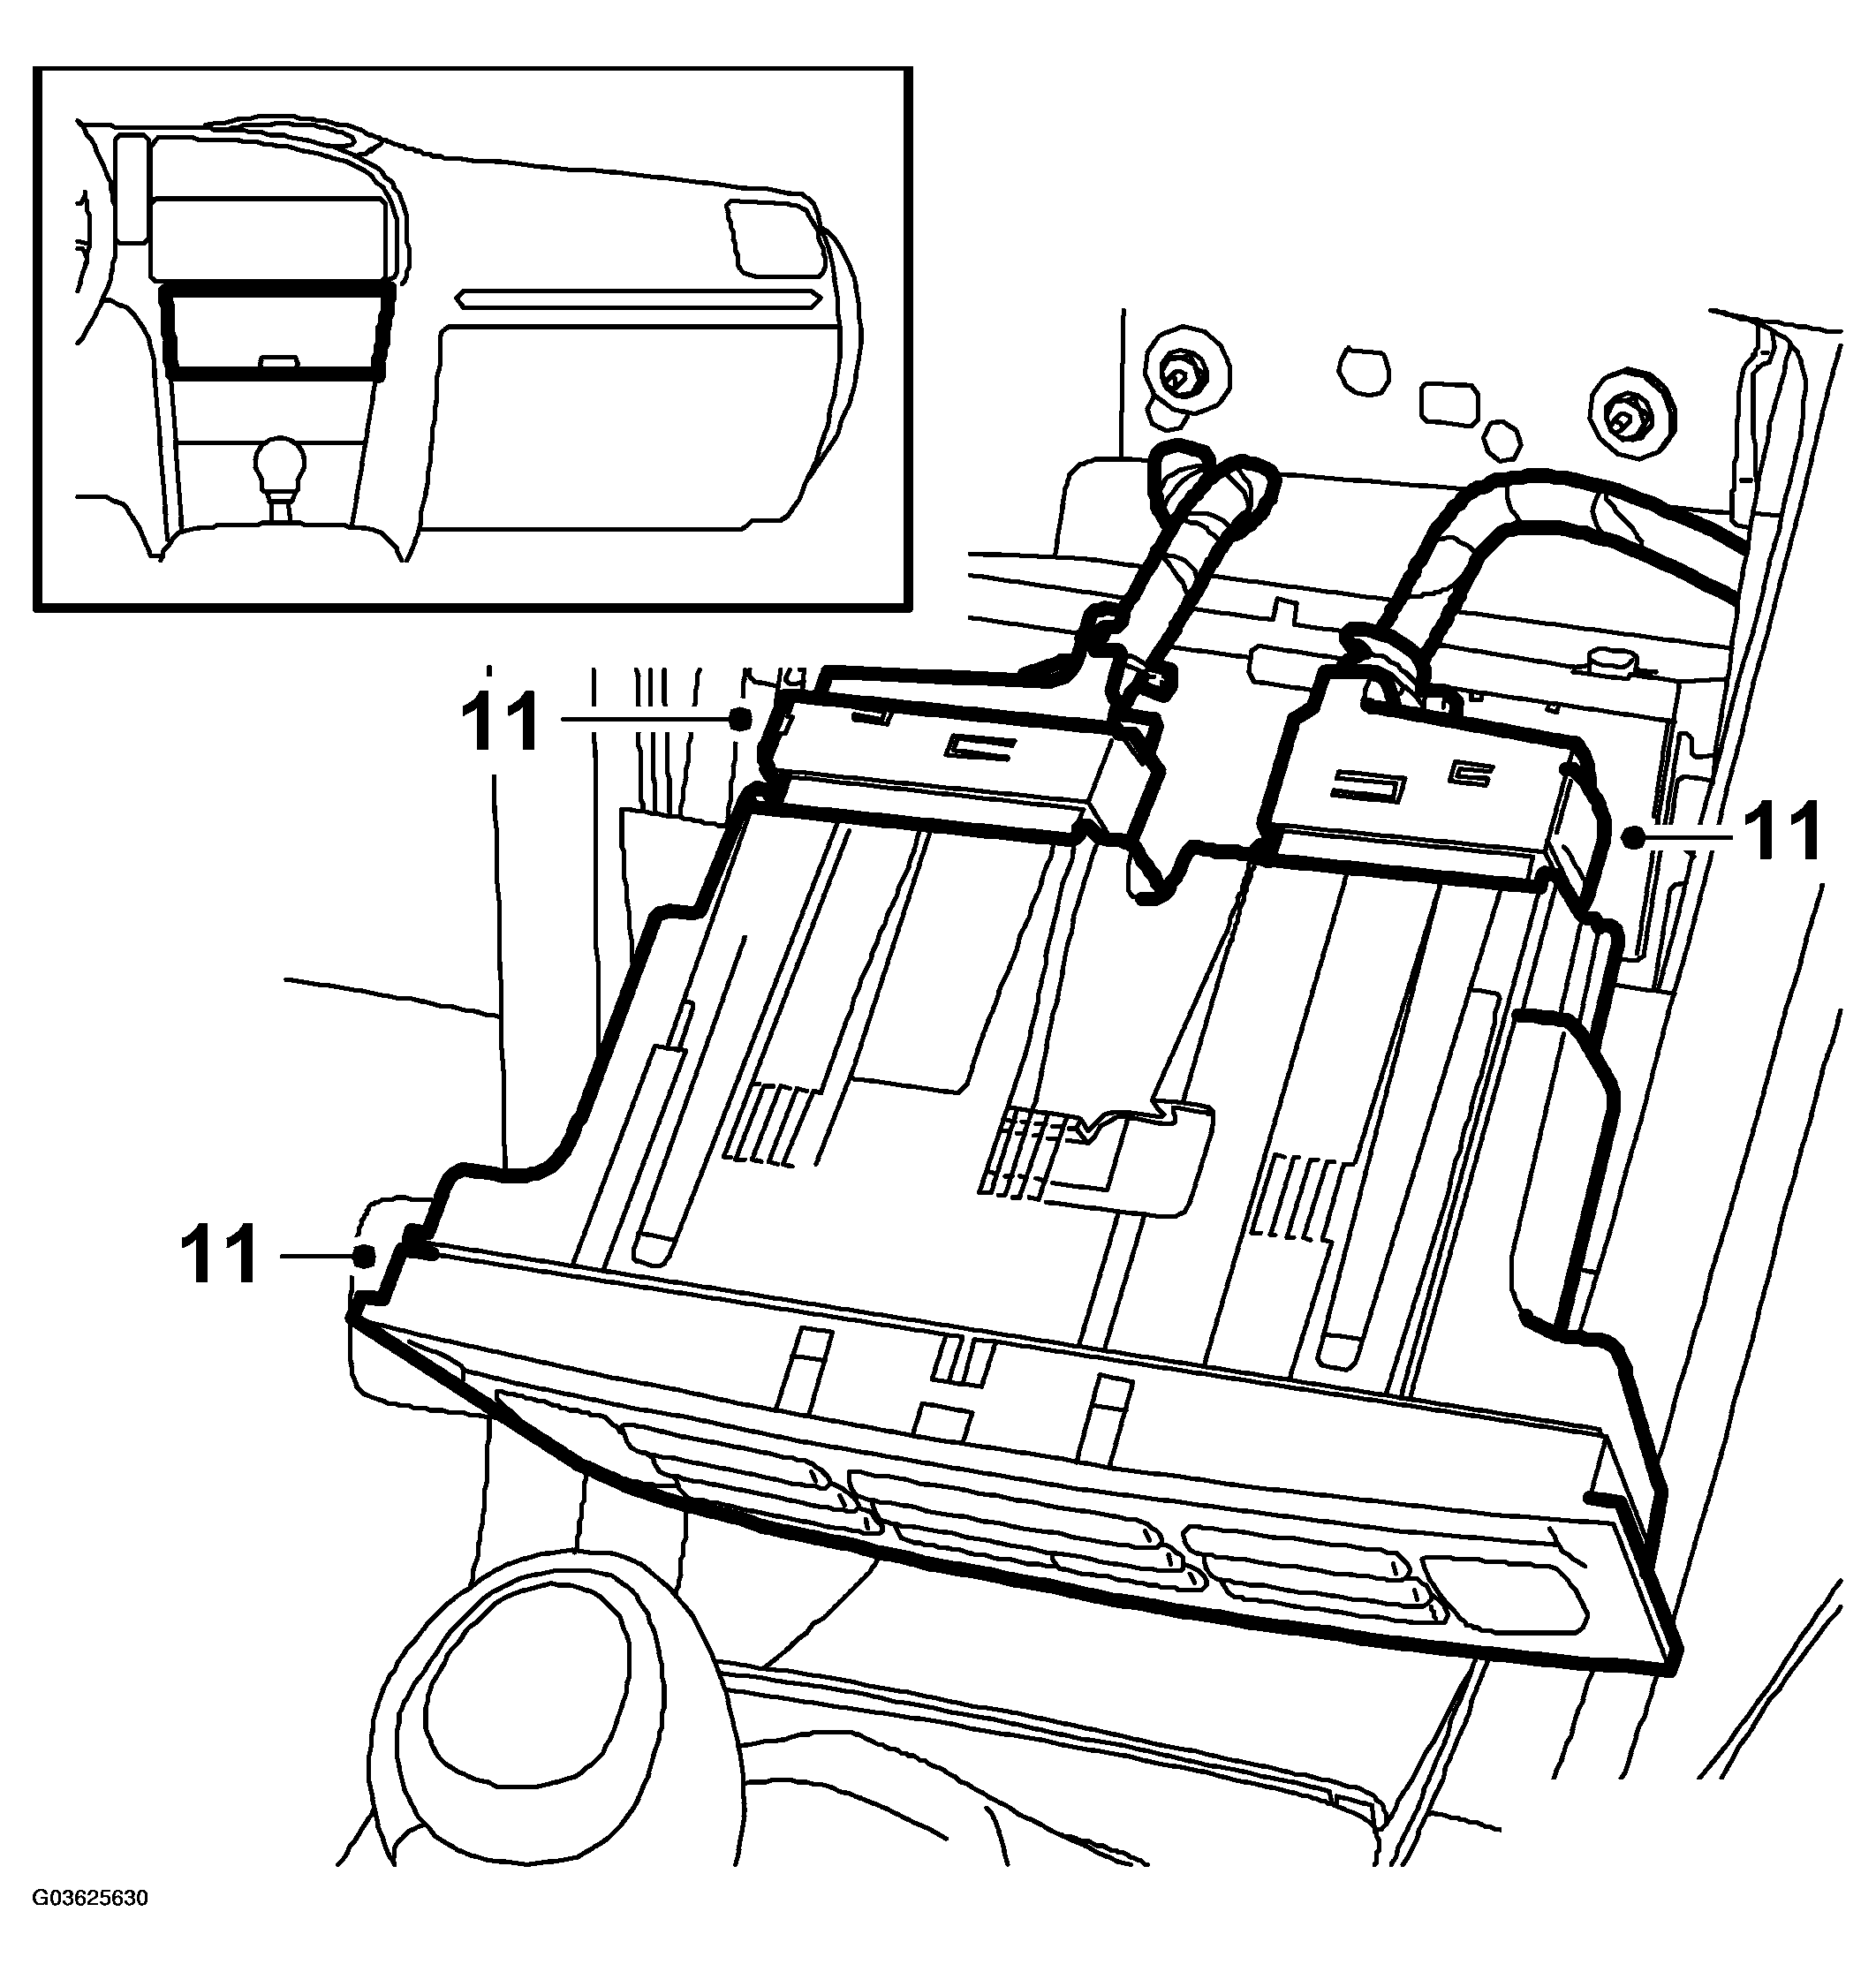 Courtesy of SAAB-SCANIA OF AMERICA, INC.
- Remove the cup holder or where fitted the OnStar unit.
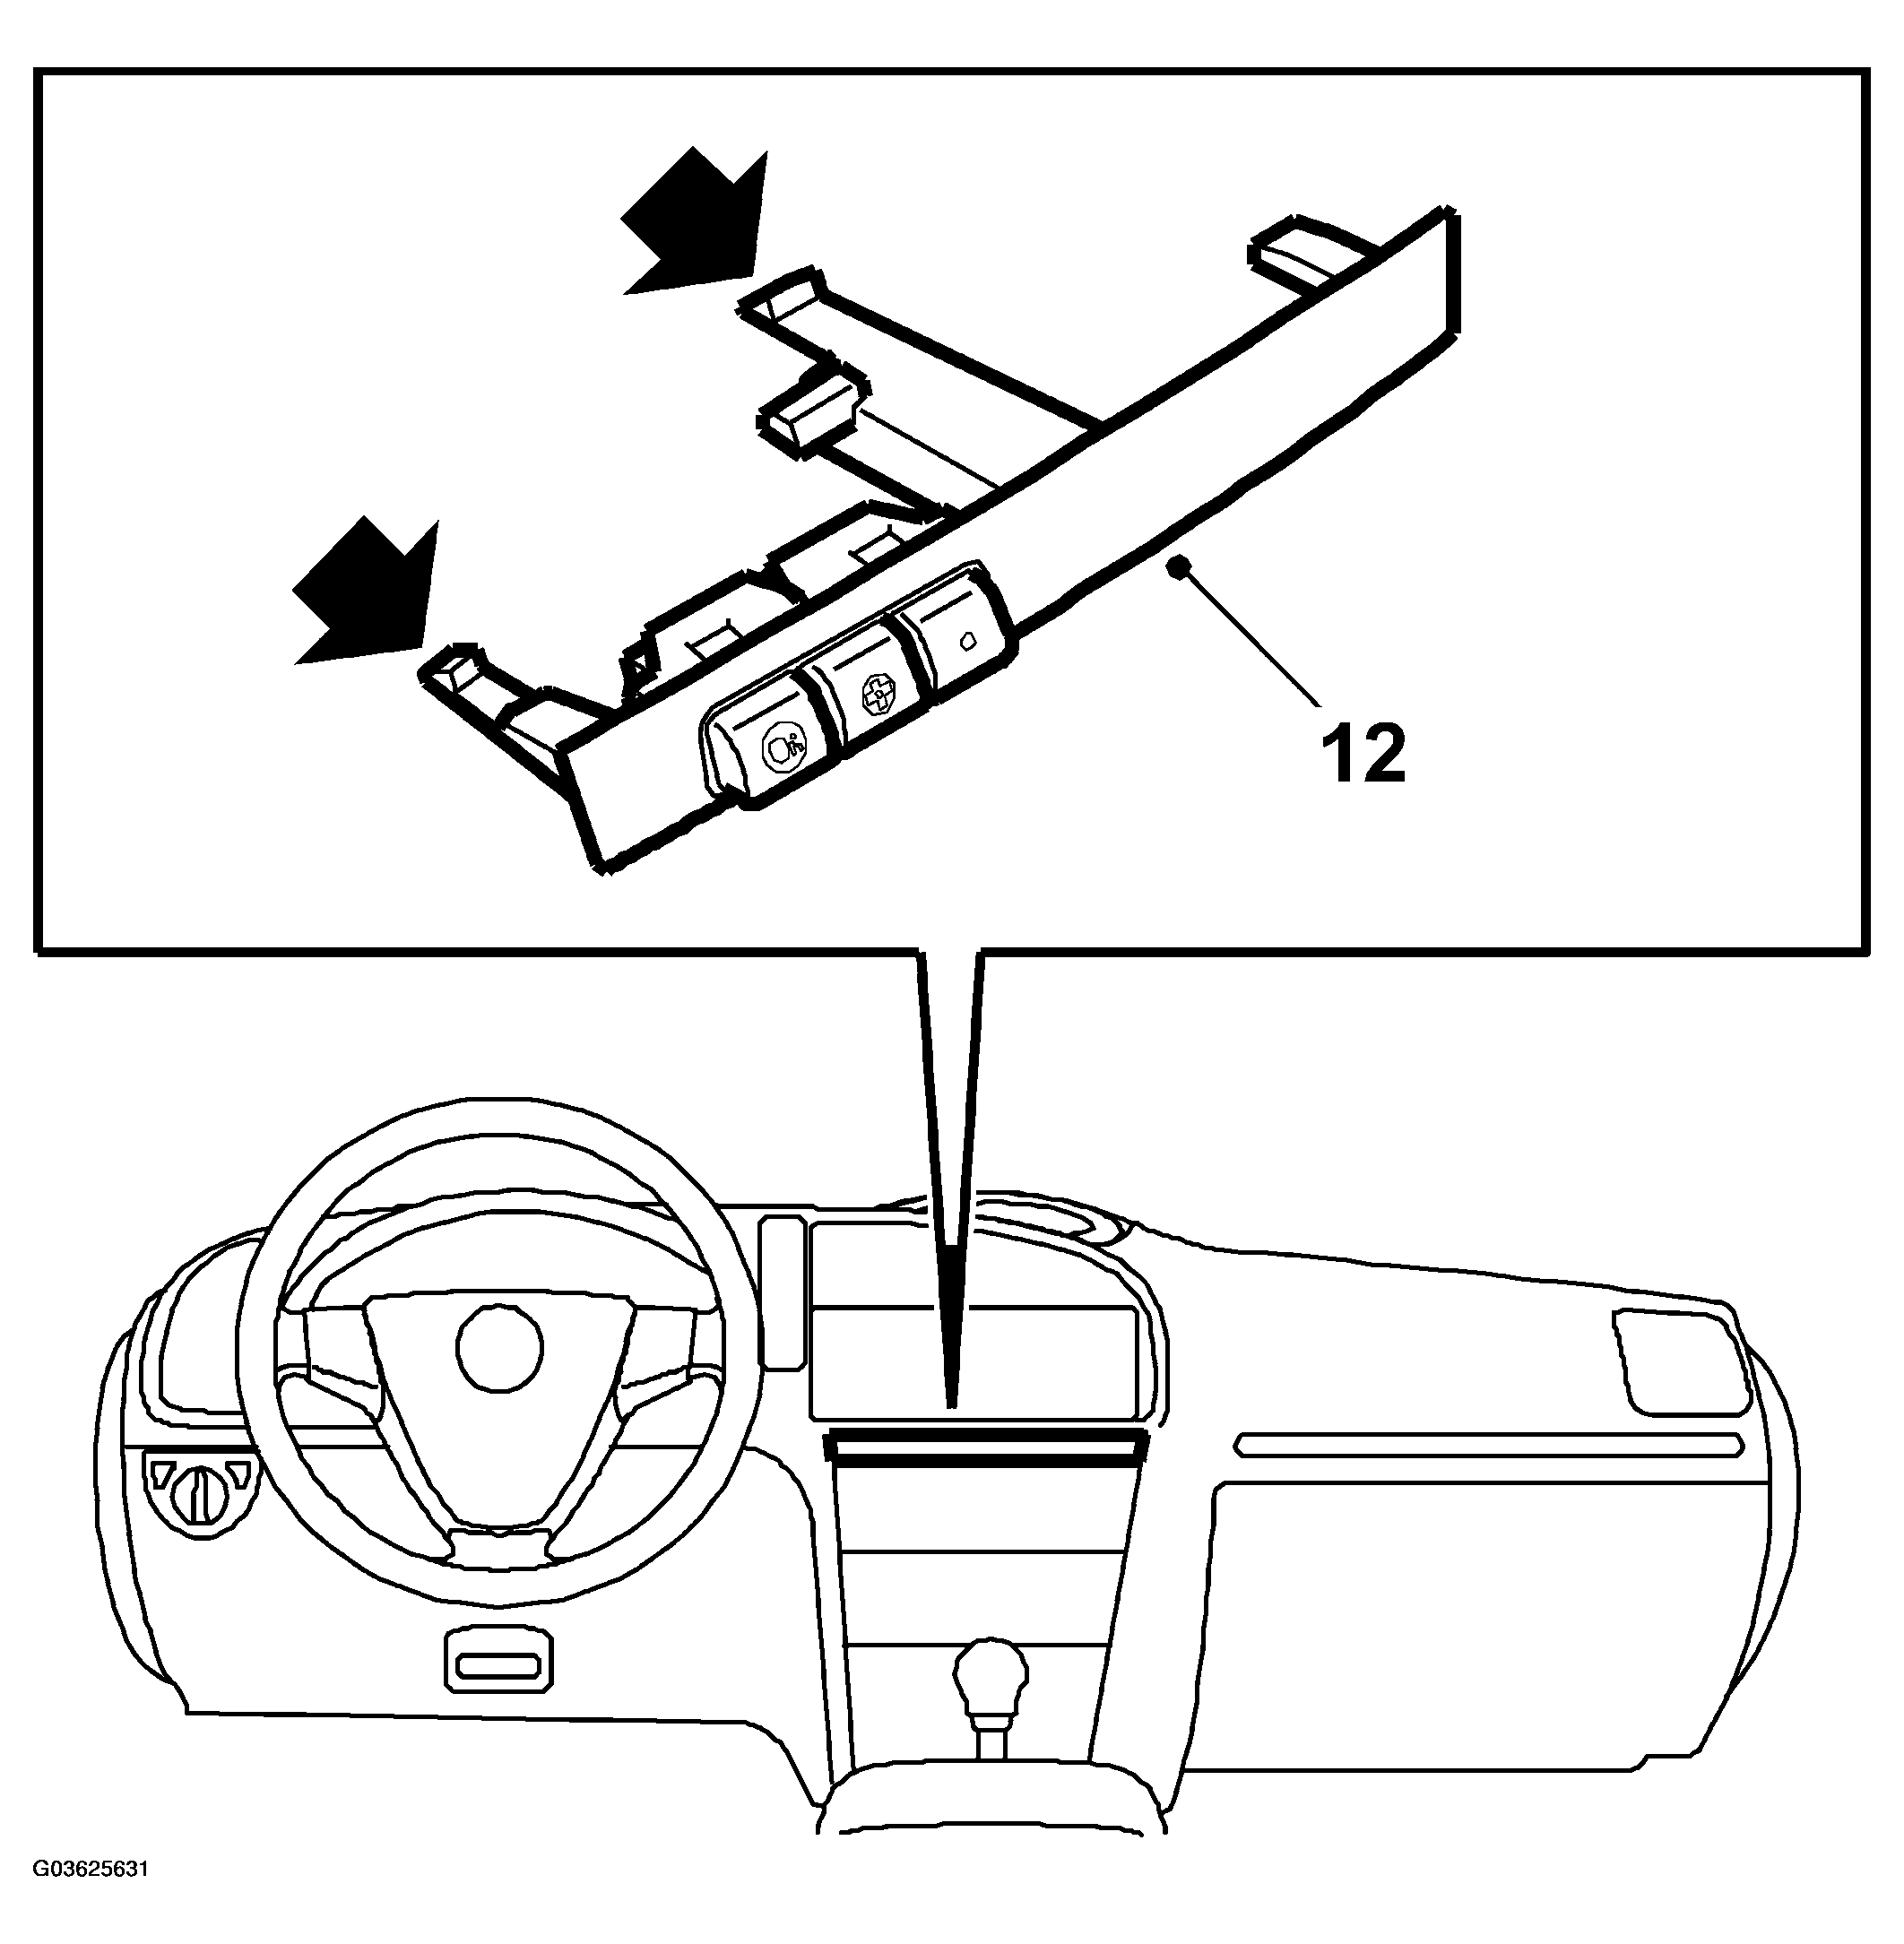 Courtesy of SAAB-SCANIA OF AMERICA, INC.
- Remove the CD-unit and unplug the connector.
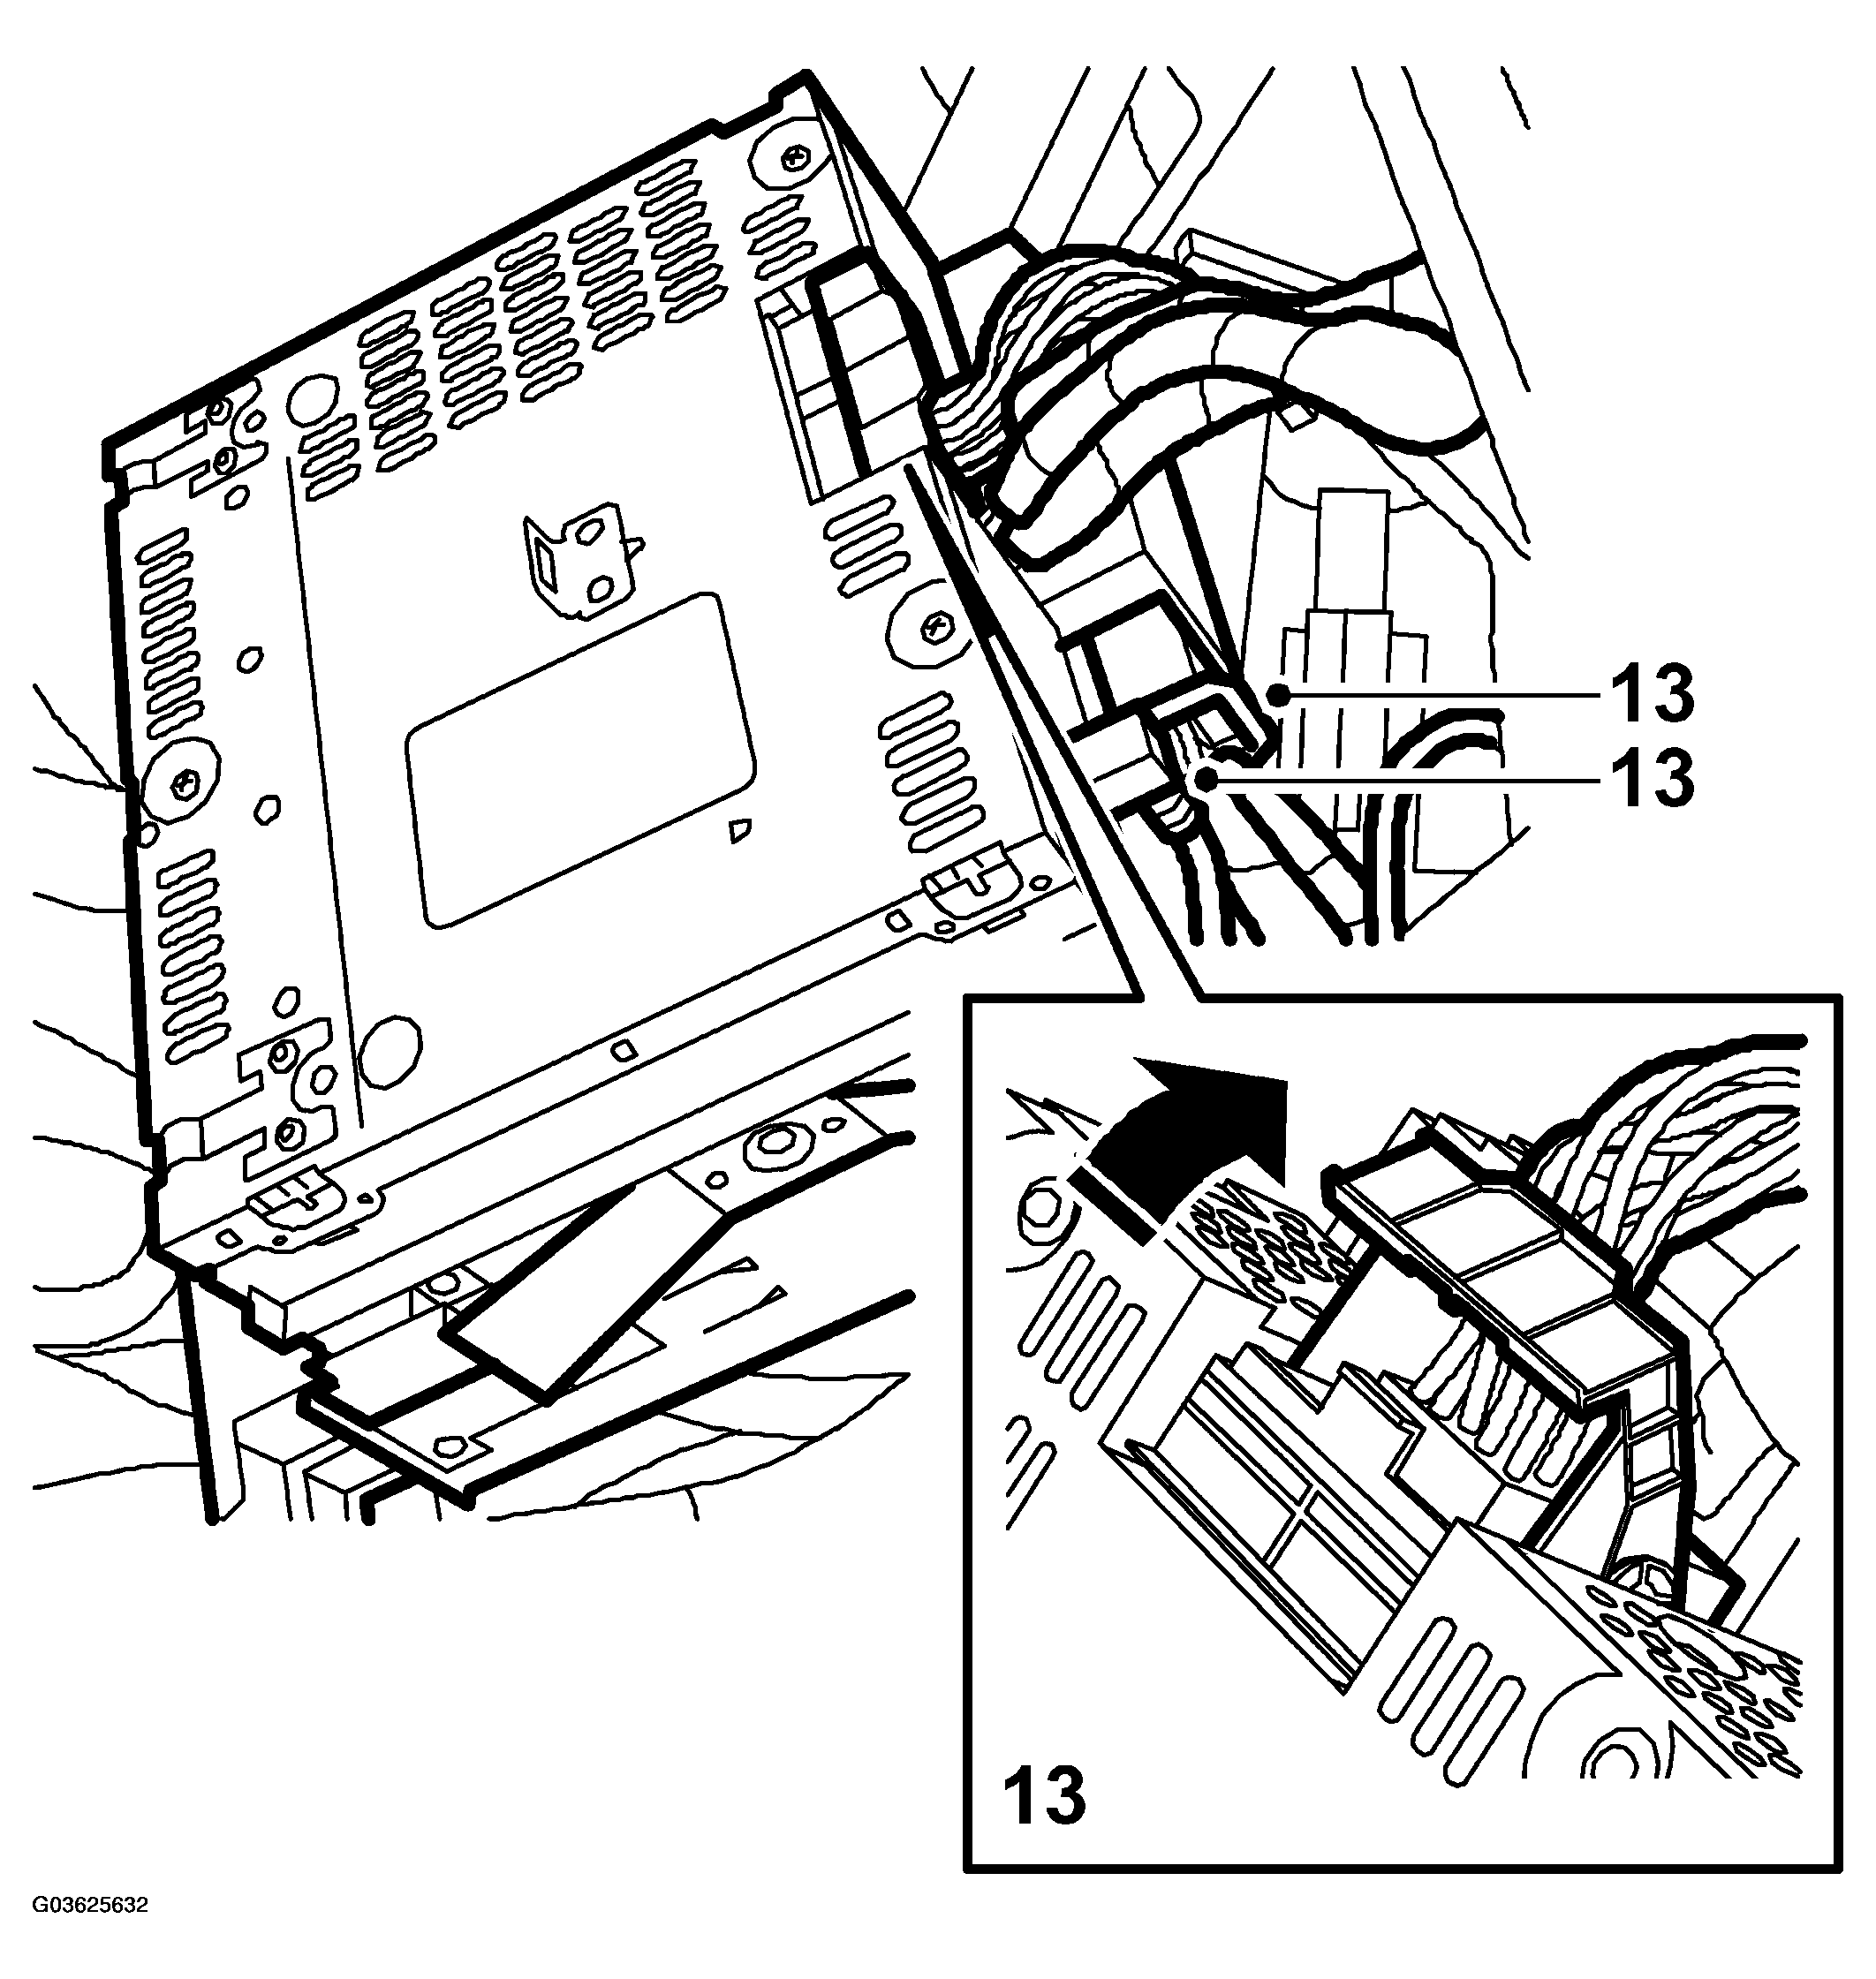 Courtesy of SAAB-SCANIA OF AMERICA, INC.
- Remove the ASHTRAY .
- Remove the centre console forward storage box.
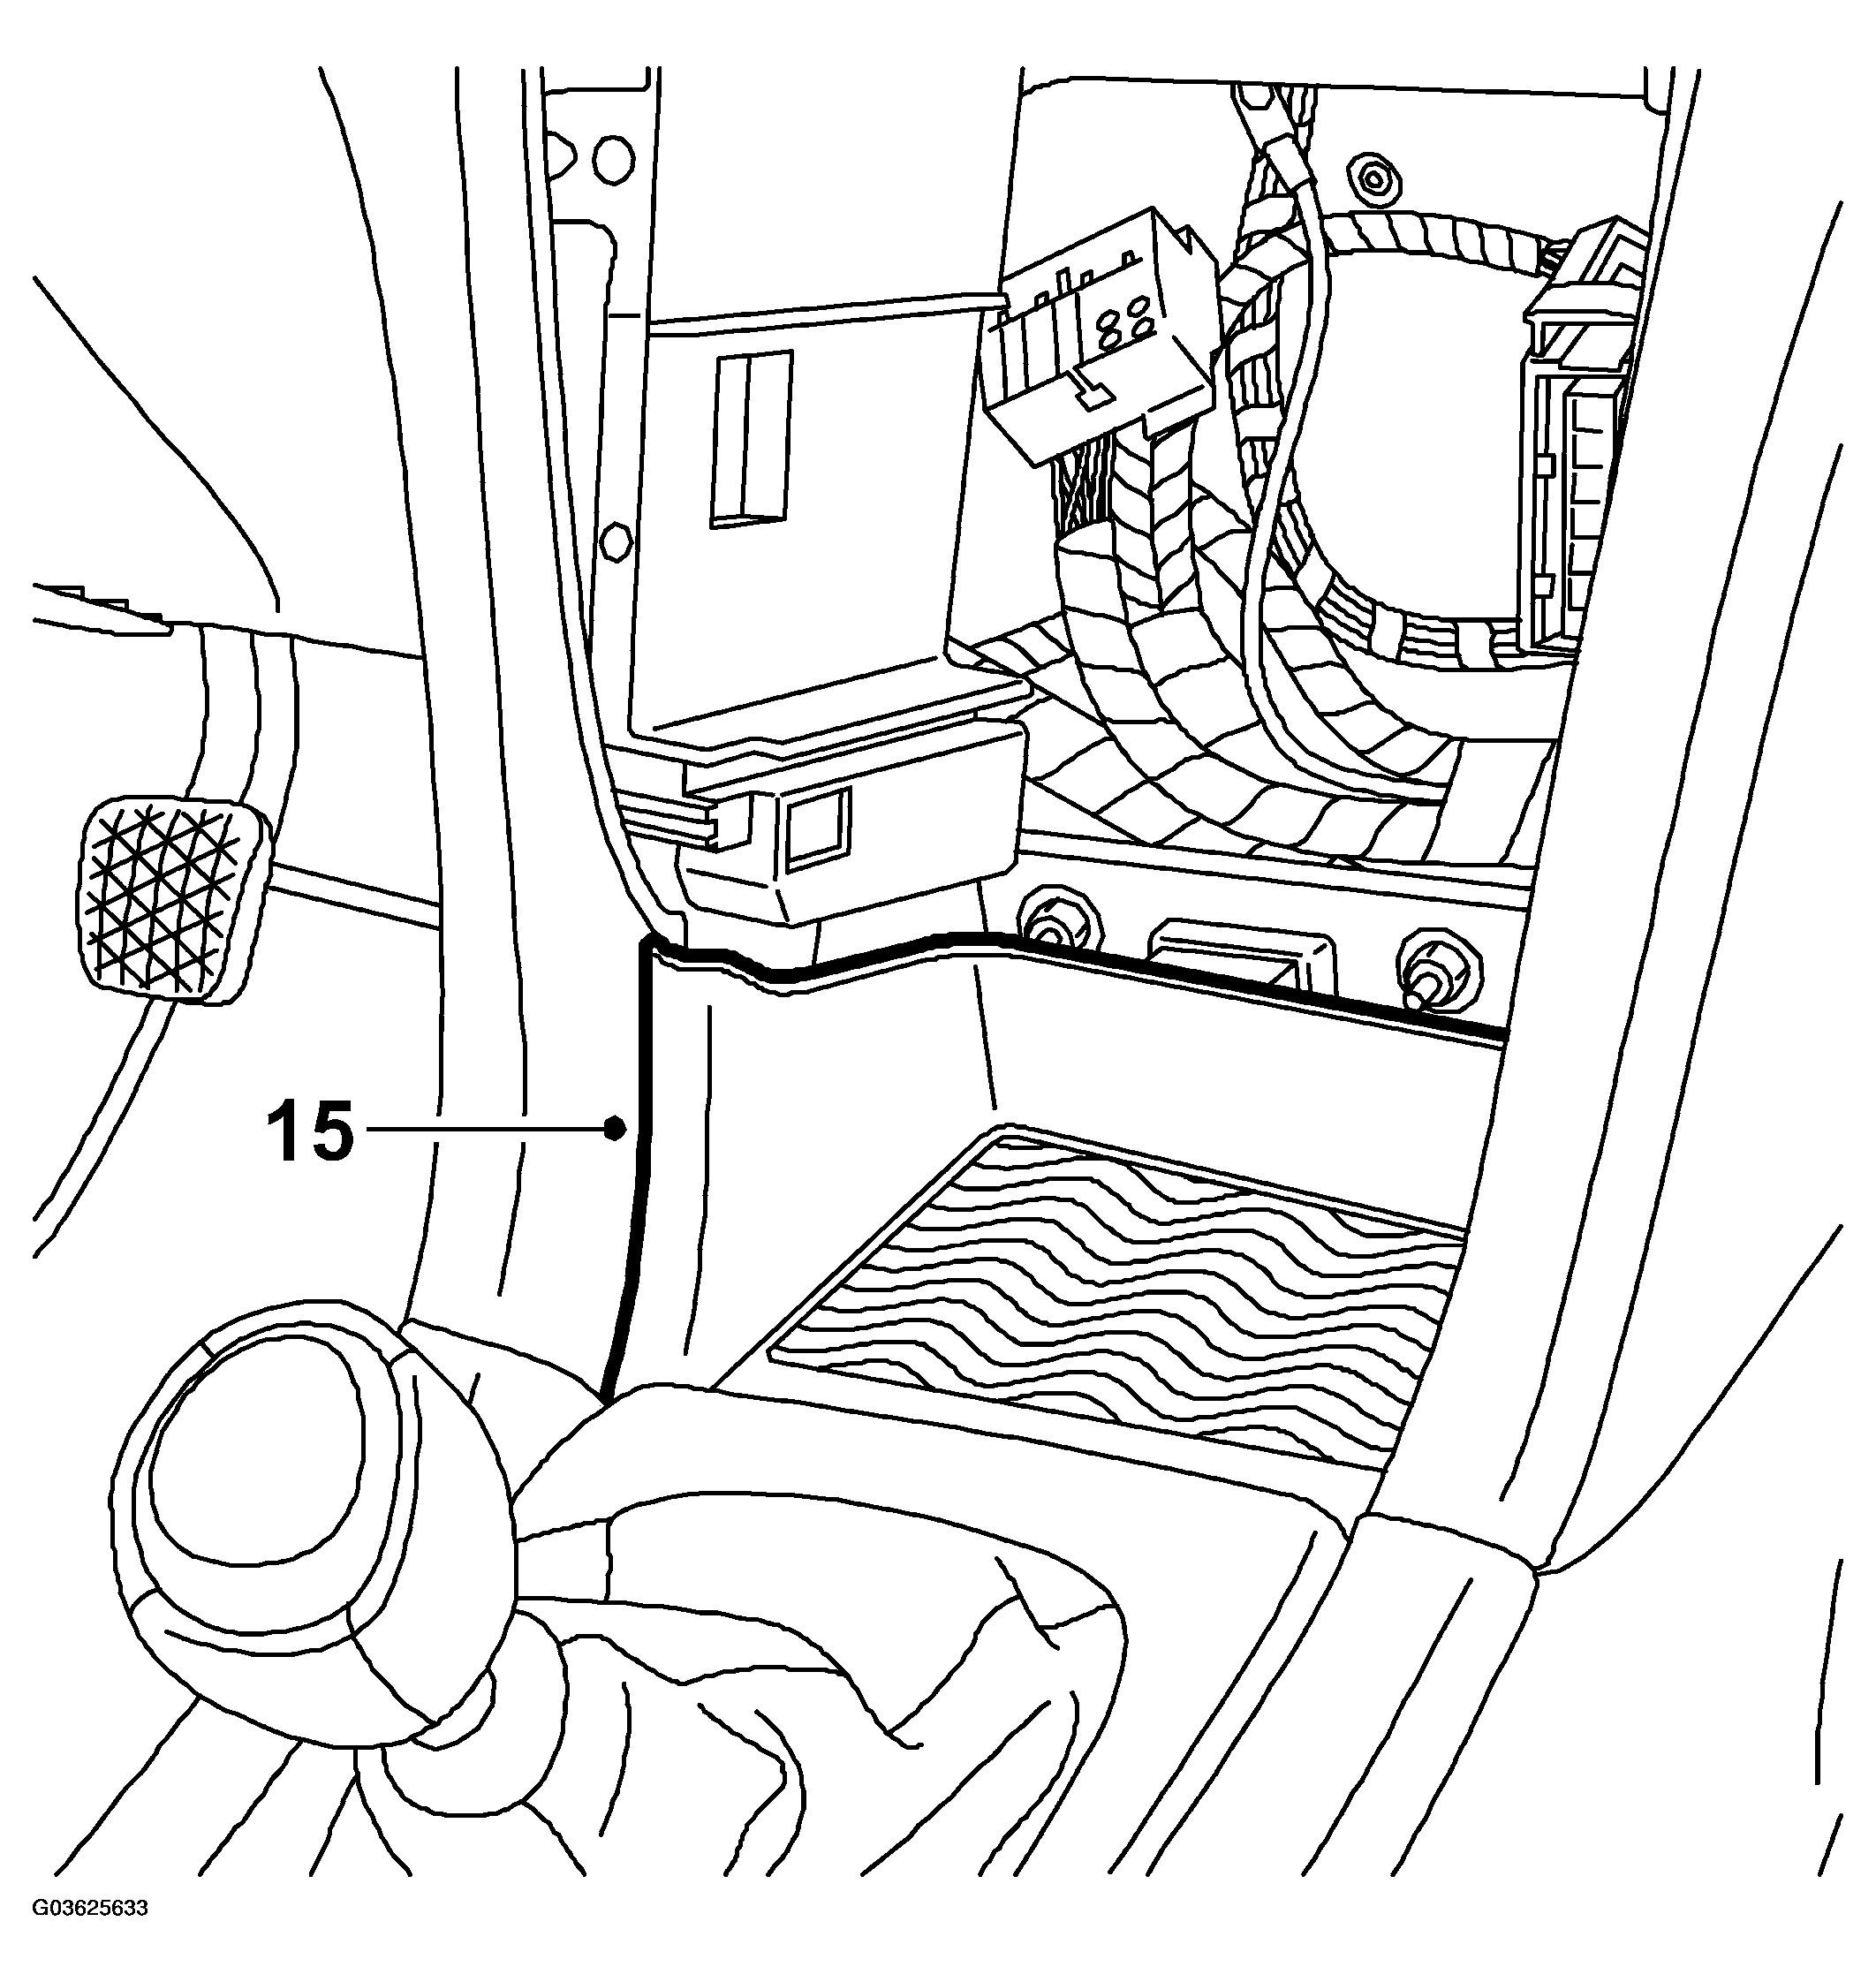 Courtesy of SAAB-SCANIA OF AMERICA, INC.
- Unscrew the nuts holding the dashboard.
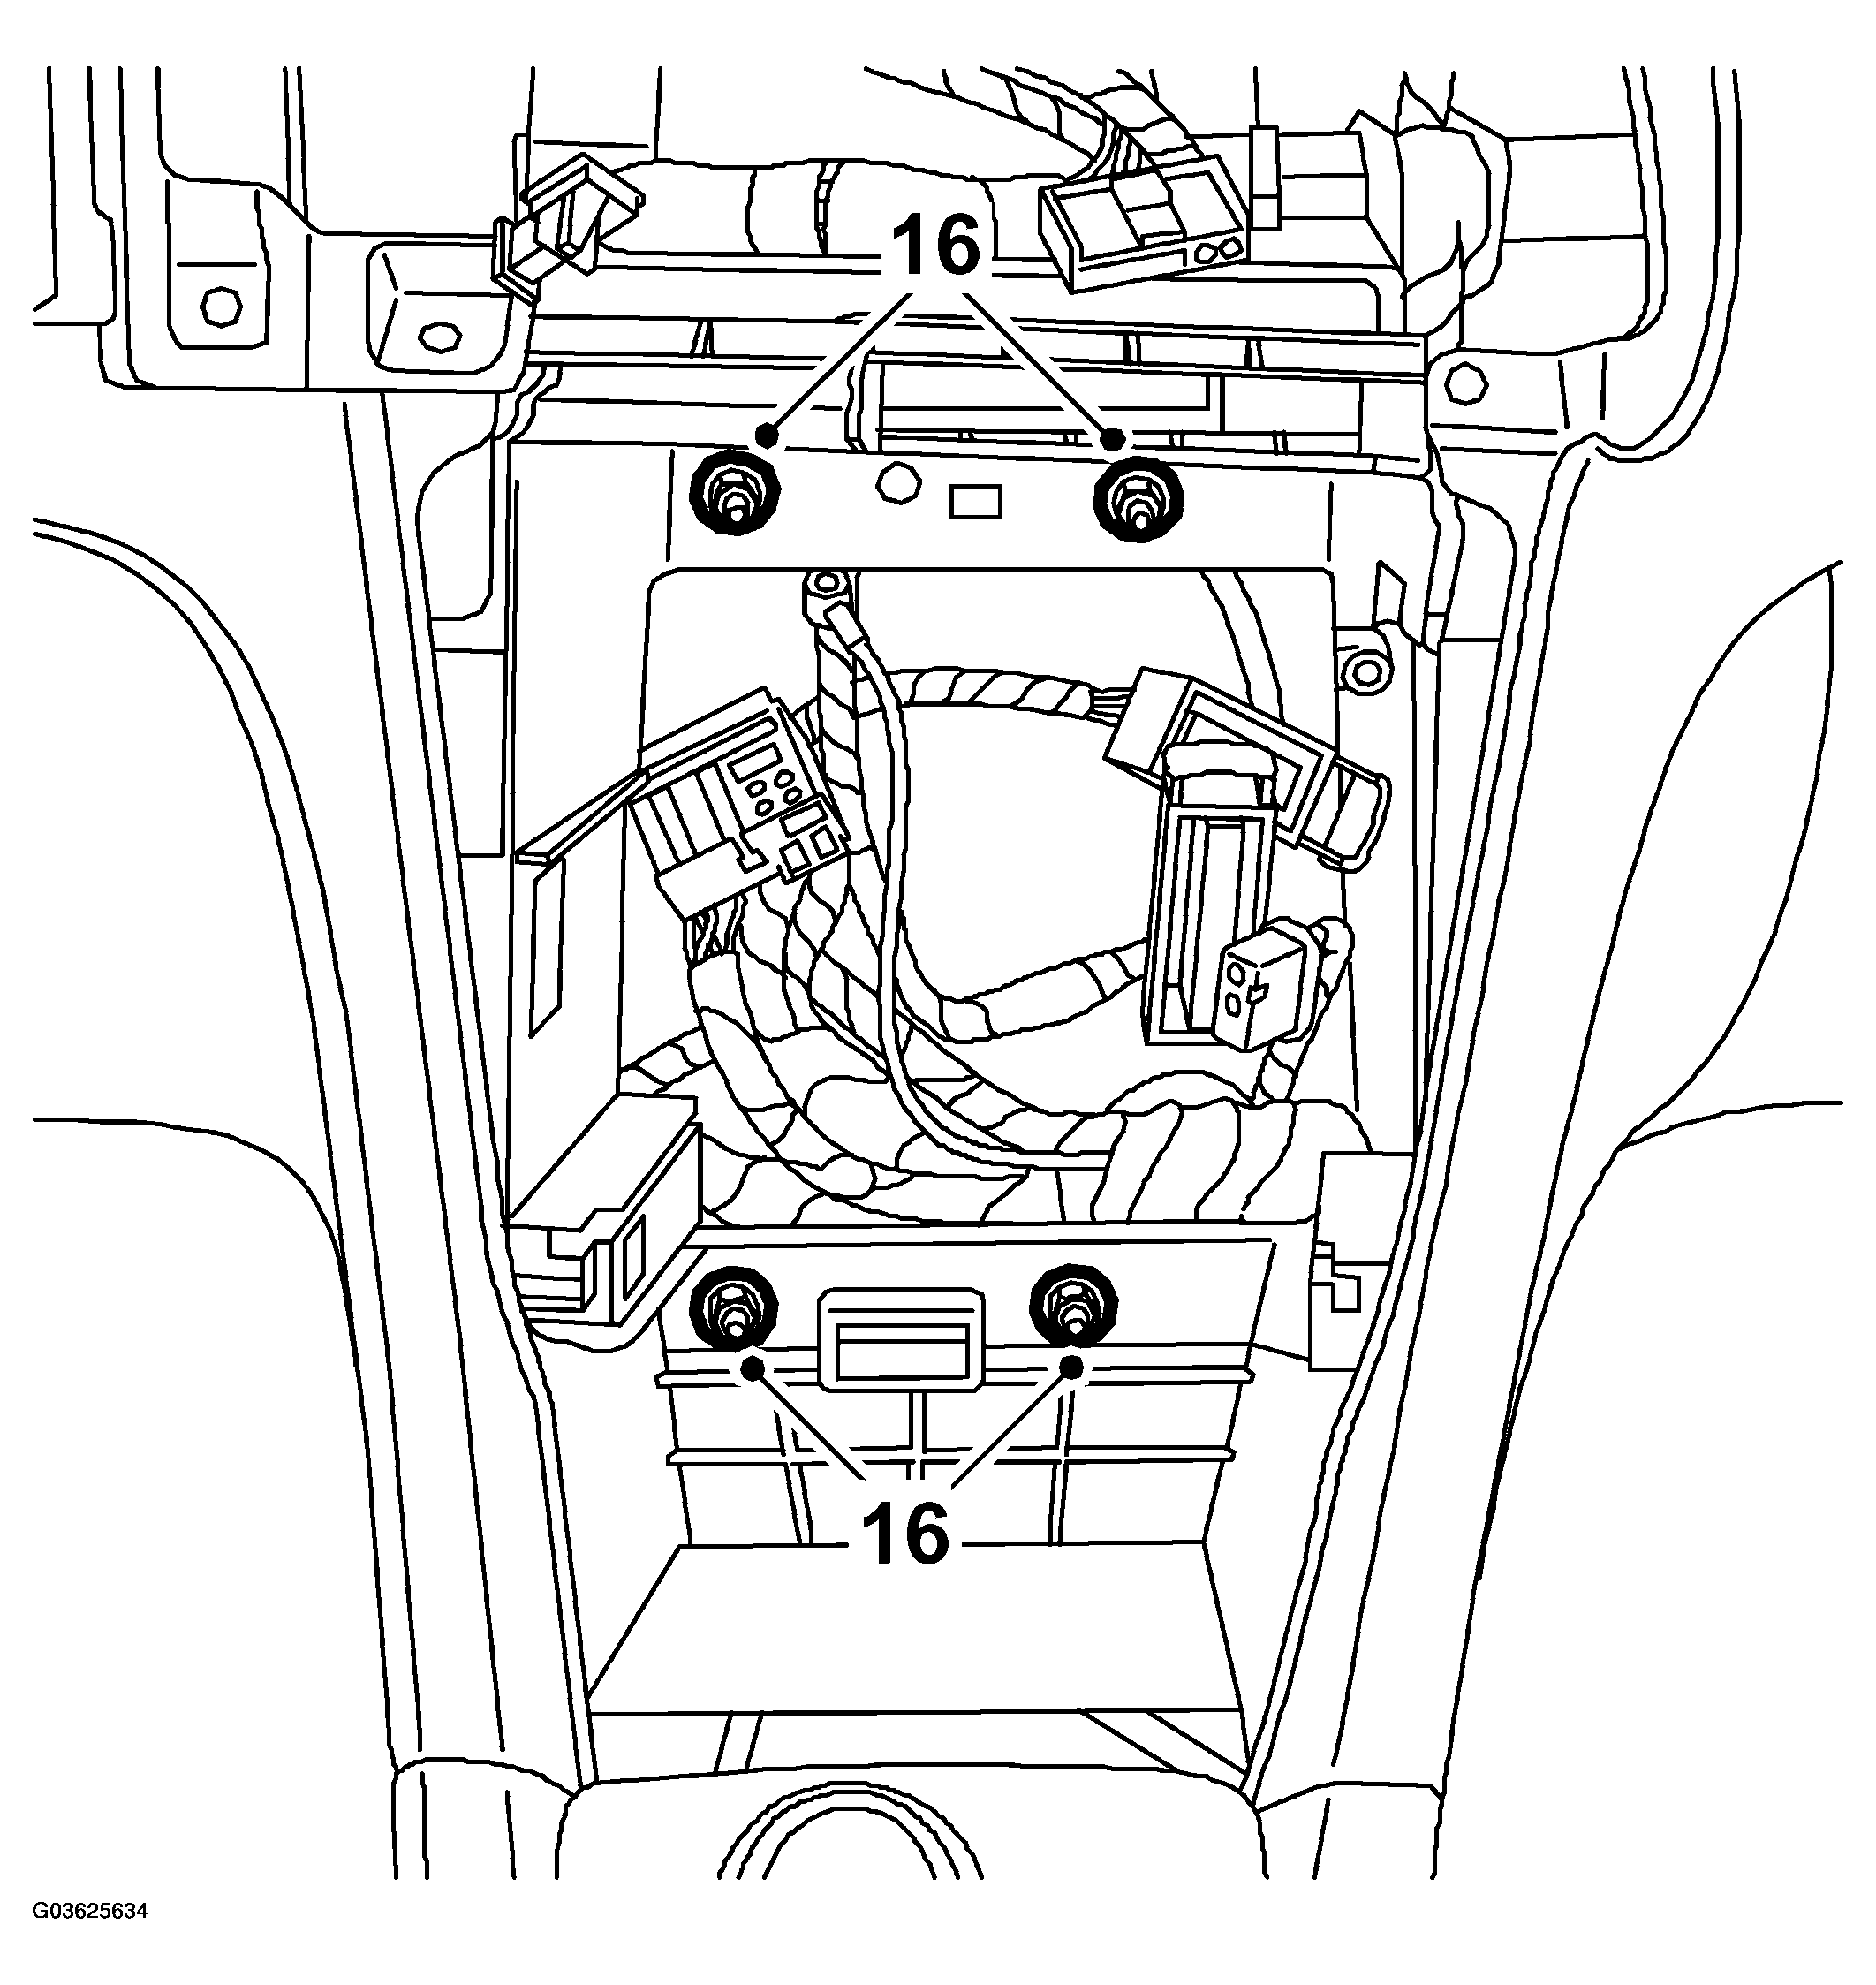 Courtesy of SAAB-SCANIA OF AMERICA, INC.
- Remove the GLOVE BOX .
- Remove the passenger air bag bolts from the steering wheel member and unplug the passenger airbag connector.
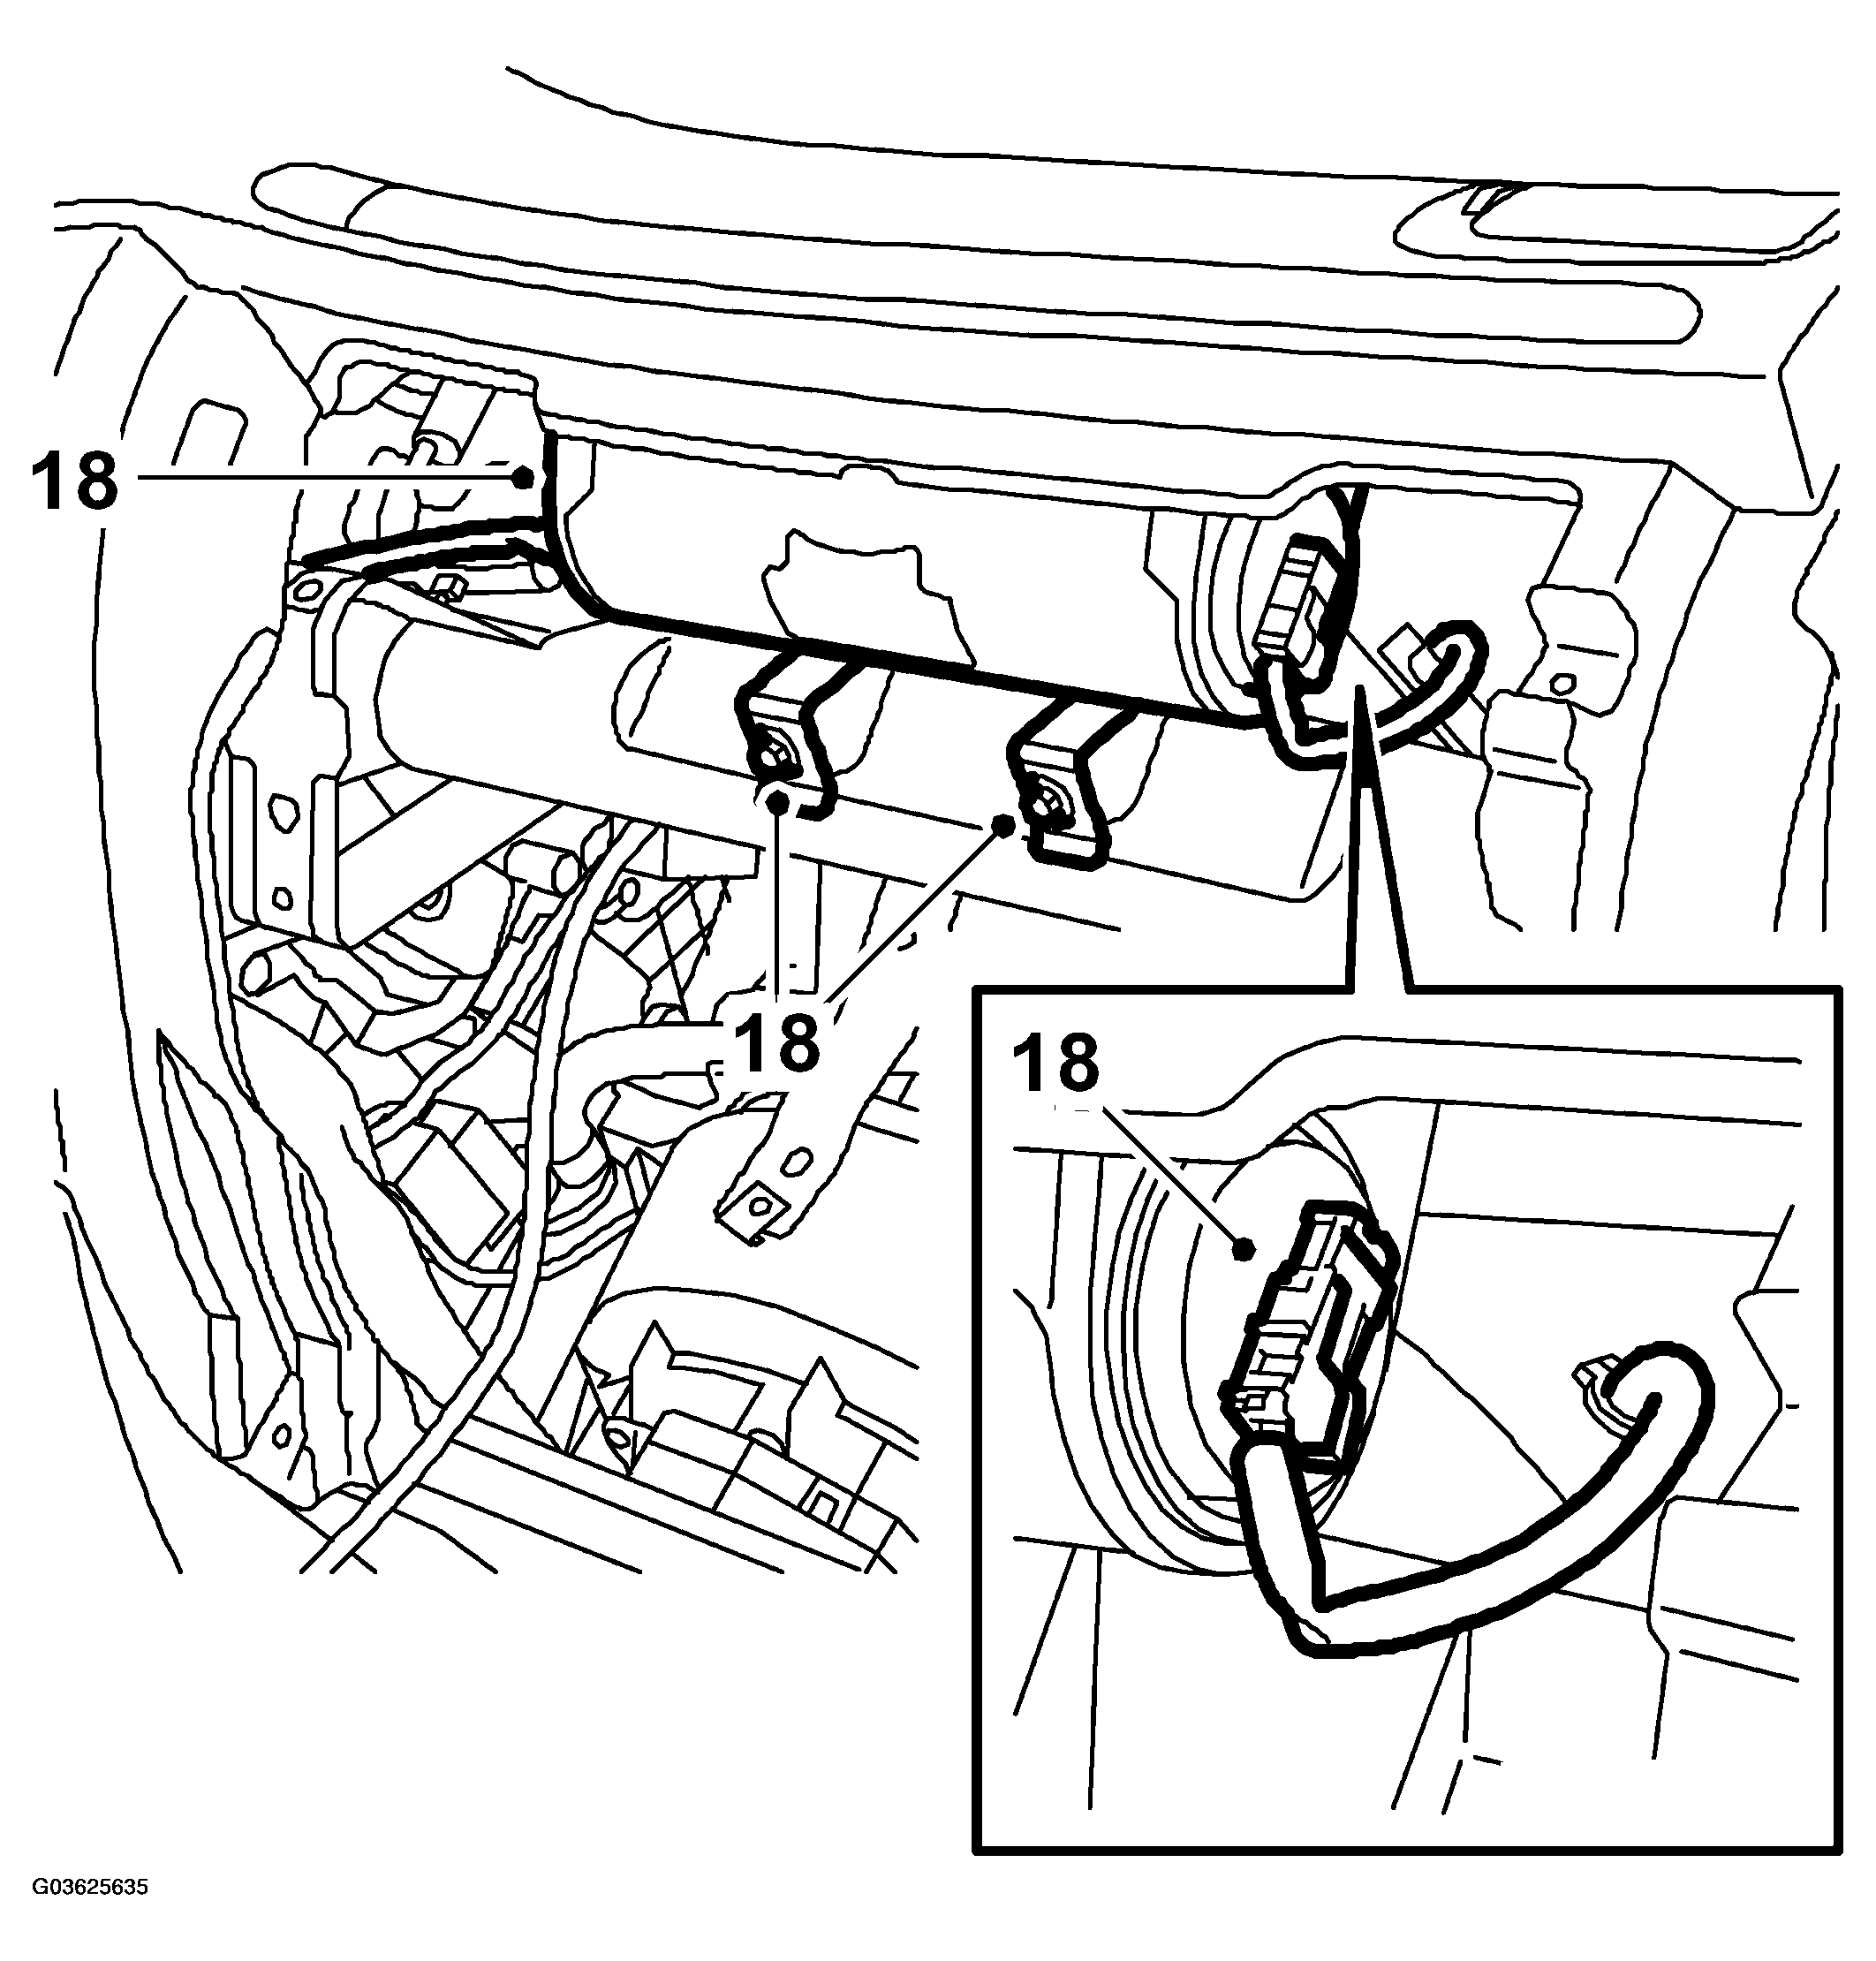 Courtesy of SAAB-SCANIA OF AMERICA, INC.
- Remove the forward scuff plates and the lower side panels on the A-pillars.
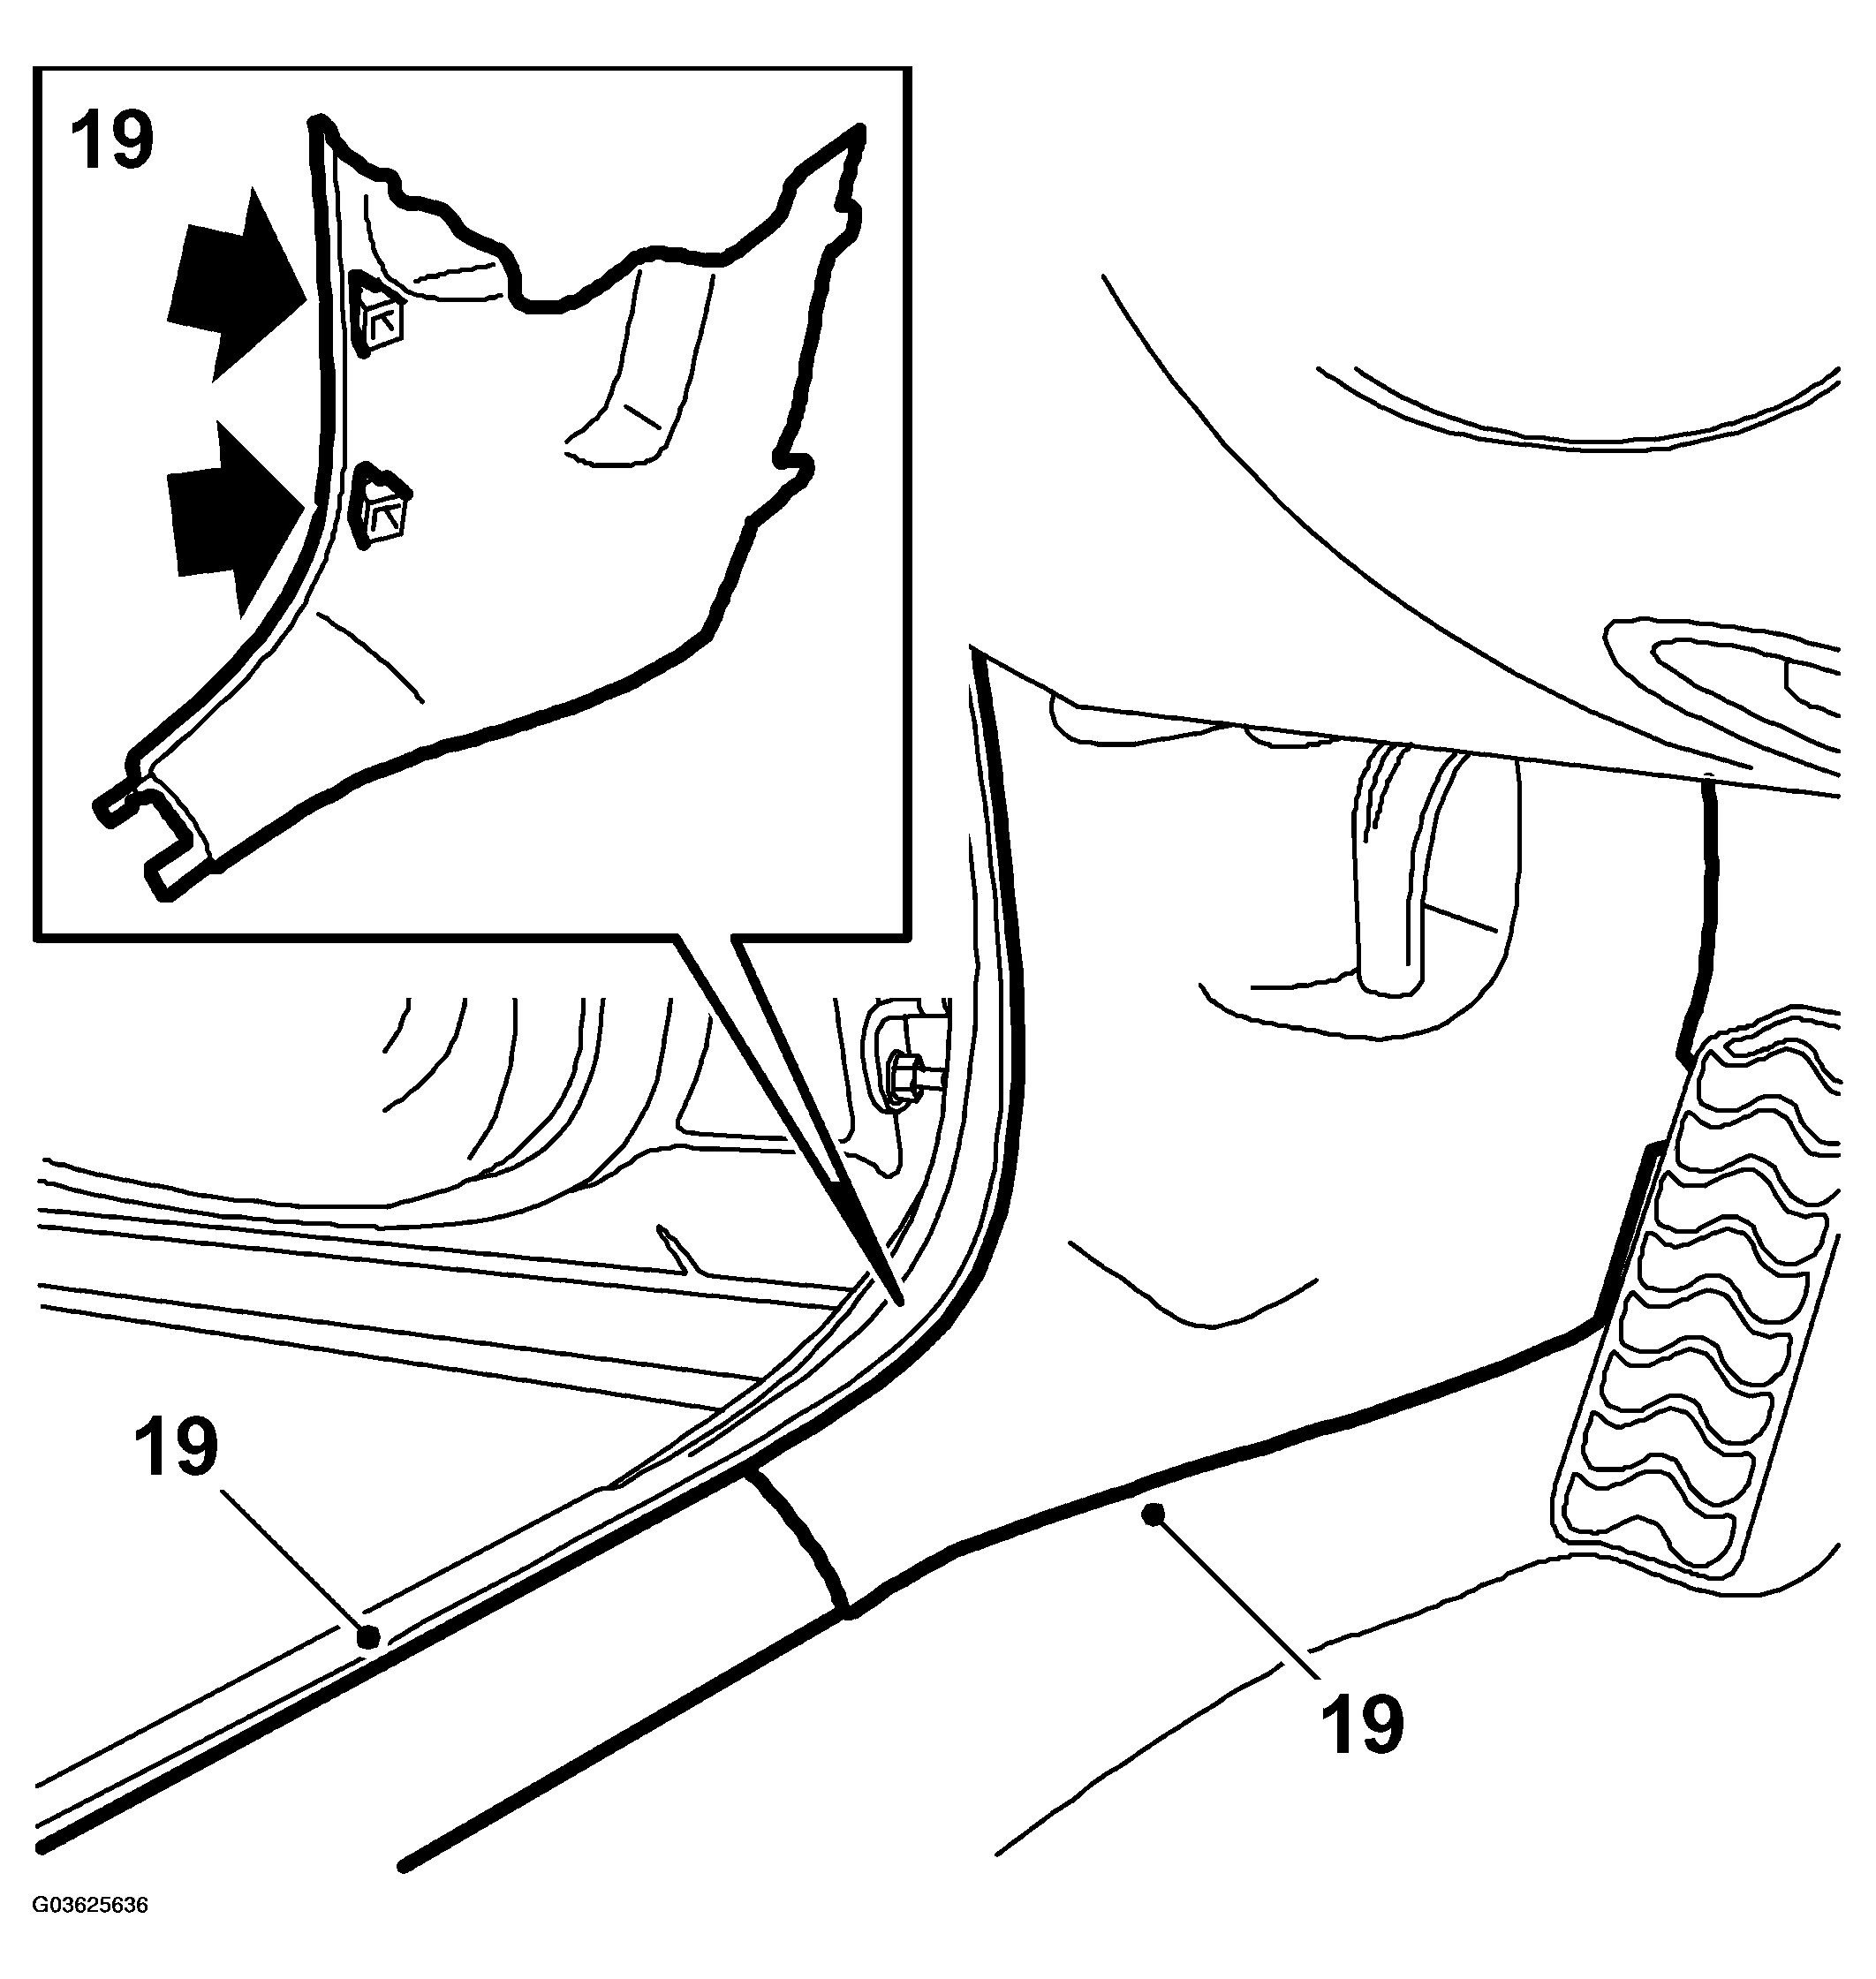 Courtesy of SAAB-SCANIA OF AMERICA, INC.
- Remove the FLOOR CONSOLE .
- Remove the decorative cover from the steering wheel adjustment.
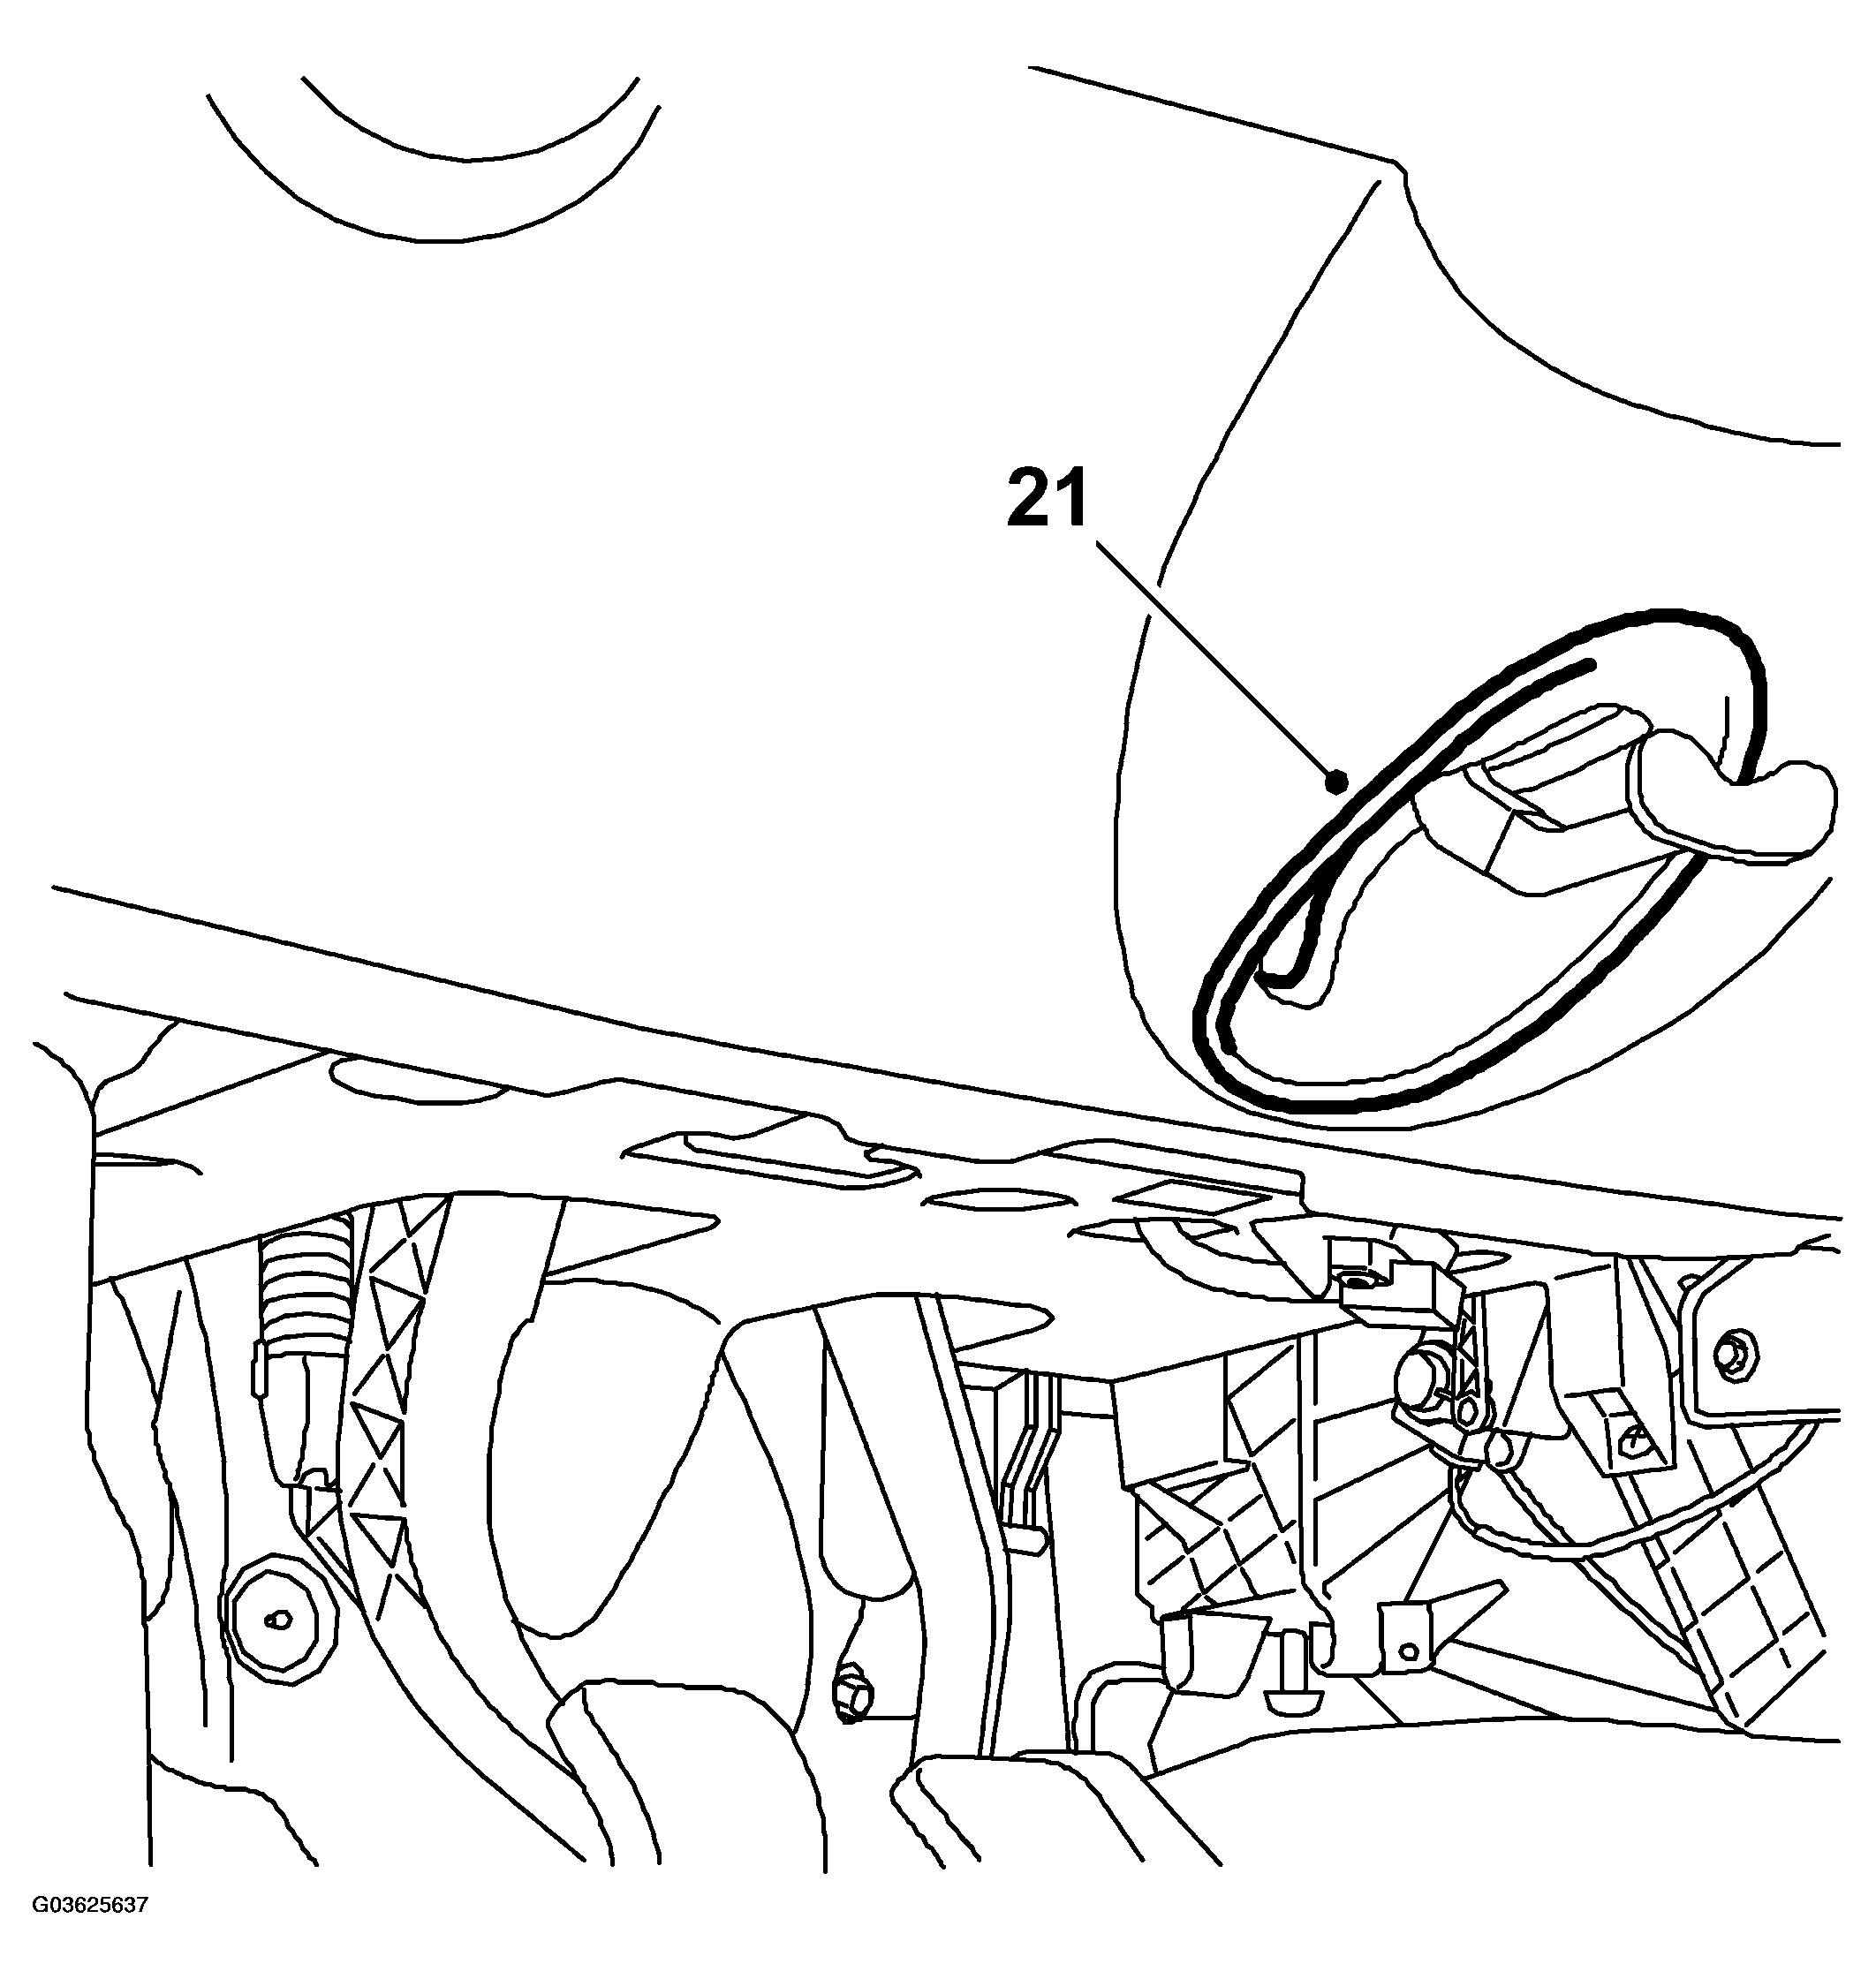 Courtesy of SAAB-SCANIA OF AMERICA, INC.
- Unplug the light control connector.
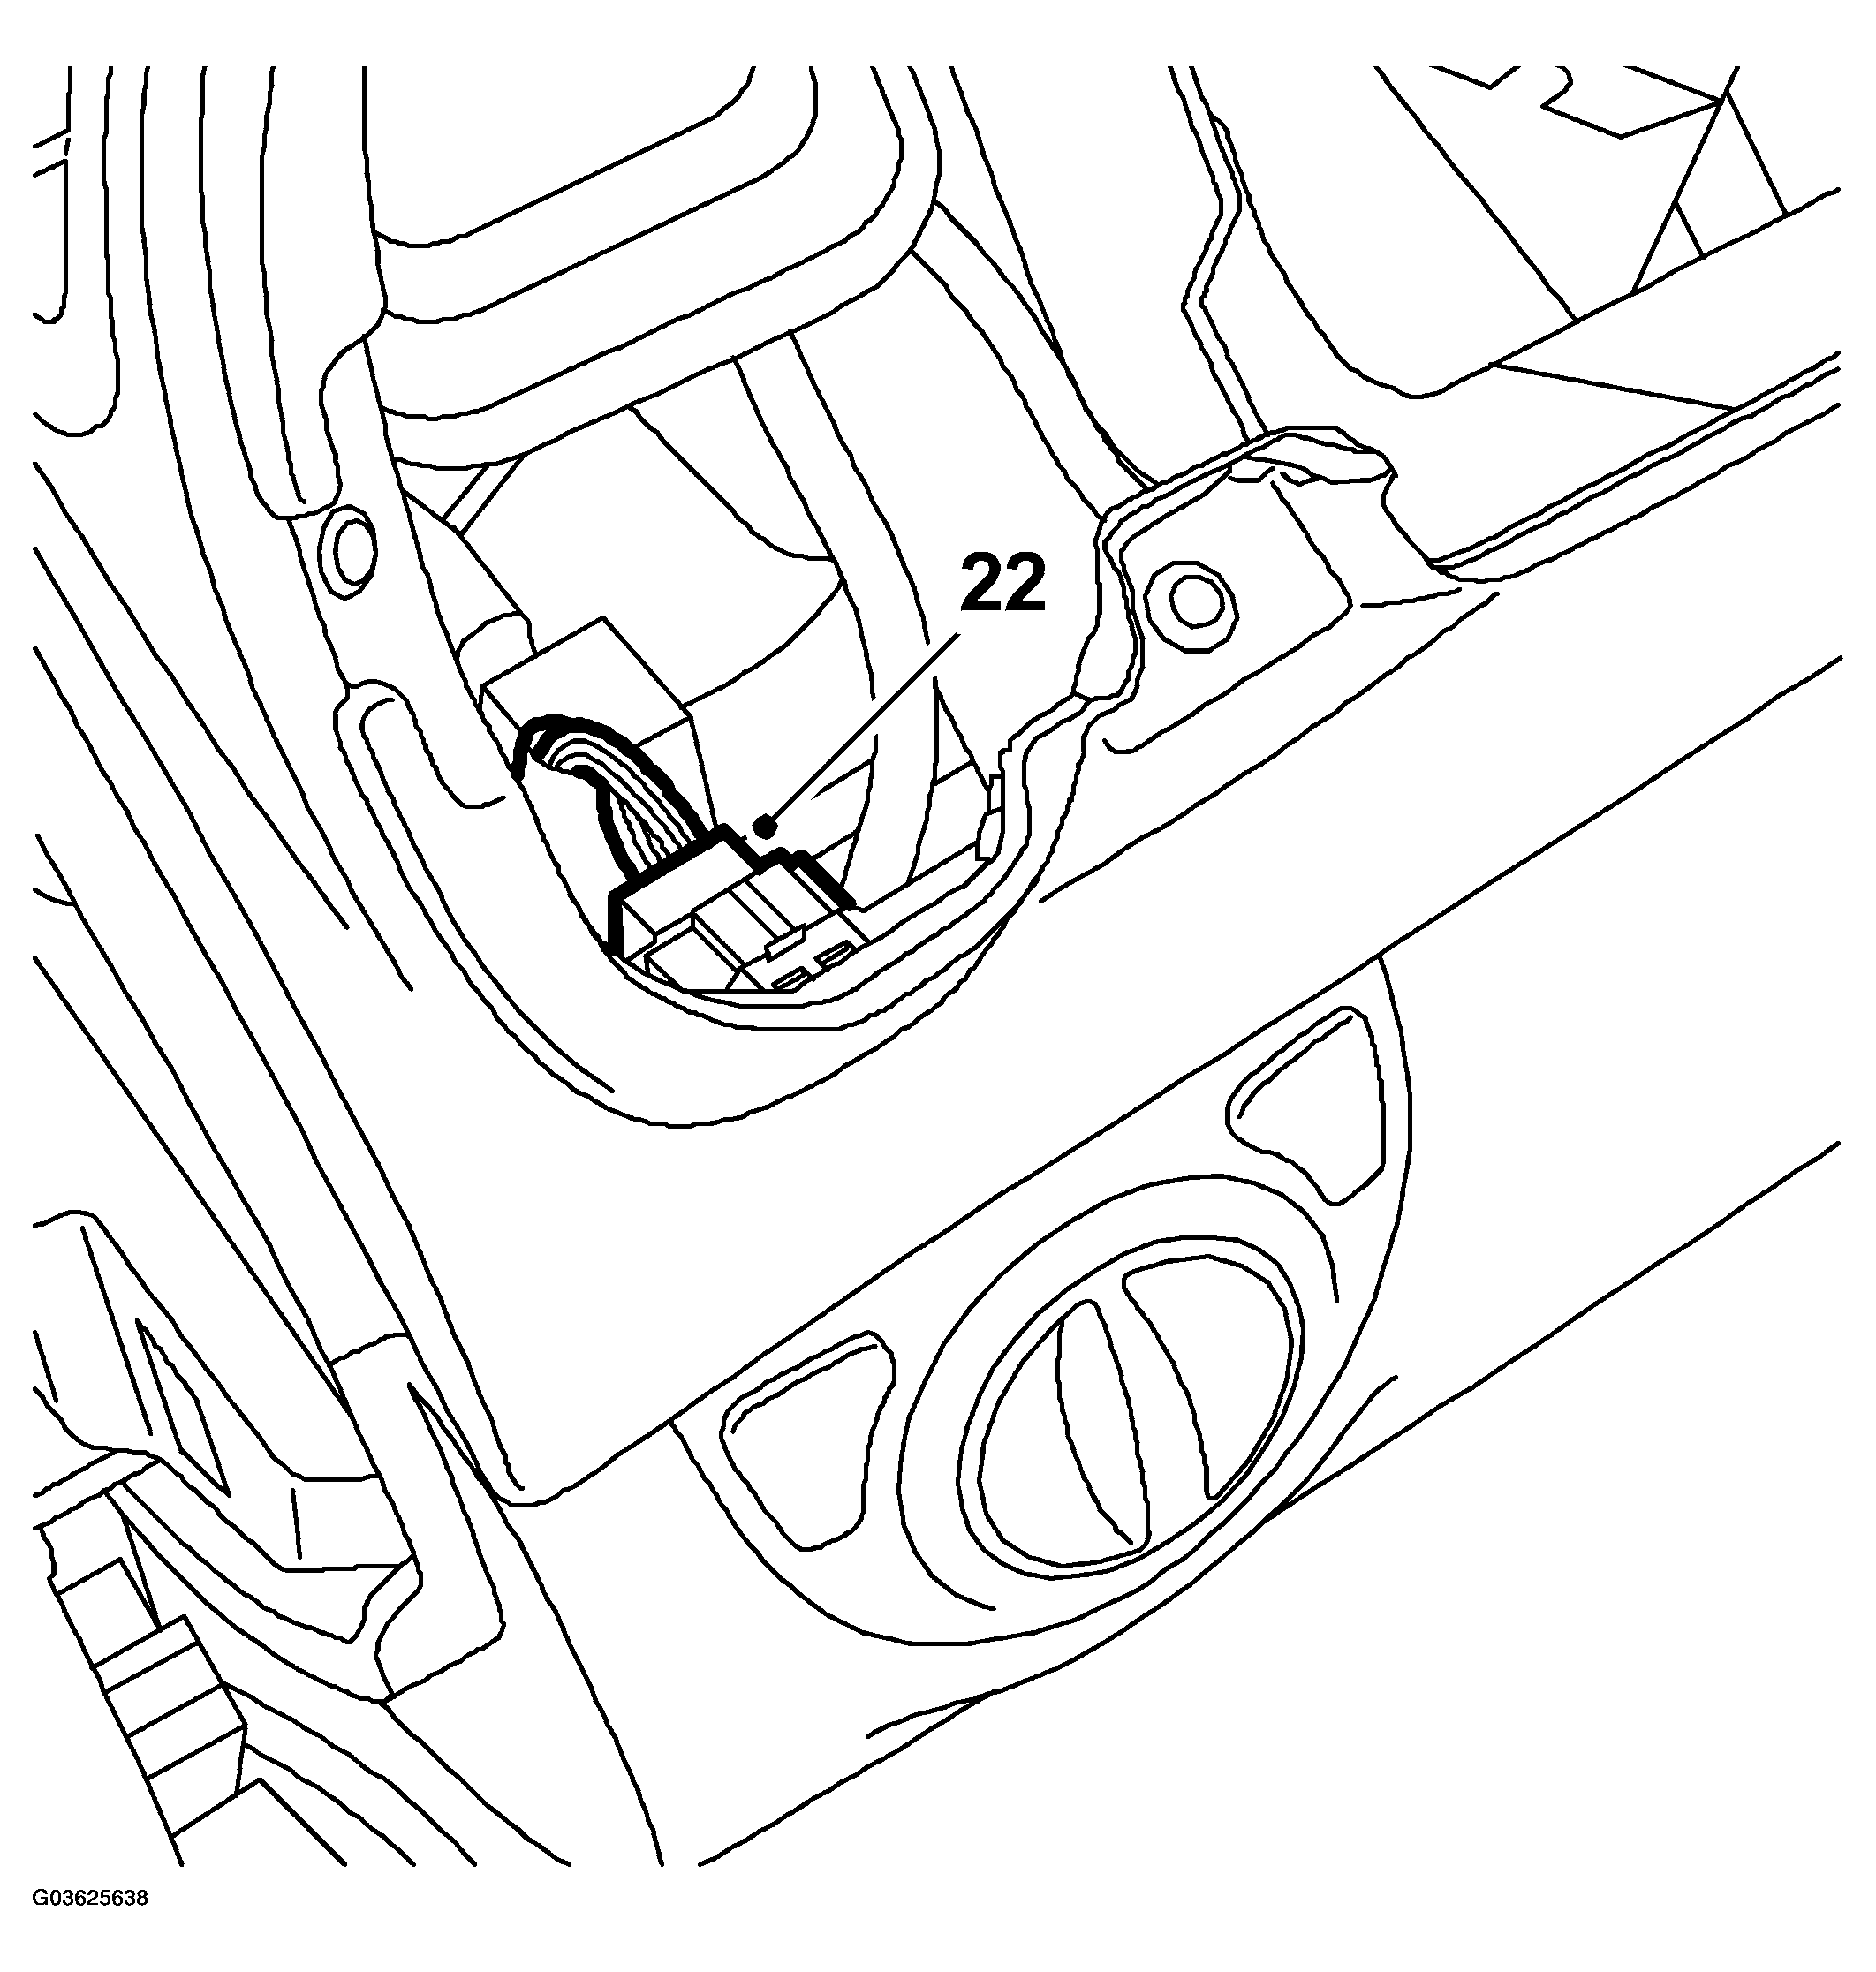 Courtesy of SAAB-SCANIA OF AMERICA, INC.
- Remove the temperature sensors from the panel vents on the driver and passenger sides.
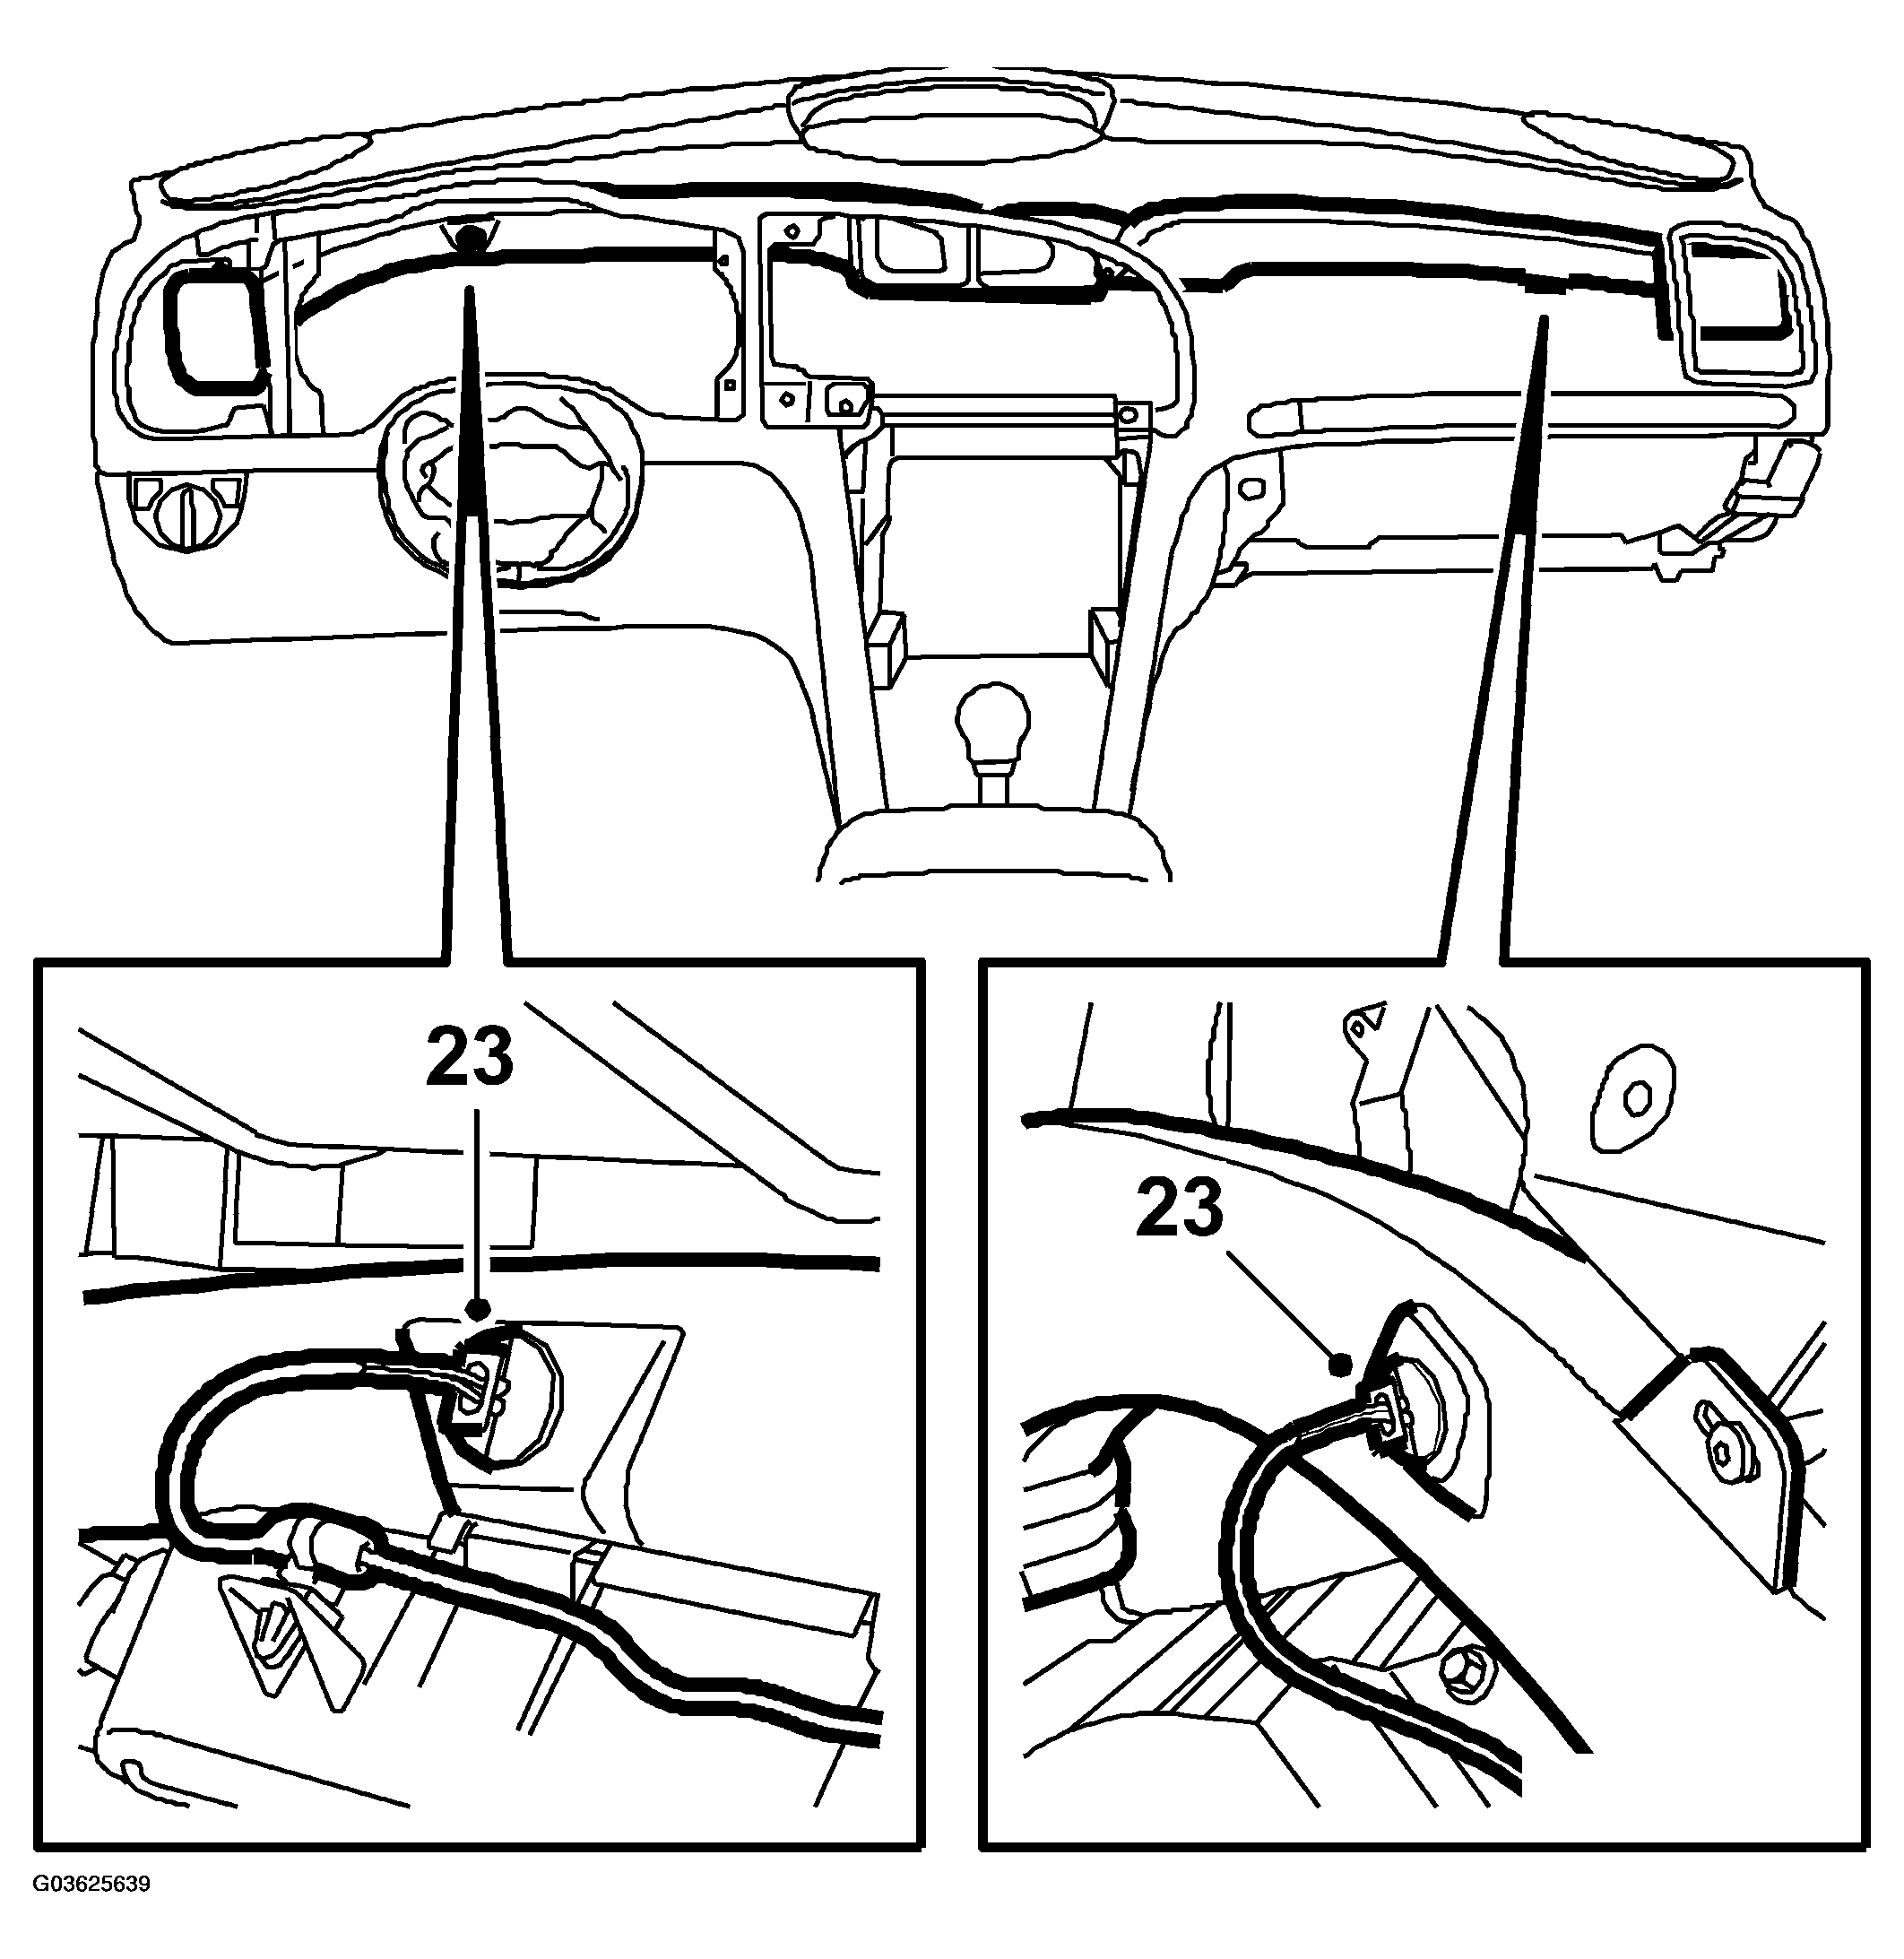 Courtesy of SAAB-SCANIA OF AMERICA, INC.
- Remove the sound insulation panels driver side and passenger side.
- Thread the CIM connector in through the dashboard so that it does not catch when the dashboard is removed.
- Locate the front seats in their rearmost position. Move the gear lever to its rearmost position.
- Carefully remove the dashboard from the car.