Applicator Gun
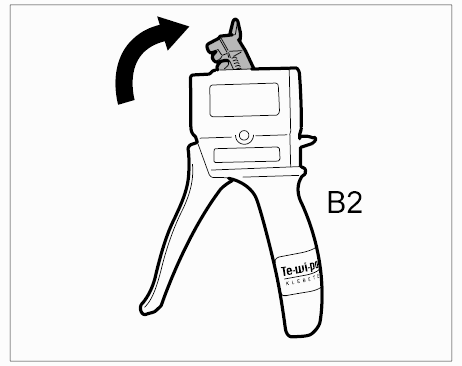
- Open holder.
- 1.1. Release holder -arrow-
and fold up.
 Courtesy of PORSCHE CARS NORTH AMERICA, INC.
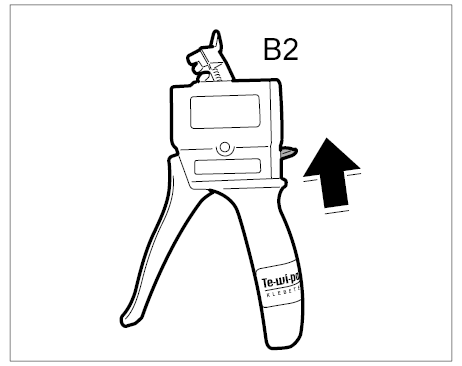
- Press sliding lock upwards
- 2.1. Press sliding lock upwards in direction of arrow -arrow-
.
 Courtesy of PORSCHE CARS NORTH AMERICA, INC.
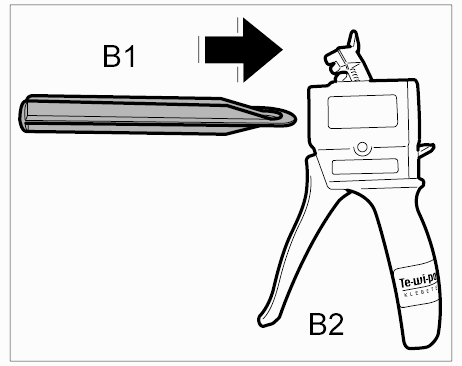
- Insert piston rod.
- 3.1. Hold sliding lock pressed and insert piston rod -B1-
completely into the gun grip -B1-
.
 Courtesy of PORSCHE CARS NORTH AMERICA, INC.
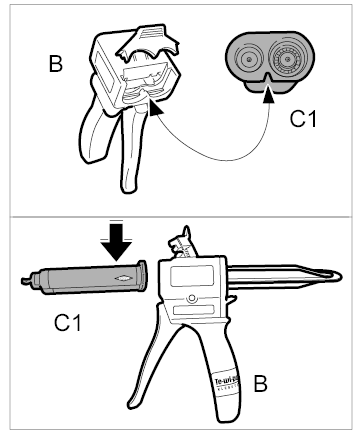
- Insert mixing cartridge.
- 4.1. Insert double cartridge -C1-
into the gun -B-
from above. Insert the cartridge until the muzzle of the gun engages in the groove of the cartridge.
 Courtesy of PORSCHE CARS NORTH AMERICA, INC.
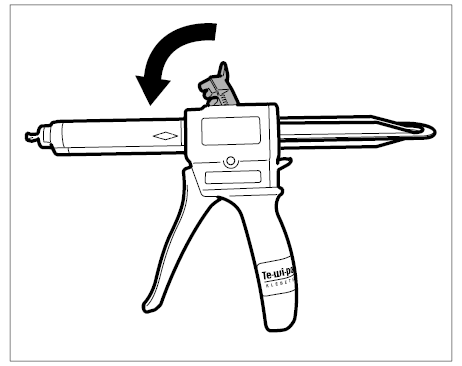
- Engage holder.
- 5.1. Swivel holder downward and engage on handle of gun.
 Courtesy of PORSCHE CARS NORTH AMERICA, INC.
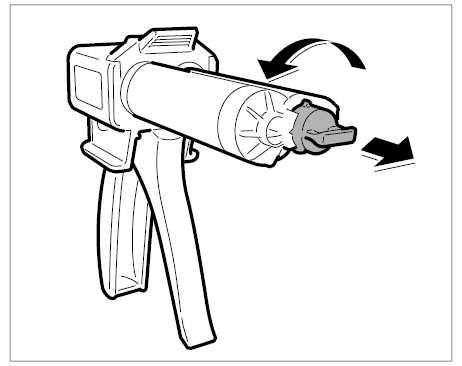
- Open cartridge.
- 6.1. Turn screw cap 90 ° counter-clockwise and remove.
 Courtesy of PORSCHE CARS NORTH AMERICA, INC.
- Squeeze adhesive to the front.
- 7.1. Press the gun grip to allow the piston rod to move out slowly until an equal amount of both components emerges.
- 7.2. Wipe off any adhesive that emerges.
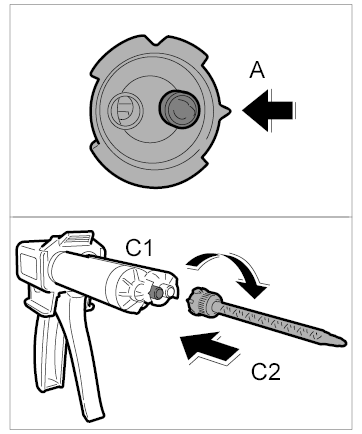
- Fit processing nozzle.
- 8.1. Before fitting the processing nozzle, make sure that the muzzle -A-
and the mixing ducts are aligned; turn the bayonet locking mechanism on the processing nozzle by 90° if necessary.
- 8.2. Position processing nozzle -C2-
and turn clockwise 90°.
 Courtesy of PORSCHE CARS NORTH AMERICA, INC.
- Mix adhesive components.
- 9.1. Press the gun grip to allow the piston rod to move out slowly until the adhesive is visible in the processing pipe.
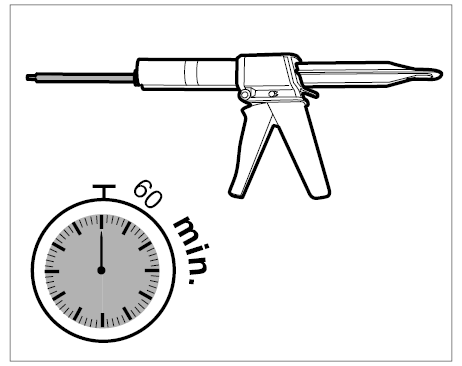
- Bond the body part within the specified processing time.
 Courtesy of PORSCHE CARS NORTH AMERICA, INC.