Installing B-Pillar Cover
- Pull window guide approximately half-way into the B-pillar cover.
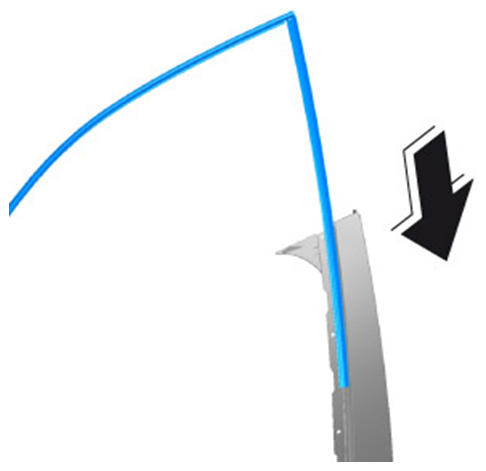 Courtesy of PORSCHE CARS NORTH AMERICA, INC.
- Push in B-pillar cover from the top and align it according to the marking.
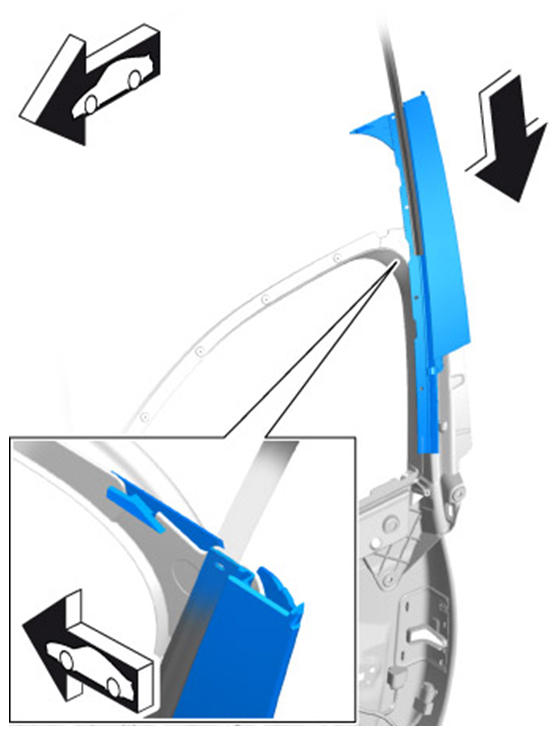 Courtesy of PORSCHE CARS NORTH AMERICA, INC.
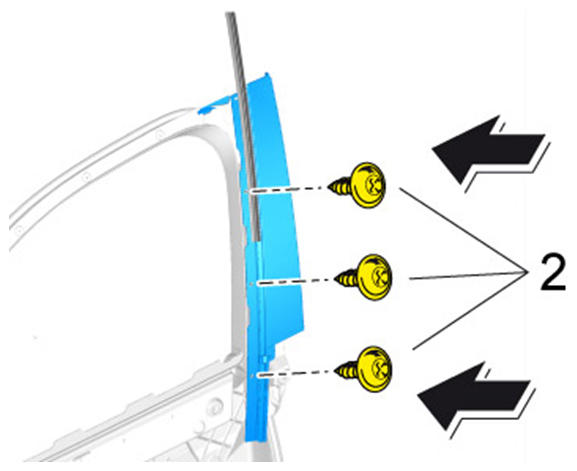
- Screw in fastening screws -2-
and tighten to the specified tightening torque Tightening torque 3.5 Nm +10°
until secure.
 Courtesy of PORSCHE CARS NORTH AMERICA, INC.
- Push window guide fully into the B-pillar cover.
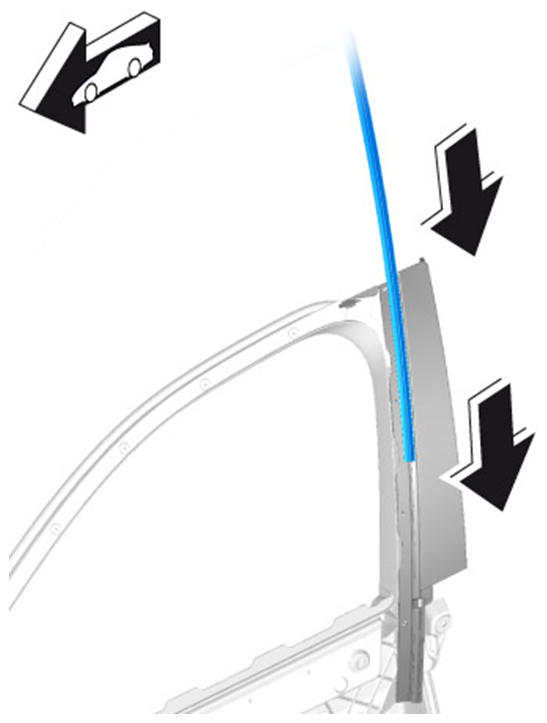 Courtesy of PORSCHE CARS NORTH AMERICA, INC.
- Place roof molding in installation position.
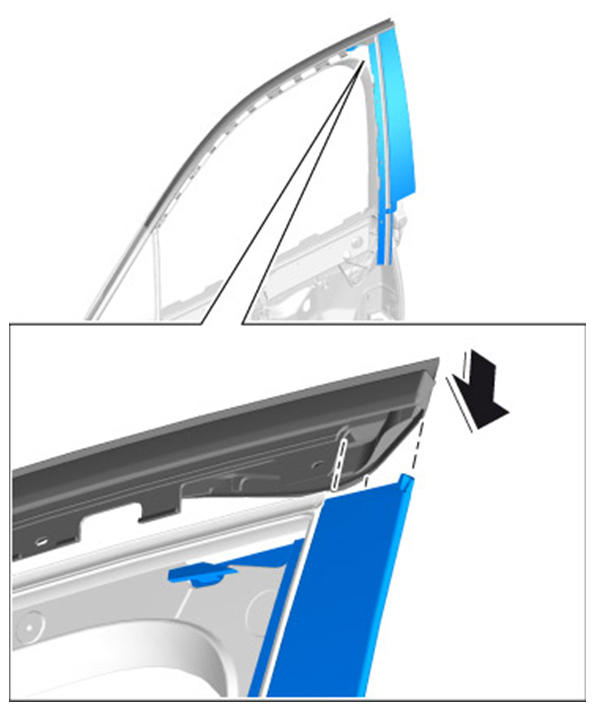 Courtesy of PORSCHE CARS NORTH AMERICA, INC.
- Check that the rubber seal is fitted correctly in the B-pillar cover.
- Secure roof molding with five blind rivets -1-
.
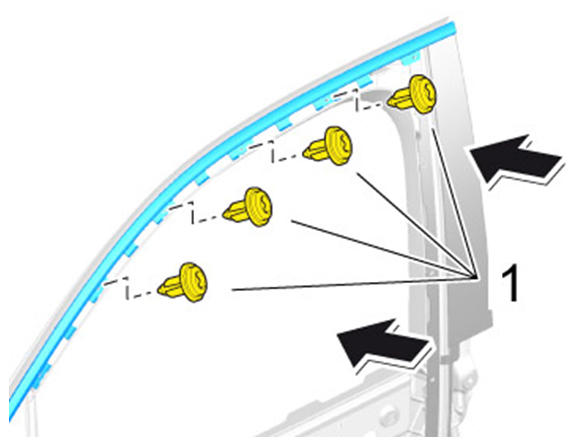 Courtesy of PORSCHE CARS NORTH AMERICA, INC.
- Affix detached areas of the window guide using double-sided adhesive tape (Part No. 000 043 206 59).
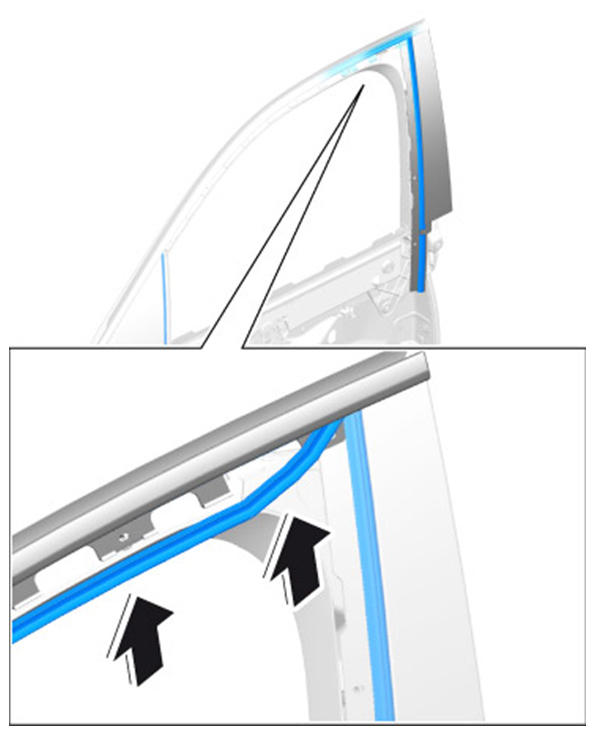 Courtesy of PORSCHE CARS NORTH AMERICA, INC.