Installing Frame For Sliding Roof
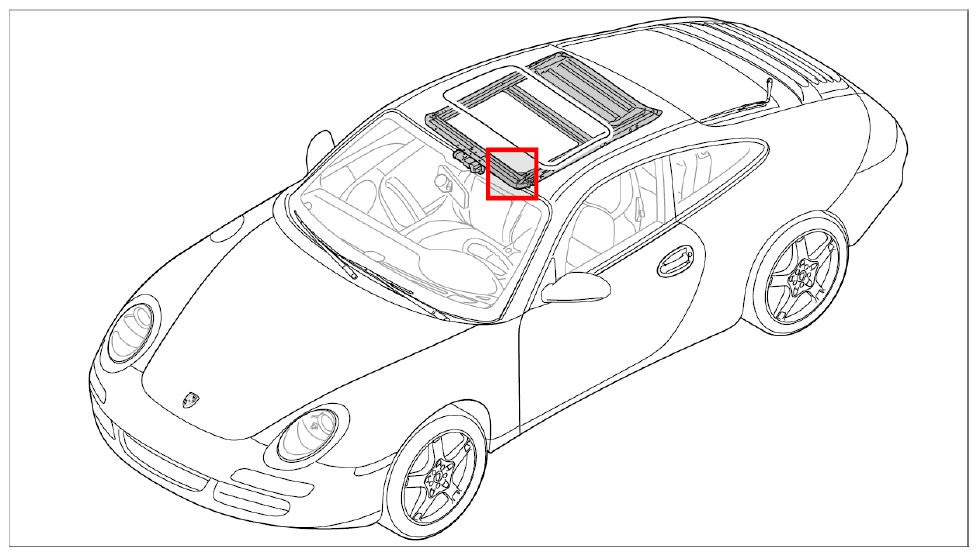 Courtesy of PORSCHE CARS NORTH AMERICA, INC.
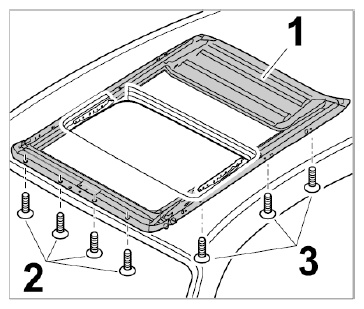
- Insert sliding roof frame -1-
with an assistant into the passenger compartment through the door aperture and position at the screw-mounting points.
- Position the fastening screw -3-
of the sliding roof frame at the side and tighten by hand.
 Courtesy of PORSCHE CARS NORTH AMERICA, INC.
- Position the fastening screws -2-
on the sliding roof frame at the front and tighten by hand.
- Align sliding roof frame -1-
accordingly and tighten fastening screws -1, 2-
. Tightening torque → Tightening torque: 9.7 Nm (7 ftlb.) → Tightening torque: 9.7 Nm (7 ftlb.)
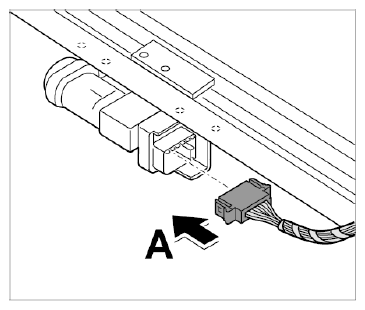
- Connect electric plug connection for sunroof motor -arrow A-
. The locking tabs must engage on both sides when the connection is made.
 Courtesy of PORSCHE CARS NORTH AMERICA, INC.
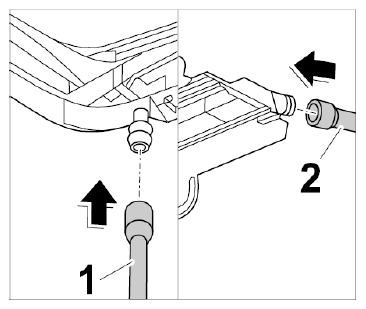
- Push the water drain hoses at the front -1-
and rear -2-
onto the water drain brackets of the frame for the sliding roof.
 Courtesy of PORSCHE CARS NORTH AMERICA, INC.