Installing Gas-Discharge Control Unit
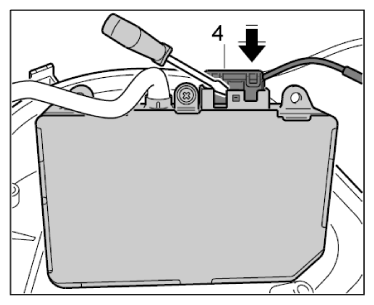
- Push on electric connector -4-
for the gas-discharge control unit until the connector engages securely.
 Courtesy of PORSCHE CARS NORTH AMERICA, INC.
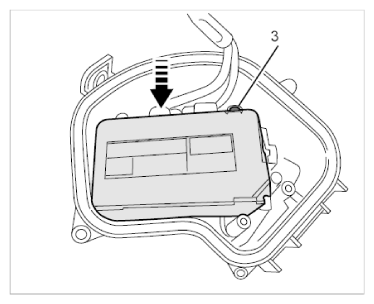
- Insert the control unit into the lid of the headlight and secure with the fastening screw -3-
.
 Courtesy of PORSCHE CARS NORTH AMERICA, INC.
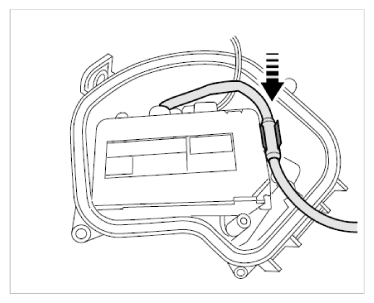
- Press the gas-discharge headlight cable into the terminal in the lid.
 Courtesy of PORSCHE CARS NORTH AMERICA, INC.
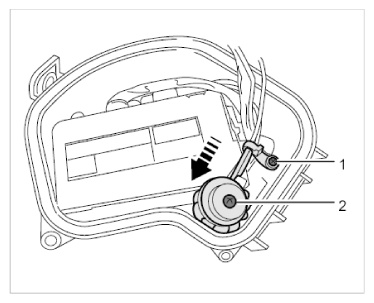
- Slide on the coil and screw in the fastening screws for the coil -2-
and cable holder -1-
.
 Courtesy of PORSCHE CARS NORTH AMERICA, INC.