Installing Switching Element For Filler Flap
- Engage switching element for filler flap into the emergency operation cable.
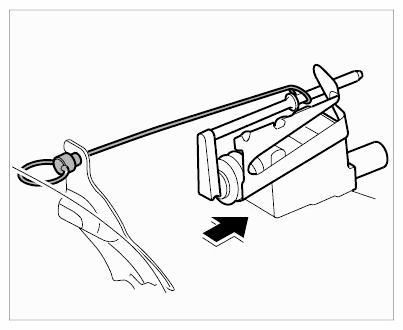 Courtesy of PORSCHE CARS NORTH AMERICA, INC.
- Insert switching element for filler flap into the slots on the holder. Ensure that the locking bolt of the filler flap switching element is positioned in the opening of the side section.
- Secure the filler flap switching element with the two fastening screws -1-
.
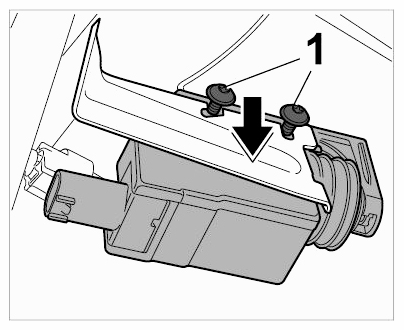 Courtesy of PORSCHE CARS NORTH AMERICA, INC.
- Insert the connector until it is felt to engage.
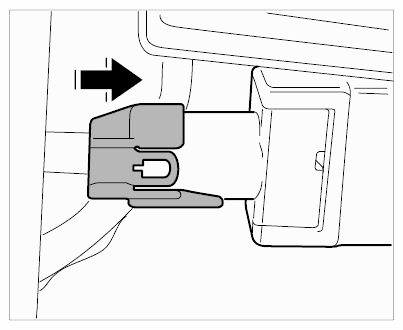 Courtesy of PORSCHE CARS NORTH AMERICA, INC.
- Check operation of the filler flap switching element.