Assembling Rear Lid
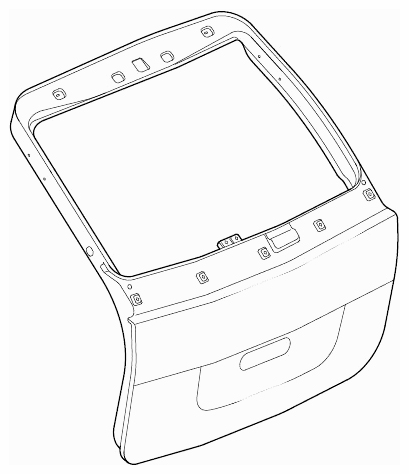 Courtesy of PORSCHE CARS NORTH AMERICA, INC.
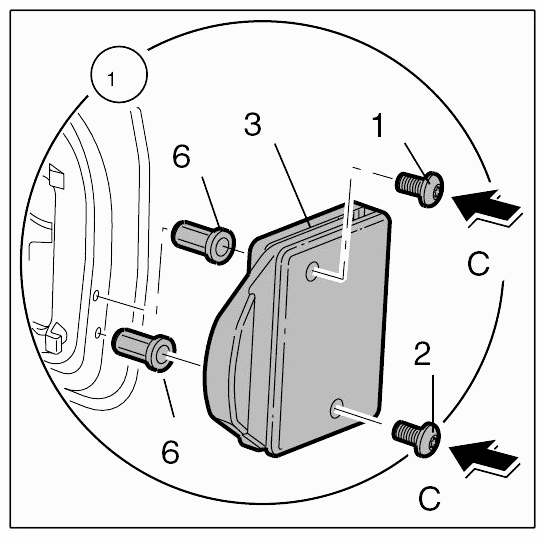
- Installing lateral adjusting buffer
- 1.1. Screw in blind rivet nuts for the lateral adjusting buffer -6-
on the rivet gun, insert on the rear lid and rivet using hand-held blind rivet nut device NR.125.
- 1.2. Place lateral adjusting buffer -3-
on the rear lid and screw in fastening screws -1, 2- -Arrows C-
.
 Courtesy of PORSCHE CARS NORTH AMERICA, INC.
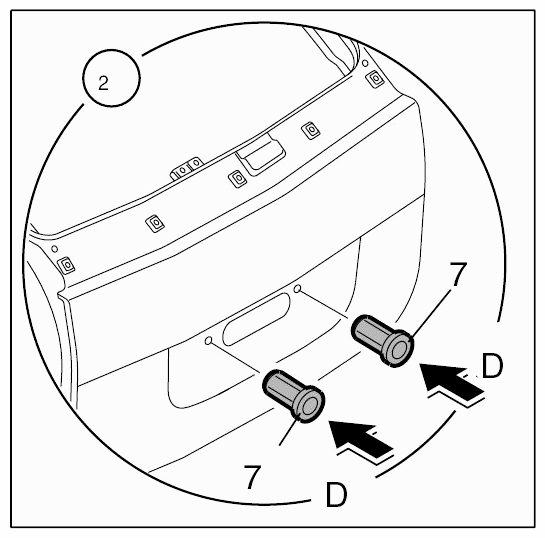
- Installing blind rivet nuts for the number plate holder.
- 2.1. Screw in blind rivet nuts for the number plate holder -7-
on the rivet gun, insert on the rear lid -Arrows D-
and rivet using hand-held blind rivet nut device NR.125.
 Courtesy of PORSCHE CARS NORTH AMERICA, INC.
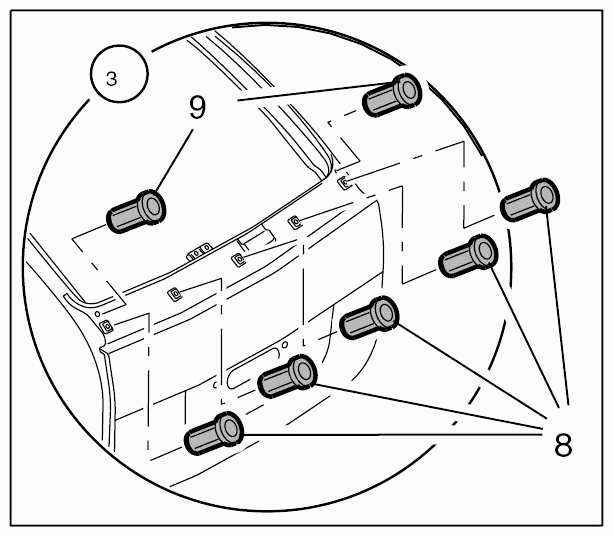
- Installing blind rivet nuts for the trim strip holder and the rear window buffer
- 3.1. Screw in blind rivet nuts for trim strip holder -8-
and rear window buffer -9-
on the rivet gun, insert on the rear lid and rivet using hand-held blind rivet nut device NR.125.
 Courtesy of PORSCHE CARS NORTH AMERICA, INC.
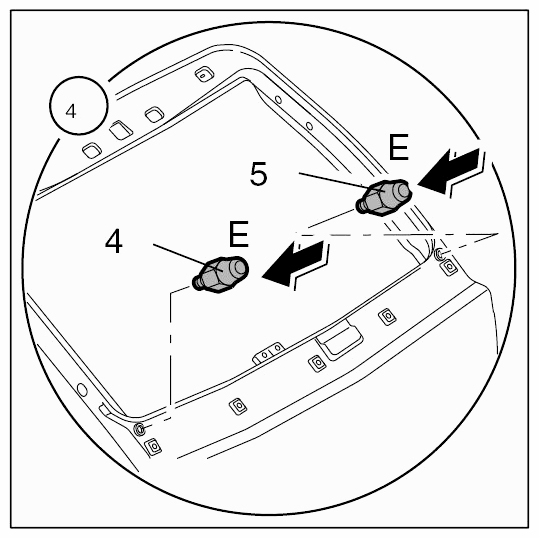
- Installing buffer for rear window
- 4.1. Screw in buffer for rear window -4, 5- -arrows E-
and tighten to the specified tightening torque → Tightening torque: 1.0 ft lbs..
 Courtesy of PORSCHE CARS NORTH AMERICA, INC.
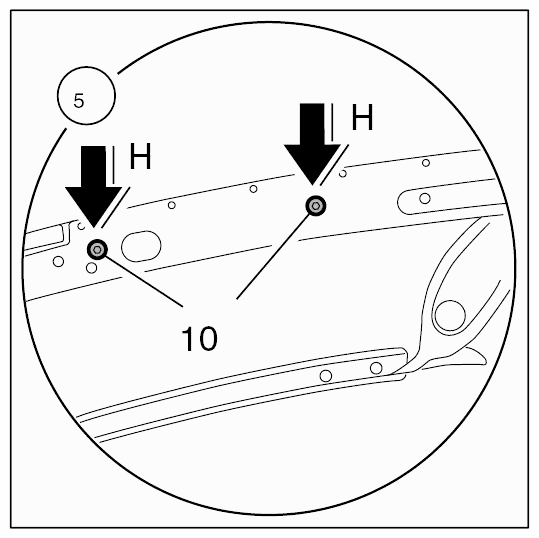
- Installing mounting points for the side trim.
- 5.1. Insert plastic clips -10-
from the outside -Arrows H-
for the mounting points of the side trim.
 Courtesy of PORSCHE CARS NORTH AMERICA, INC.