Installing A-Pillar Trim Panel
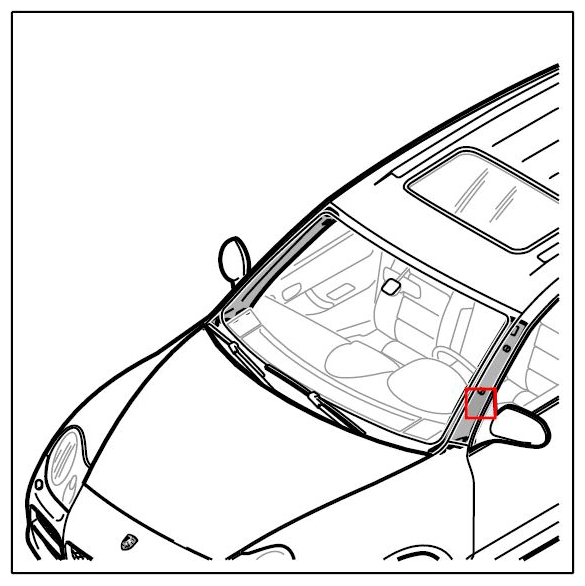 Courtesy of PORSCHE CARS NORTH AMERICA, INC.
- Check fastening clips -8-
for deformation; replace if necessary.
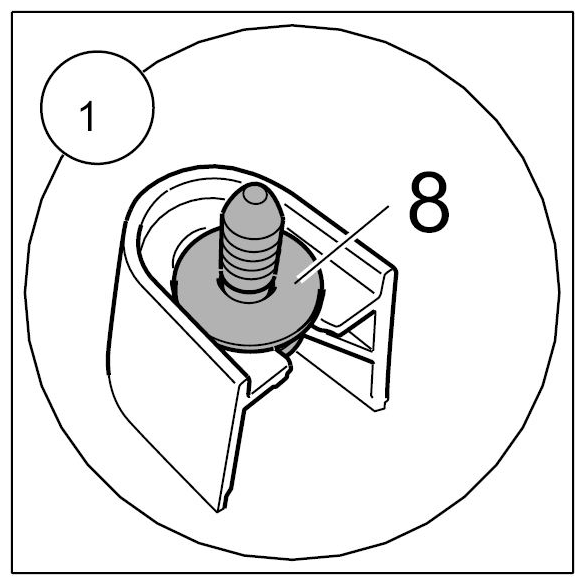 Courtesy of PORSCHE CARS NORTH AMERICA, INC.
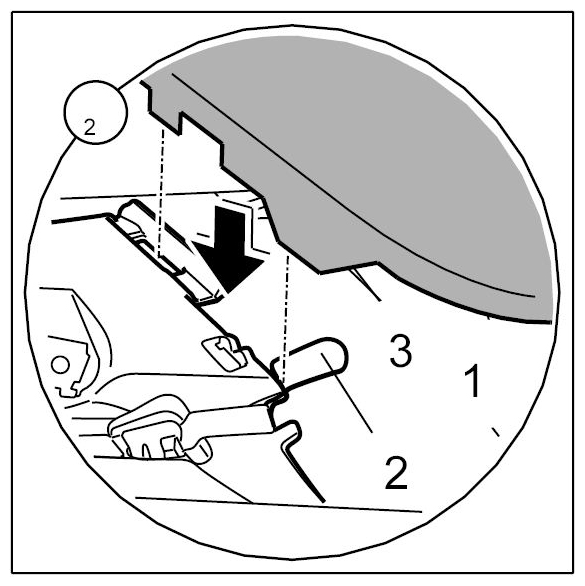
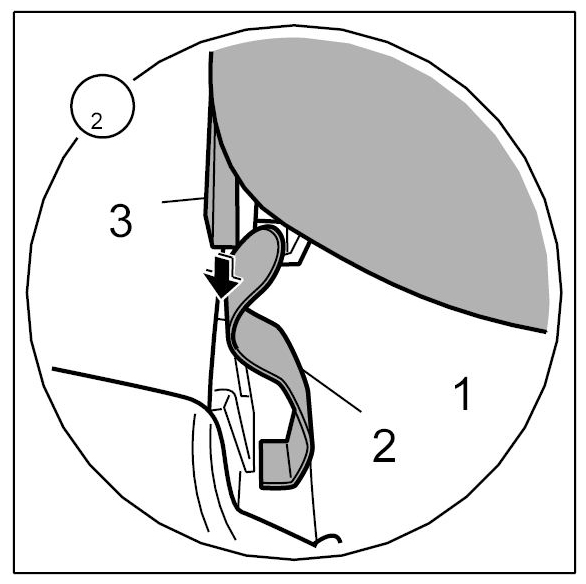
- Insert retaining catches -3-
on the A-pillar trim -1-
into the fastening clips -2-
and the instrument panel guide slot.
 Courtesy of PORSCHE CARS NORTH AMERICA, INC.
 Courtesy of PORSCHE CARS NORTH AMERICA, INC.
- Insert the retaining catch -4-
into A-pillar side trim at the bottom.
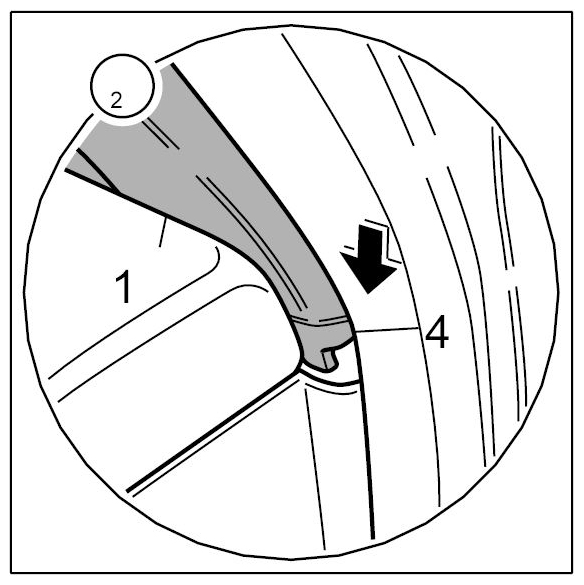 Courtesy of PORSCHE CARS NORTH AMERICA, INC.
- Clip A-pillar trim -1-
into A-pillar from bottom to top. Make sure that the fastening bolt reaches into the fastening bore.
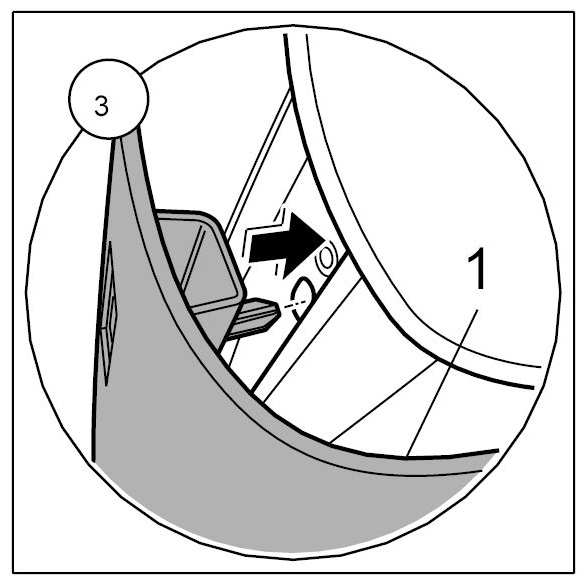 Courtesy of PORSCHE CARS NORTH AMERICA, INC.
- Screw in fastening screw -6-
and tighten to the specified tightening torque. → Tightening torque: 3 ft lbs.+0.25 ft lbs.
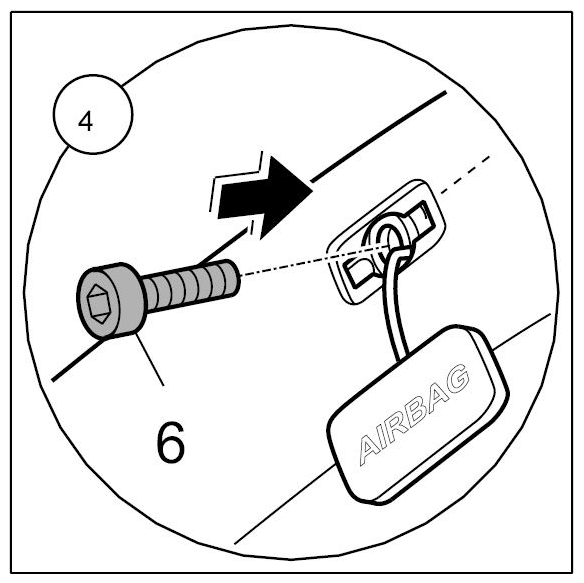 Courtesy of PORSCHE CARS NORTH AMERICA, INC.
- Clip cap -7-
into A-pillar trim recess.
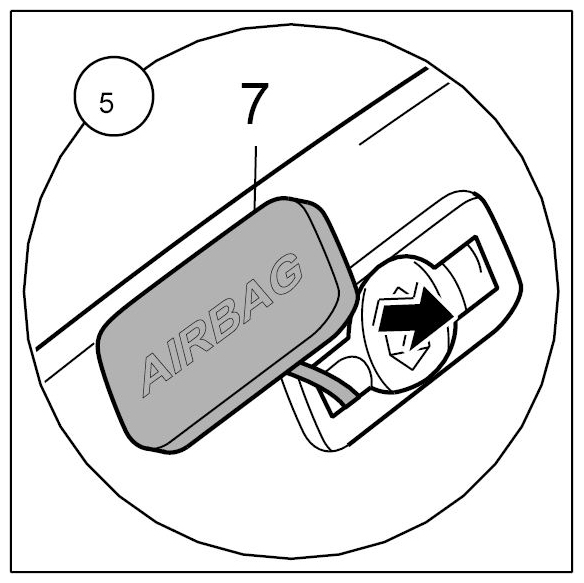 Courtesy of PORSCHE CARS NORTH AMERICA, INC.