Installing air guide for charge air cooling
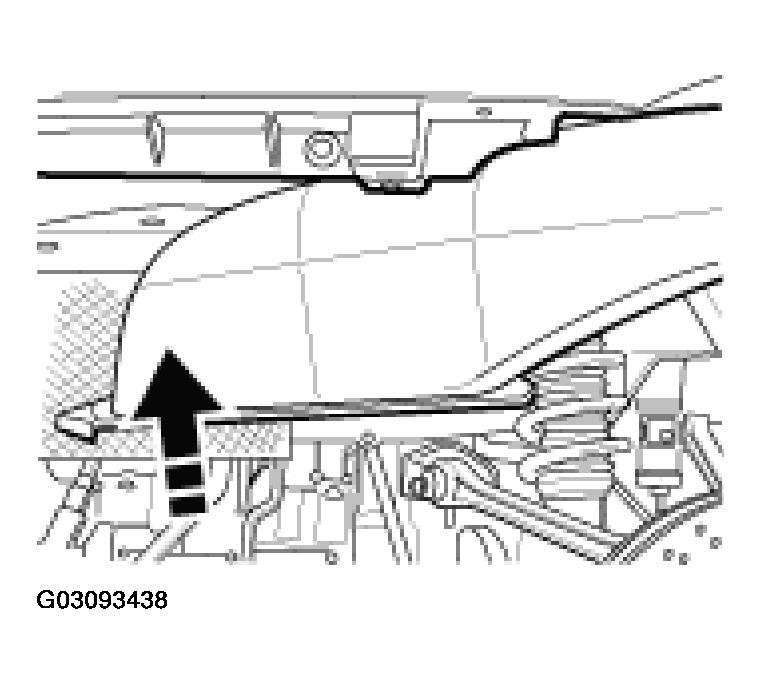
- Reinstall air guide. Replace all seals on the air guide. Insert the front end of the air guide into the body. Press the back end upwards into the wing.
 Courtesy of PORSCHE OF NORTH AMERICA, INC.
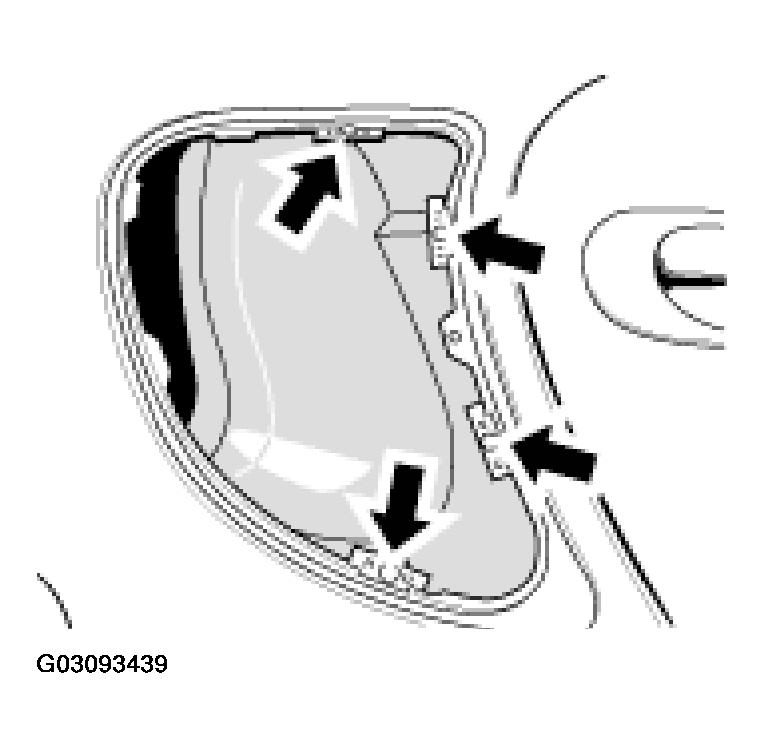
- Retighten air guide. Replace the four fastening clips of the intake pipe and tighten the air duct with the -four fastening screws-.
 Courtesy of PORSCHE OF NORTH AMERICA, INC.
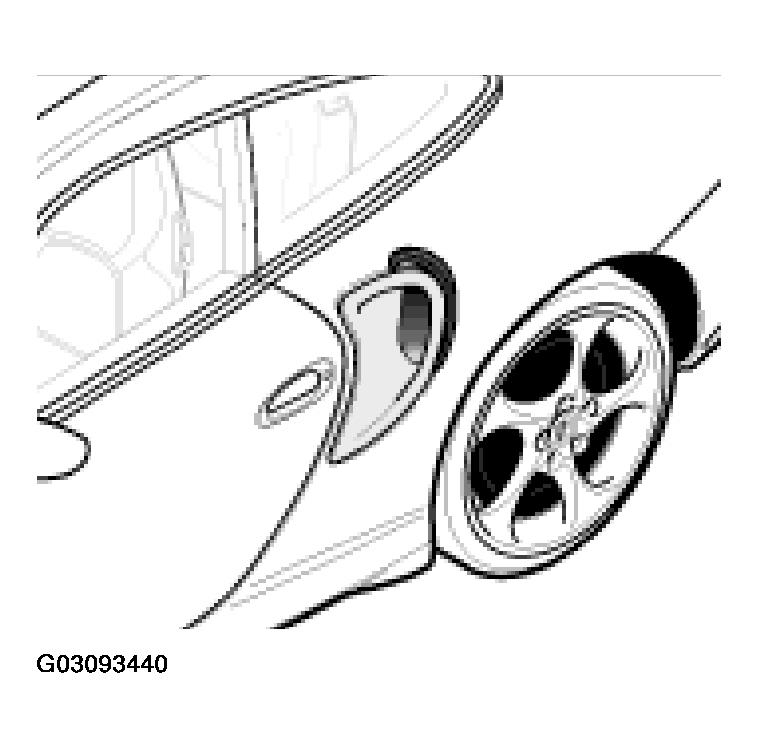
- Reinstall intake pipe -(catches)-.
First insert the pipe into the duct and then press evenly into the body.
 Courtesy of PORSCHE OF NORTH AMERICA, INC.
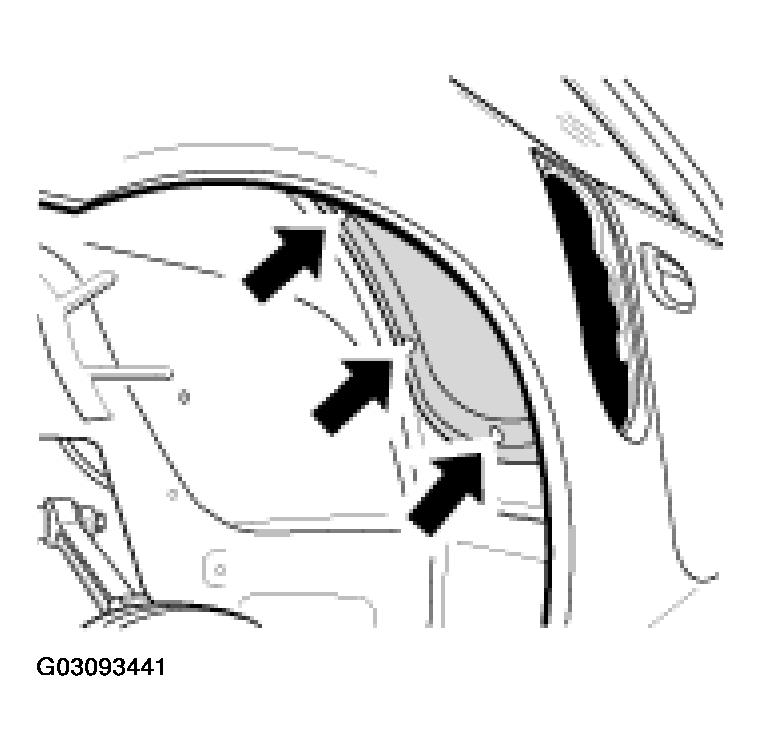
- Reinstall cover panel. Insert the cover panel in the wheel well and tighten the seven -fastening screws-
to 10 Nm (7.5 ftlb.).
 Courtesy of PORSCHE OF NORTH AMERICA, INC.
- Install charge air cooler. Move the charge air cooler back into installation position. Tighten the two rear -fastening screws-
to 10 Nm (7.5 ftlb.).
- Tighten the three front -fastening screws-
to 10 Nm (7.5 ftlb.).
- Then fasten the heat shield with two sheetmetal nuts.