Fitting Pistons And Piston Rods In The Crankcase Half Or Bearing Housing Of Cylinder Bank 1 - 3
- Fasten cylinder housing half, cyl. 1-3, in conjunction with mounting elements 9590 to engine holder 9589.
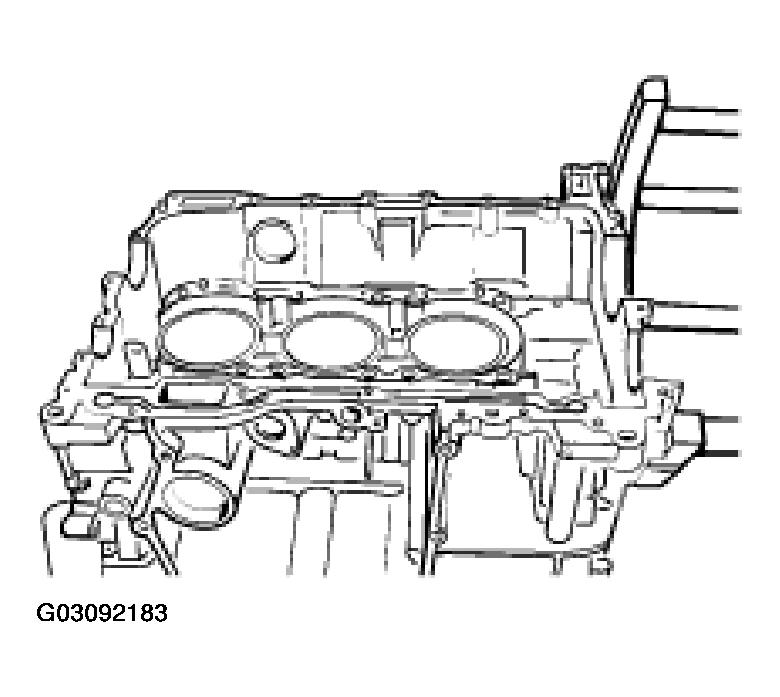 Courtesy of PORSCHE OF NORTH AMERICA, INC.
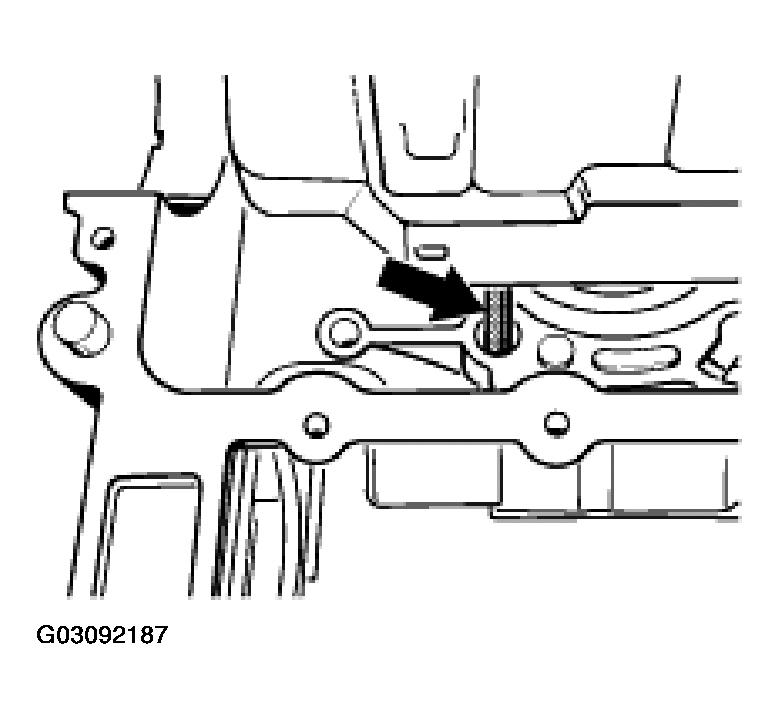
- Clean bearing housing support surface, particularly in area of oil duct. Check dowel sleeves for correct seating.
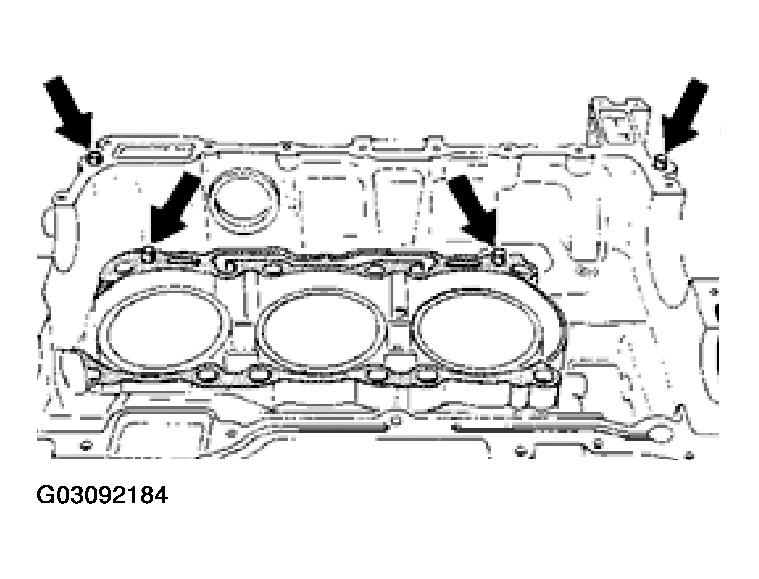 Courtesy of PORSCHE OF NORTH AMERICA, INC.
- Installation of the compete bearing housing in the crankcase half, cylinders 1-3. As the bearing housing is heavy, it should be installed using a workshop crane. Carefully and in stages, lower bearing housing with fitted holder 9607 and workshop crane towards the dowel sleeves (2 ea.), observing the following points:
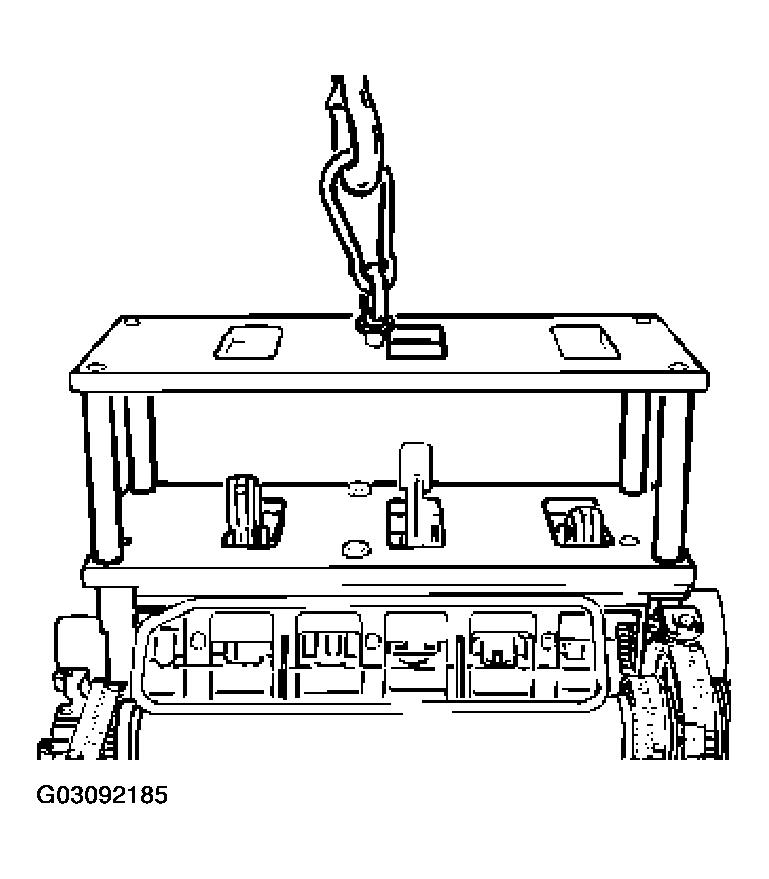 Courtesy of PORSCHE OF NORTH AMERICA, INC.
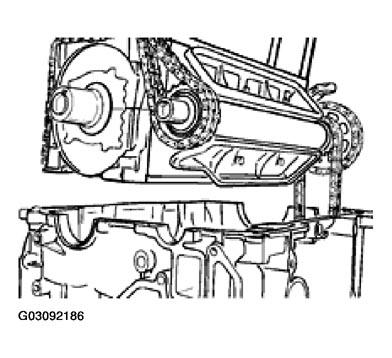 Courtesy of PORSCHE OF NORTH AMERICA, INC.
- To aid in guiding, screw two pan head screws approx. 3 turns into the bearing housing from below.
 Courtesy of PORSCHE OF NORTH AMERICA, INC.
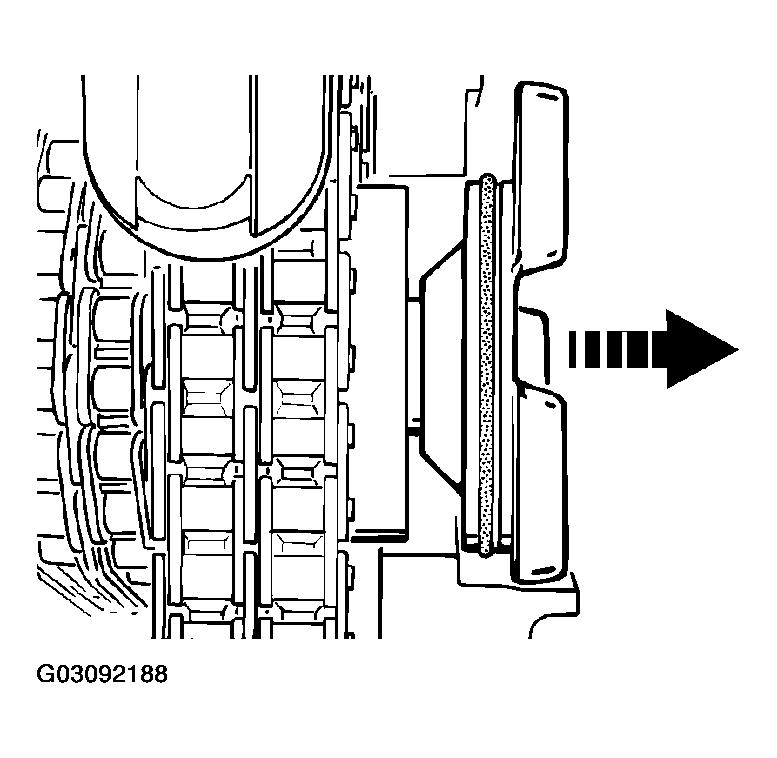
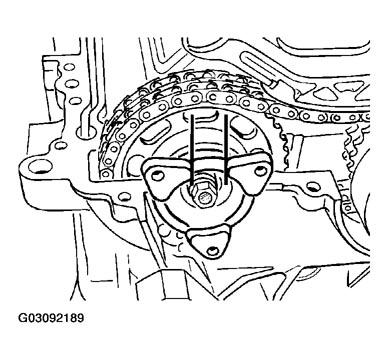
- Just before reaching the final installation position, pull the loosened intermediate-shaft flange out of the housing area and rotate the flange so that the two flange lugs that are spaced closest together face upwards.
 Courtesy of PORSCHE OF NORTH AMERICA, INC.
 Courtesy of PORSCHE OF NORTH AMERICA, INC.
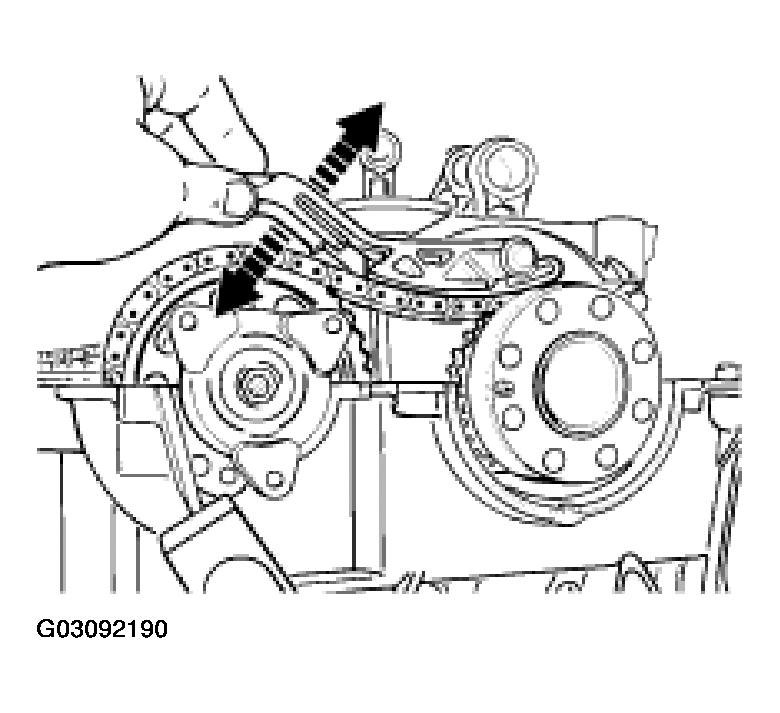
- After lowering, check whether there is sag in the upper chain area or sufficient lever travel exists. Lift the bearing housing and check the chain installation if necessary.
 Courtesy of PORSCHE OF NORTH AMERICA, INC.
- Remove two cap head screws (guide aid).
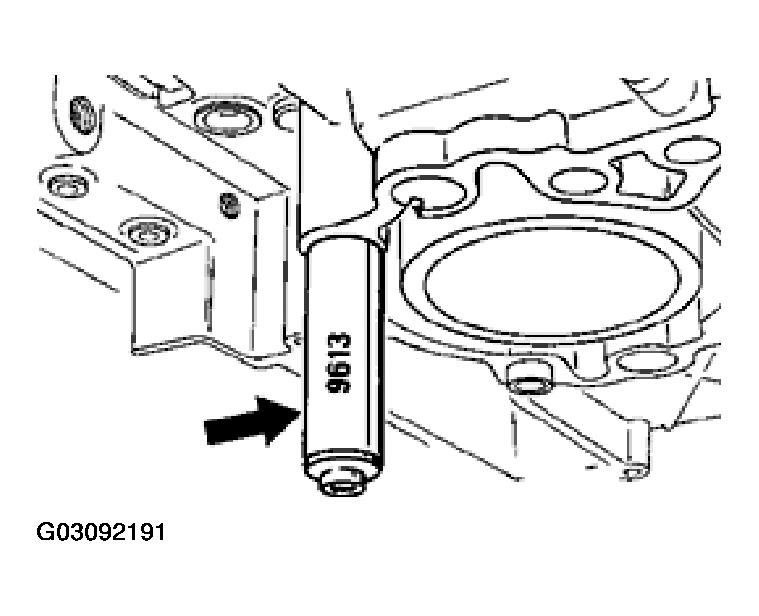
- For the following assembly procedure - piston installation, cylinders 1, 2 and 3 - the crankcase half and bearing housing unit must be held by at least two screwed connections. For this purpose, fasten two original cylinder head screws and plastic spacer sleeves, special tool 9613, from below. Tightening torque: 30 Nm (22 ft.lb) Use Torx screwdriver insert T50.
 Courtesy of PORSCHE OF NORTH AMERICA, INC.
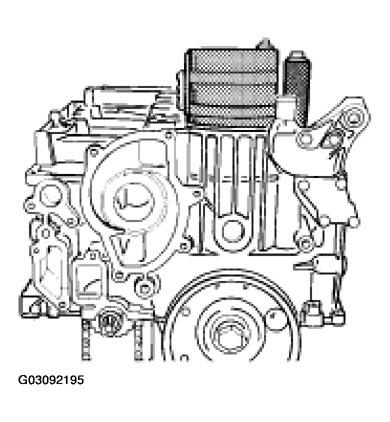
- Turn crankcase by 90° on the assembly support. Cylinders 1, 2 and 3 face upwards.
- Fit belt pulley. Screw in fastening screw by hand.
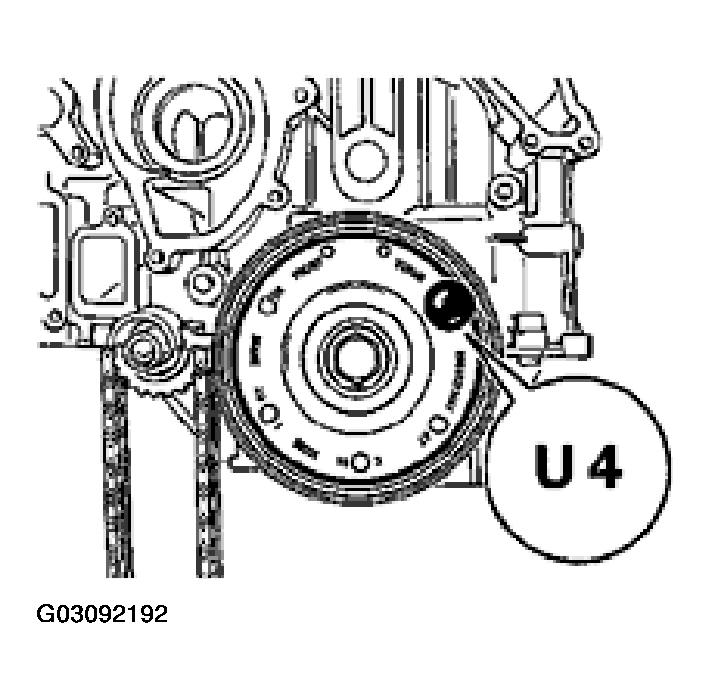
- Turn crankshaft clockwise until the bore U4 on the pulley is aligned with the fixing bore on the crankcase. Position or fix with fixing pin (short) of special tool 9595.
 Courtesy of PORSCHE OF NORTH AMERICA, INC.
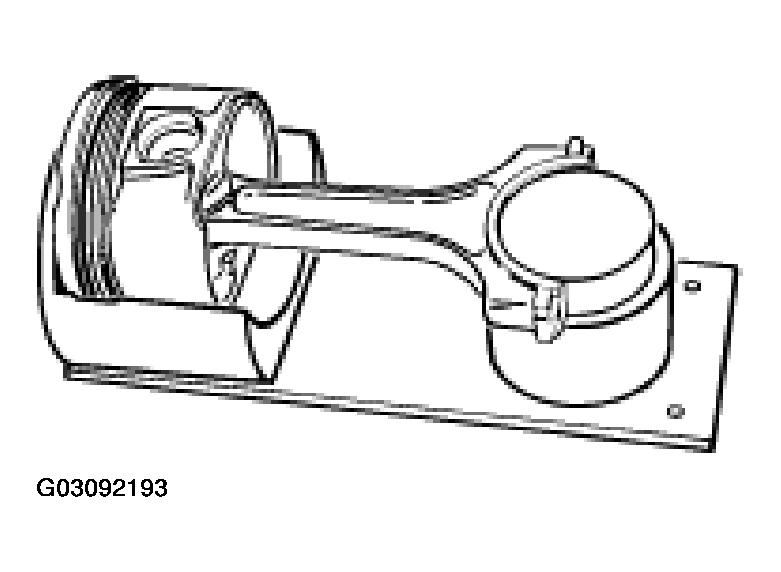
- Remove preassembled connecting rod with piston of cylinder 1 from the assembly fixture.
 Courtesy of PORSCHE OF NORTH AMERICA, INC.
- Align the gaps of the piston rings offset by 120°.
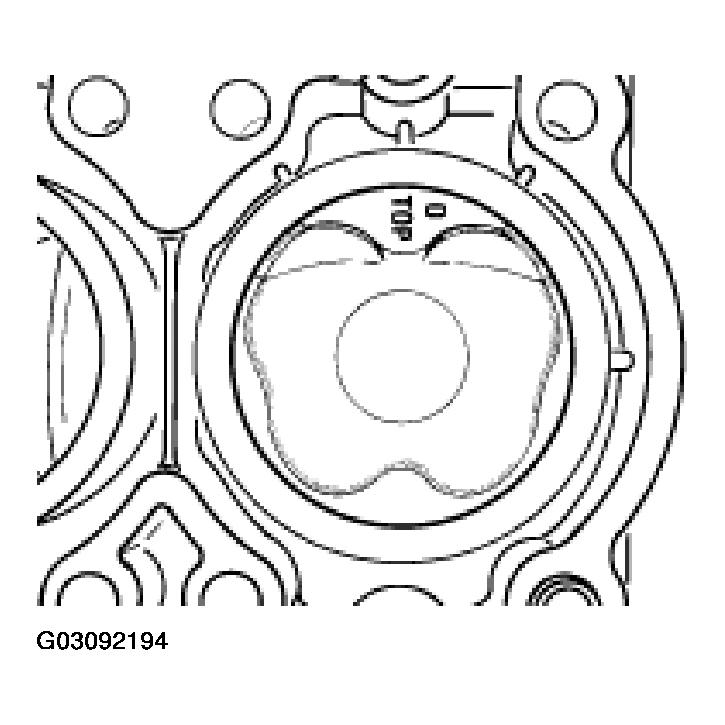
- Place piston with connecting rod in installation position.
 Courtesy of PORSCHE OF NORTH AMERICA, INC.
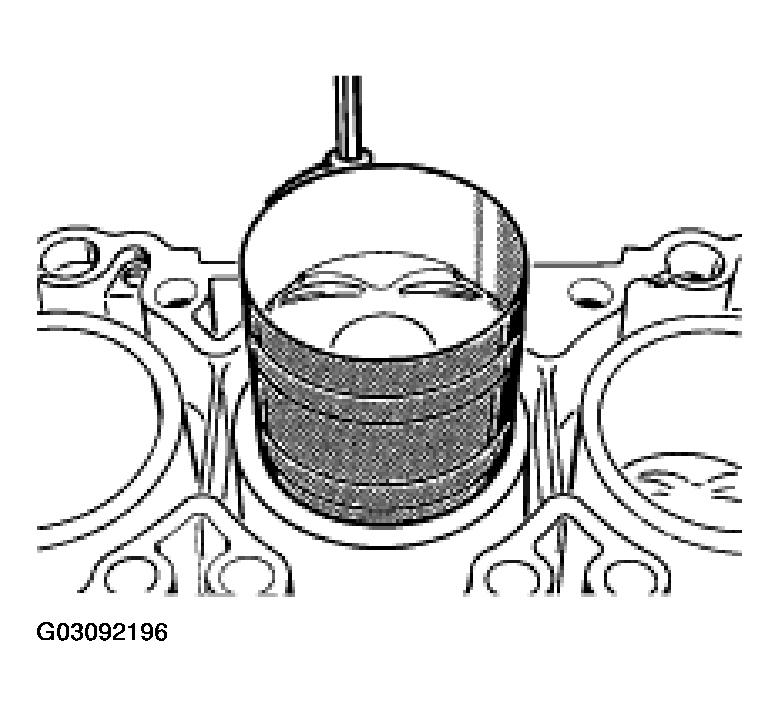
- Tighten piston ring clamp and fit piston with connecting rod.
NOTE:
- Generously coat the piston and restraining strap with engine oil before fitting the piston.
 Courtesy of PORSCHE OF NORTH AMERICA, INC.
 Courtesy of PORSCHE OF NORTH AMERICA, INC.
- Use the handle of a hammer to tap the piston into the cylinder while firmly pressing on the edge of the restraining strap. Use protective gloves.
NOTE:
- The piston must be fitted in the cylinder carefully and with feeling. If the resistance increases, immediately interrupt the assembly process. Reposition the piston ring restraining strap and repeat the assembly operation.
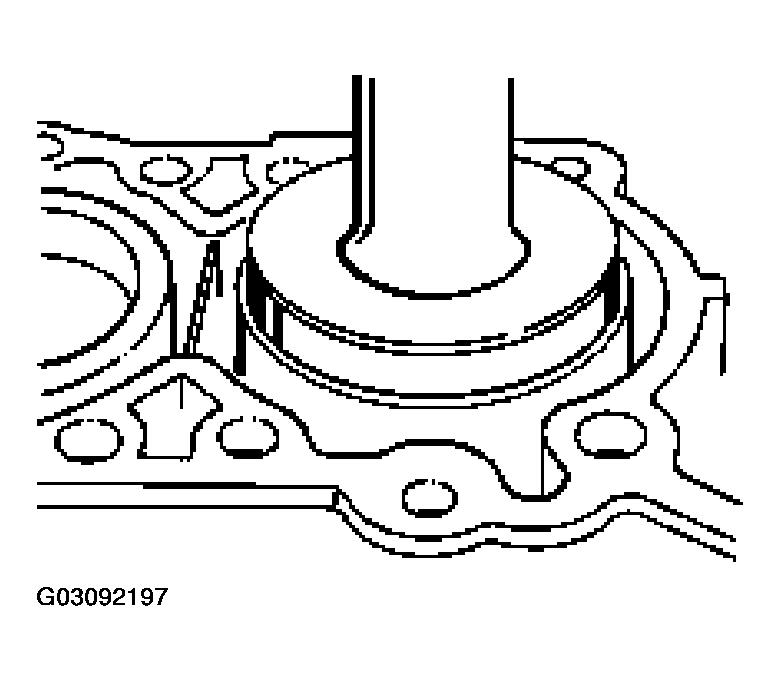
- Centre the piston in the cylinder bore and carefully push it down with the assembly aid (special tool 9598).
 Courtesy of PORSCHE OF NORTH AMERICA, INC.
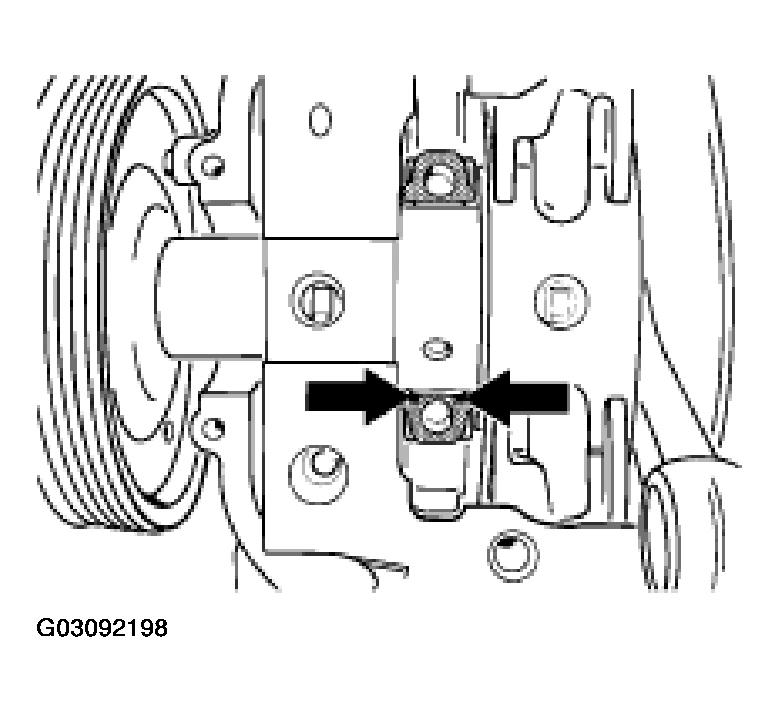
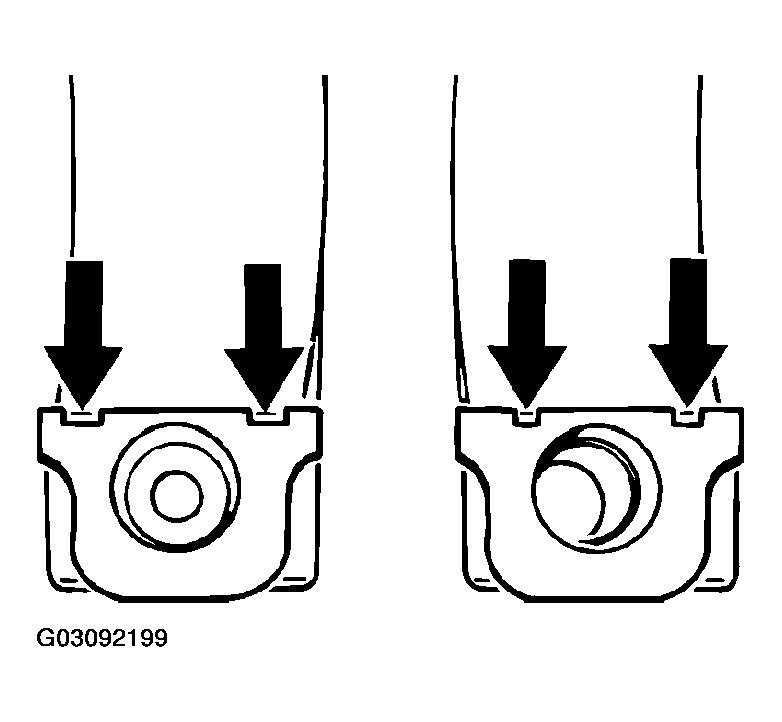
- Turn crankcase by 90° to the left. Make sure the bearing shell is correctly seated in the connecting rod. The fixing lugs point to the oil pan.
 Courtesy of PORSCHE OF NORTH AMERICA, INC.
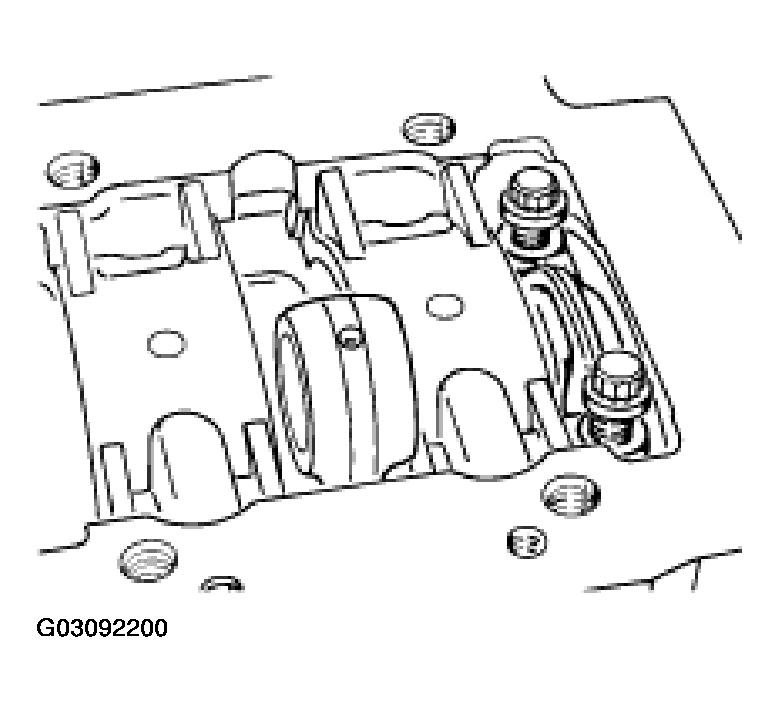
- Fit end caps. Lubricate bearing shells. The recesses of the connecting-rod bearing twist lock must face each other.
 Courtesy of PORSCHE OF NORTH AMERICA, INC.
 Courtesy of PORSCHE OF NORTH AMERICA, INC.
- Tightening specification: Oil thread and contact surface. 1. Initial tightening 20 Nm (15 ft.lb) To facilitate subsequent checks it is recommended that, after initial tightening, the screw heads be marked with a colored pen. 2. Final tightening 1 x 90° turn Use 10 mm socket wrench insert (double hexagon).
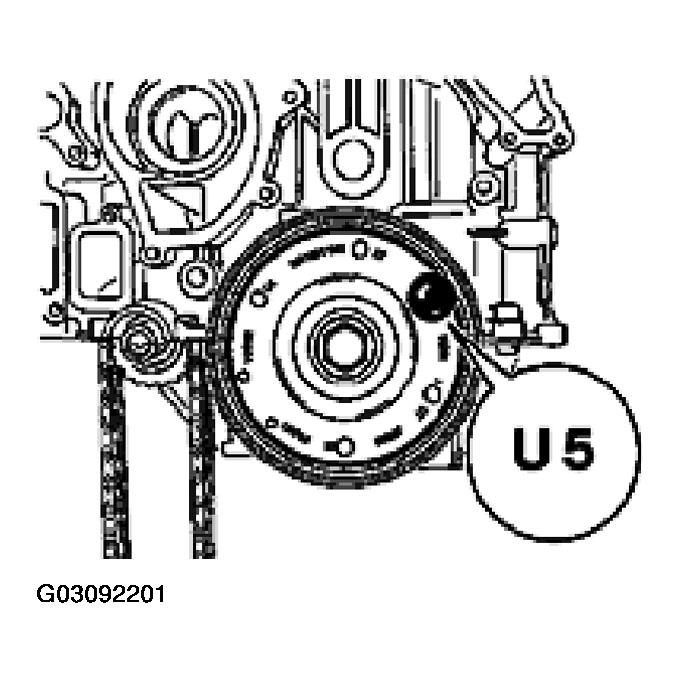
- Fitting piston and connecting rod in cylinder 2. Rotate crankshaft clockwise until bore U5 on the belt pulley is aligned with the fixing bore on the crankcase. Position or fix with fixing pin (short) of special tool 9595.
 Courtesy of PORSCHE OF NORTH AMERICA, INC.
- Prepare preassembled connecting rod of cylinder 2 for installation. Perform the following assembly steps as described from Steps 8 to 16.
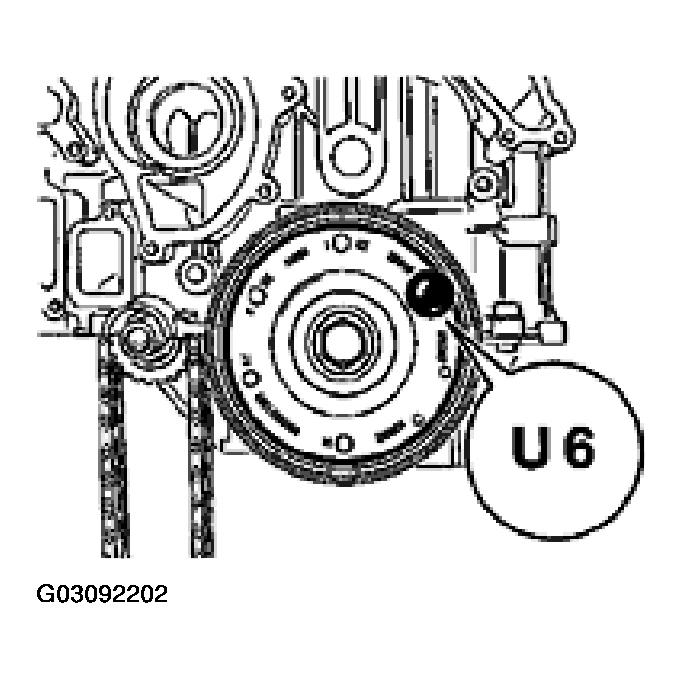
- Fitting piston and connecting rod in cylinder 3 Rotate crankshaft clockwise until bore U6 on the belt pulley is aligned with the fixing bore on the crankcase. Position or fix with fixing pin (short) of special tool 9595.
 Courtesy of PORSCHE OF NORTH AMERICA, INC.
- Prepare preassembled connecting rod of cylinder 3 for installation. Perform the following assembly steps as described from Steps 8 to 16.
NOTE:
- Leave crankshaft at position U6 after fitting the piston and connecting rod in cylinder 3. This position is necessary for subsequent fitting of the piston of cylinder 6.
- Remove belt pulley.