Rear Bumper Fascia Replacement
Rear Bumper Fascia Replacement
Tools Required
J 38778 Door Trim Pad and Garnish Clip Remover
Removal Procedure
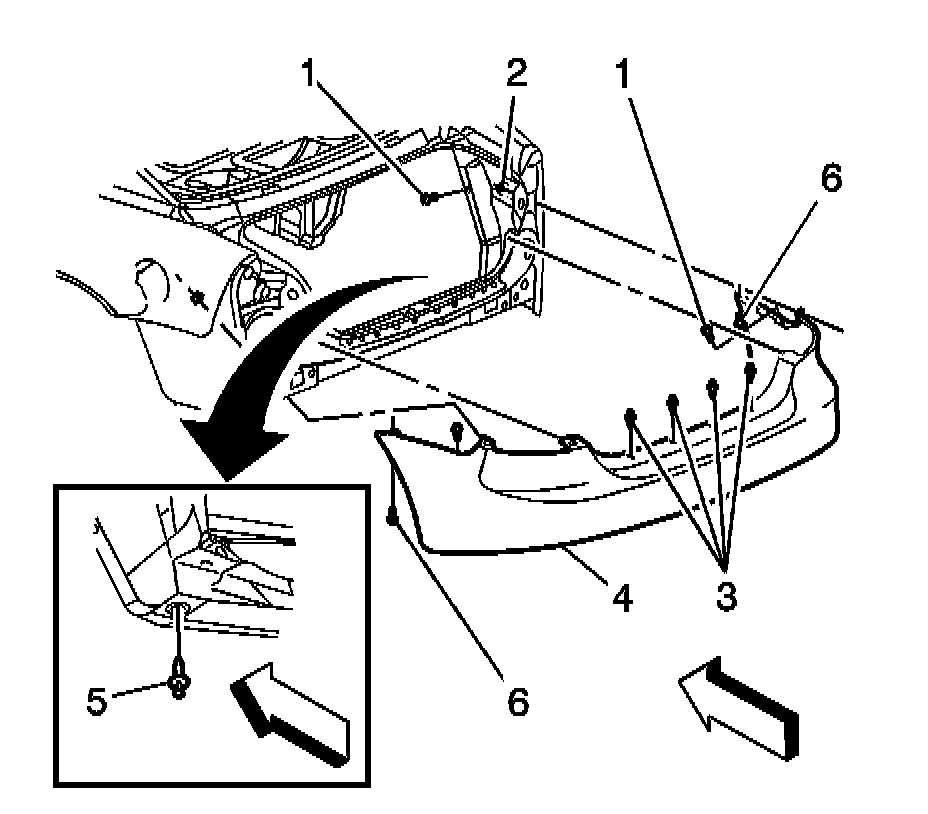
1.Raise the rear compartment lid.
Notice:Refer to Tape Corners of Panel Notice .
2.Apply tape to the fascia and adjacent surfaces.
3.Remove the rear compartment sill plate. Refer to Rear Compartment Sill Trim Plate Replacement .
4.Pull the left and right compartment side trim panels down to access the fascia bolts (1) and nuts (2).
5.Remove the tail lamps. Refer to Tail Lamp Assembly and /or Backup, Sidemarker, Stop, Turn Signal Bulb Replacement .
6.Remove the fascia bolts (1) and nuts (2) from the rear bumper fascia.
7.Remove the push-in retainers (3) from the top edge of the fascia.
8.Raise and support the vehicle. Refer to Lifting and Jacking the Vehicle .
9.Remove the push-in retainers (5) from the rear bumper fascia using the J 38778 .
10.Remove the fascia bolts (6) from the rear bumper fascia.
11.Remove the rear bumper fascia (4) from the vehicle.
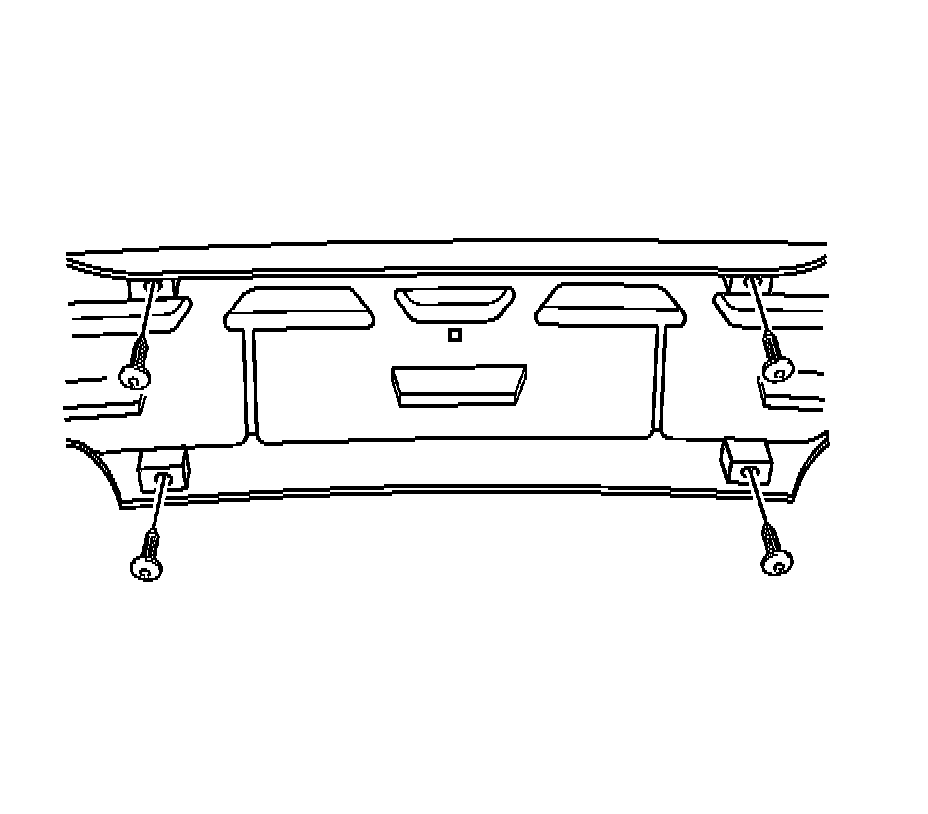
1.Remove the screws from the rear bumper energy absorber.
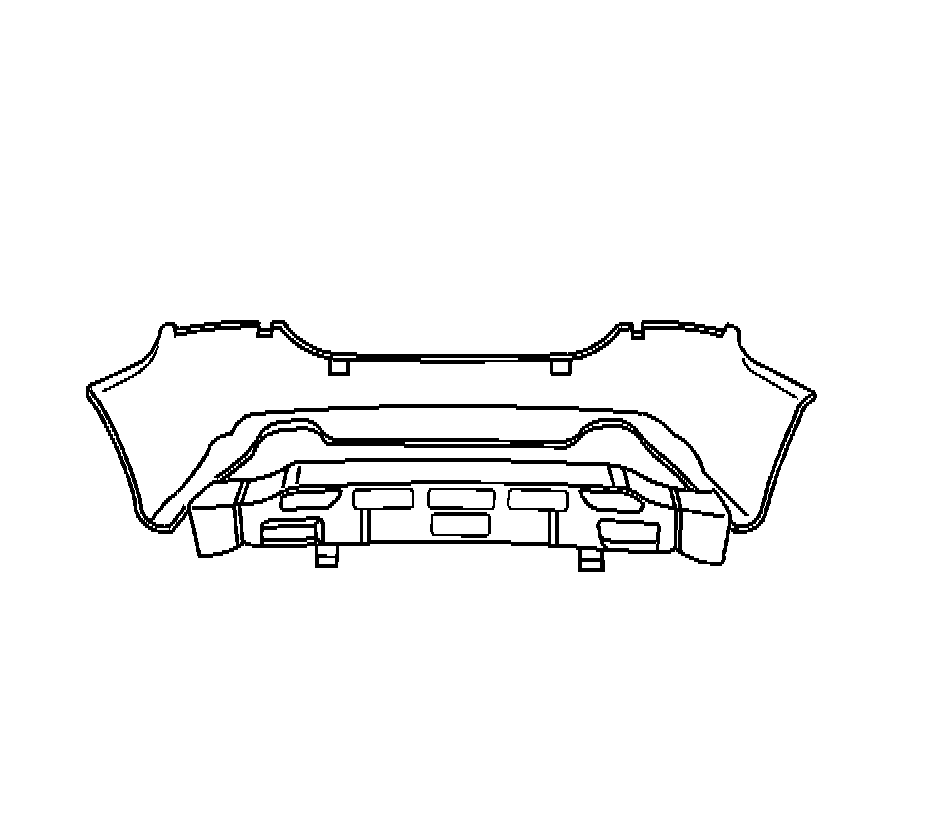
1.Remove the rear bumper energy absorber from the rear fascia.
Installation Procedure
1.Position the rear bumper energy absorber to the rear fascia.
Notice:Refer to Fastener Notice .
2.Install the screws to the rear bumper energy absorber.
TightenTighten the screws to 2 N �m (18 lb in).
1.Position the rear bumper fascia (4) to the vehicle.
2.Install the push-in retainers (5) to the rear bumper fascia.
3.Install the rear bumper fascia bolts (6) to the fascia.
TightenTighten the bolts to 10 N �m (89 lb in).
4.Lower the vehicle.
5.Install the push-in retainers (3) to the top edge of the fascia.
6.Install the fascia bolts (1) and nuts (2) to the rear bumper fascia.
TightenTighten the nuts and bolts to 10 N �m (89 lb in).
7.Install the tail lamps. Refer to Tail Lamp Assembly and /or Backup, Sidemarker, Stop, Turn Signal Bulb Replacement .
8.Position the rear compartment trim panels back to there original positions.
9.Install the rear compartment sill plate. Refer to Rear Compartment Sill Trim Plate Replacement .
10.Remove the protective tape that was applied.
11.Close the rear compartment lid.