Transmission Replacement (M76)
Transmission Replacement (M76)Removal Procedure
^ Tools Required
- J 35944-A Transmission Oil Cooler Flusher
- J 37096 Flywheel Holder
Important: Transmission oil circulates between the transmission assembly and the transfer case. In situations where transmission related failures circulate debris into the transfer case, the transfer case must be disassembled, cleaned, and inspected for damage.
Important: The transmission-to-transfer case end play check procedure must be performed each time the transmission, transfer case, or the internal components (excluding gaskets and seals) are replaced.
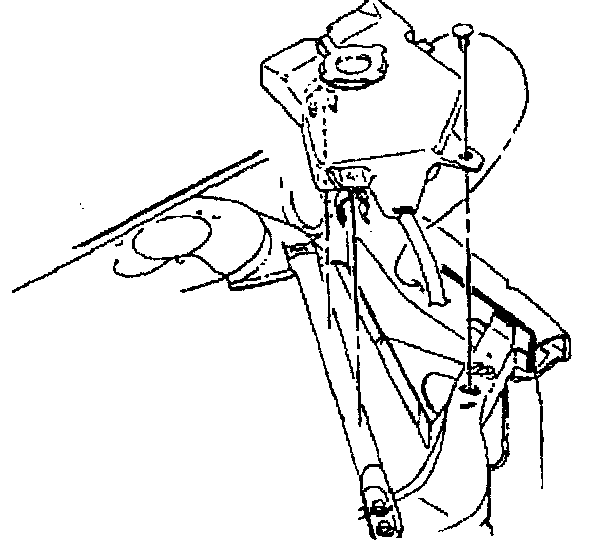
1. Remove the push pins from the coolant recovery bottle.
2. Position aside coolant recovery bottle.
3. Remove air cleaner assembly.
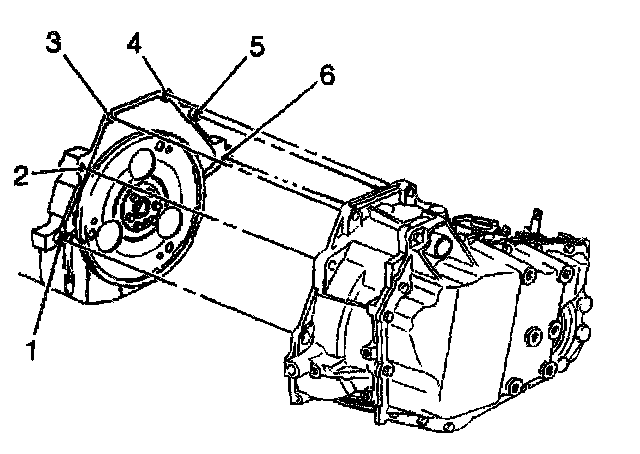
4. Remove the automatic transmission range selector cable from the manual shaft.
5. Remove the automatic transmission range selector cable bracket.
6. Disconnect the wiring harness connectors from the transaxle.
7. Remove the wiring harness bracket from the side cover.
8. Remove the top four bell housing bolts (2, 3, 4, 5).
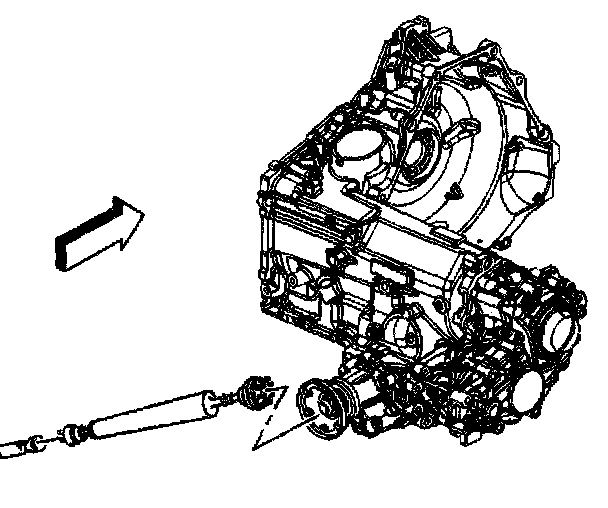
9. Remove the prop shaft.
10. Remove the frame.
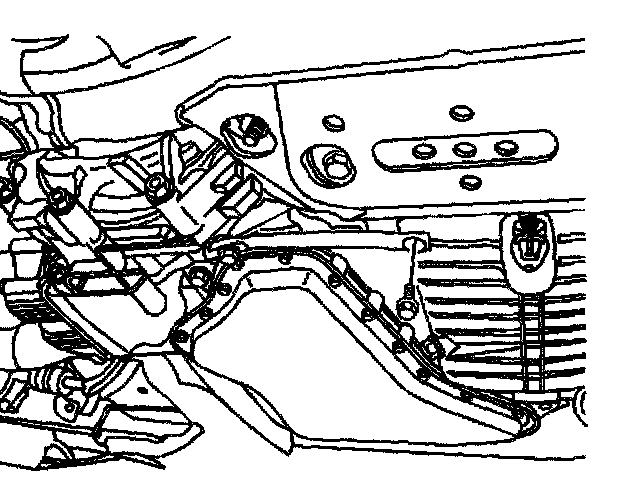
11. Remove the transfer case lower brace bolts.
12. Remove the transfer case lower brace.
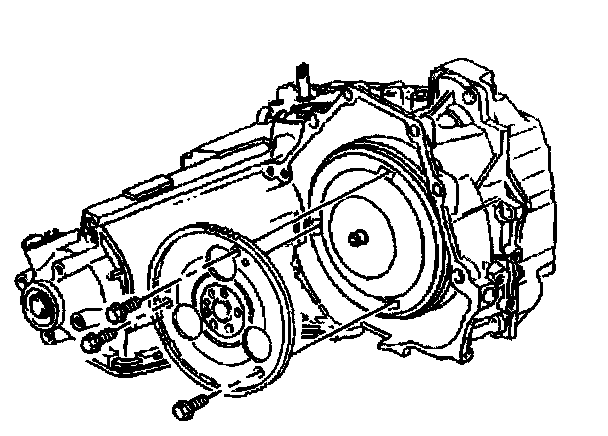
13. Remove the filler tube bracket retaining bolt.
14. Remove the inspection cover.
15. Remove the torque converter bolts.
16. Disconnect the vehicle speed sensor.
17. Remove the right and left axle shafts into the transaxle.
18. Disconnect the transmission cooler lines.
19. Position the transmission jack under the transmission.
20. Remove the transfer case to engine mount bolts.
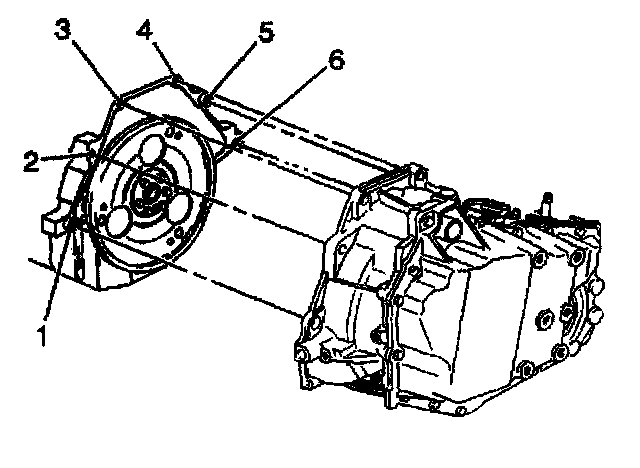
21. Remove the lower transaxle bolts (6) and stud (1).
22. Disconnect neutral safety switch.
23. Remove the transaxle from the vehicle.
24. Remove the transfer case from the transaxle.
25. The transmission-to-transfer case end play check procedure must be performed each time the transmission, transfer case, or the internal components (excluding gaskets and seals) are replaced.
26. Use the J 35944-A or equivalent in order to flush the following components:
^ The transaxle oil coolers
^ The hoses
^ The pipes
Installation Procedure
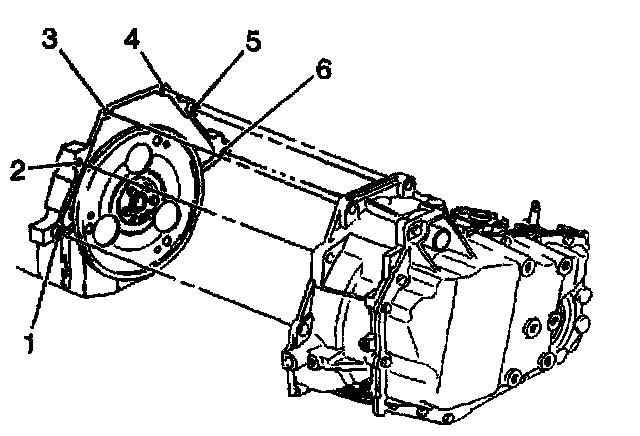
1. The transmission-to-transfer case end play check procedure must be performed each time the transmission, transfer case, or the internal components (excluding gaskets and seals) are replaced.
2. Install the transfer case to the transaxle.
3. Position the flex plate alignment hole to the seven O'clock position.
4. Align the transaxle filler tube to the transmission and install the transaxle into the vehicle.
Notice: Refer to Fastener Notice in Service Precautions.
5. Install the lower transaxle bolt (6) and stud (1).
^ Tighten the lower transaxle to engine and engine to transaxle bolts to 75 Nm (55 ft. lbs.).
6. Install the wiring harness bracket to the side cover.
7. Connect the neutral safety switch.
8. Install the transaxle brace.
9. Connect the transmission cooler lines.
10. Install the right and left axle shafts into the transaxle.
11. Connect the vehicle speed sensor.
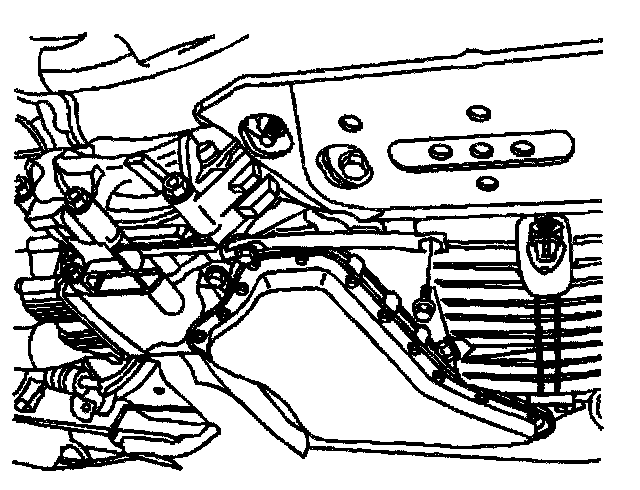
12. Install the transfer case lower brace.
13. Install the transfer case lower brace bolts.
^ Tighten the bolts to 47 Nm (35 ft. lbs.).
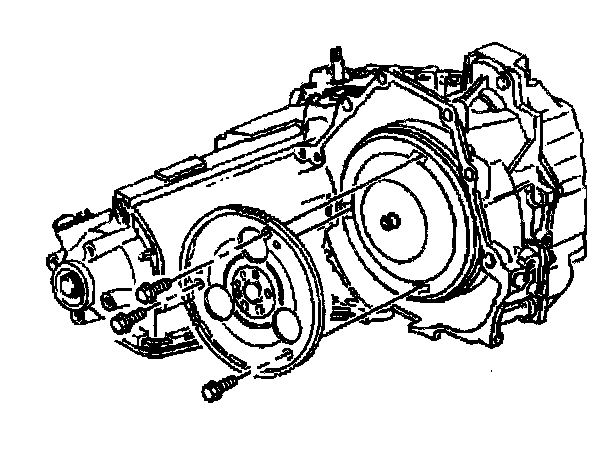
14. Install the torque converter bolts.
^ Tighten the torque converter bolts to 63 Nm (46 ft. lbs.).
15. Install the torque converter cover.
16. Install the filler tube bracket retaining bolt on the transmission.
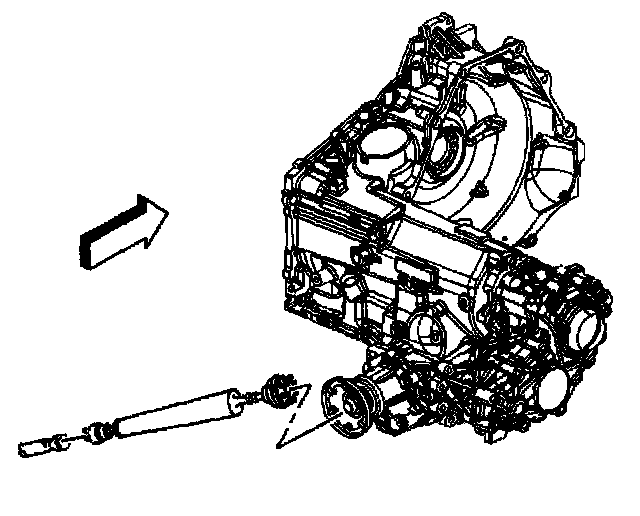
17. Install the prop shaft.
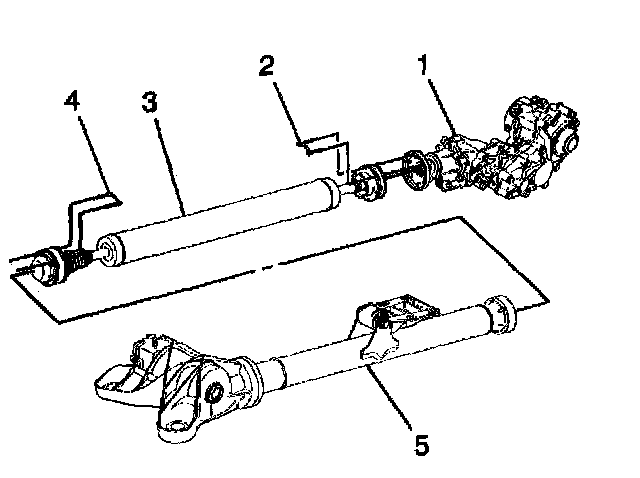
Important: Thoroughly clean and apply LOCTITE DRI-LOC 2010 (GM P/N 12345493, or equivalent) to the bolt threads prior to assembly.
18. Install the propeller shaft-to-transfer case bolts (2). Ensure the special washer is in place on each pair of bolts.
^ Tighten the bolts to 33 Nm (24 ft. lbs.).
19. Install the propeller shaft-to-torque tube bolts (4). Ensure the special washer is in place on each pair of bolts.
^ Tighten the bolts to 33 Nm (24 ft. lbs.).
20. Install the front wheels.
21. Lower vehicle.
22. Remove engine support fixture.
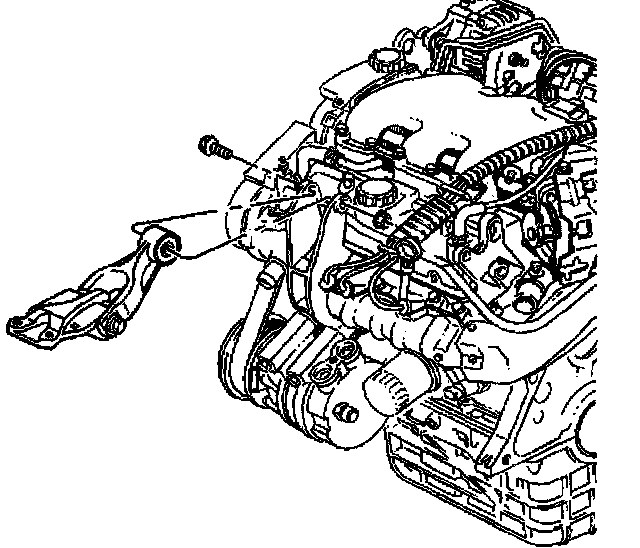
23. Install the right side engine strut.
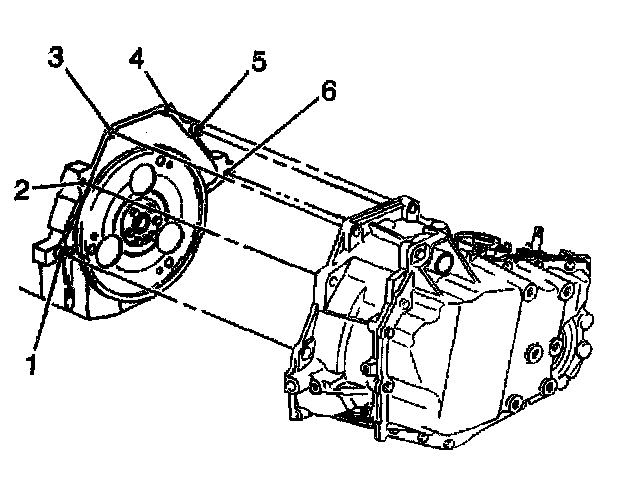
24. Install the upper transaxle bolts (3, 4, 5) and stud (2).
^ Tighten the upper transaxle, bolts and stud to 75 Nm (55 ft. lbs.).
25. Connect the wiring harness the transaxle.
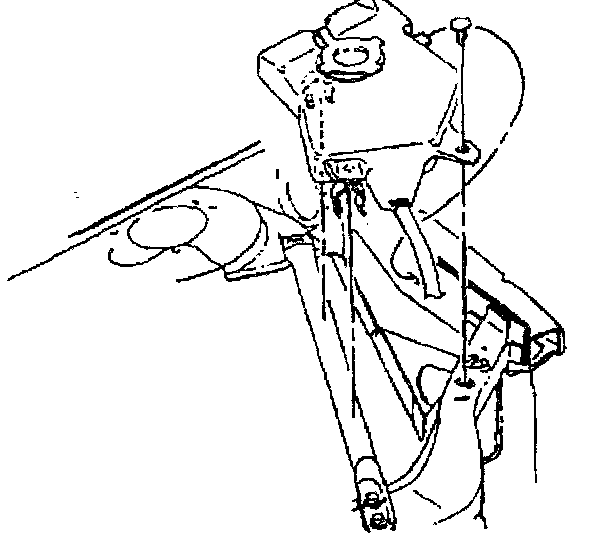
26. Install transmission range selector cable bracket.
27. Install the automatic transmission range selector cable on the manual shaft.
28. Install the air cleaner assembly.
29. Install the coolant recovery bottle.
Notice: Refer to Do Not Overfill Transmission in Service Precautions.
30. Adjust the fluid level.
31. Inspect for fluid leaks.