Coil Spring Replacement (All Wheel Drive)
- Tools Required- J 41820 Ball Joint/Stud Separator
Removal Procedure
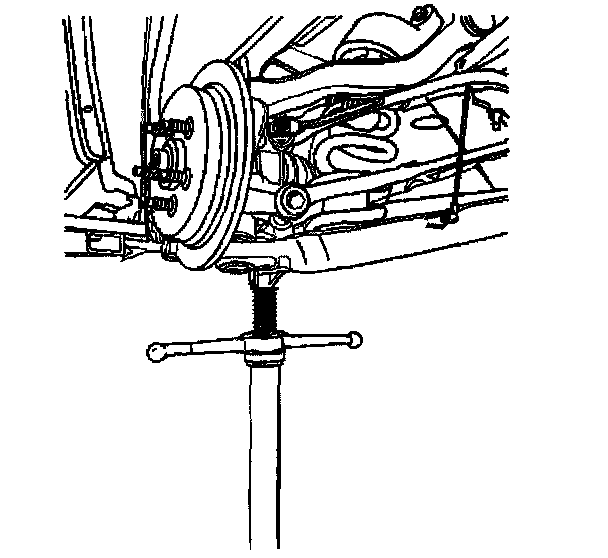
1. Raise and support the vehicle.
2. Remove the rear wheel.
3. Remove the brake caliper and support the bake caliper. Do not disconnect the bake hose.
4. Disconnect the tie rod from the knuckle.
5. Use a utility stand in order to support the lower control arm.
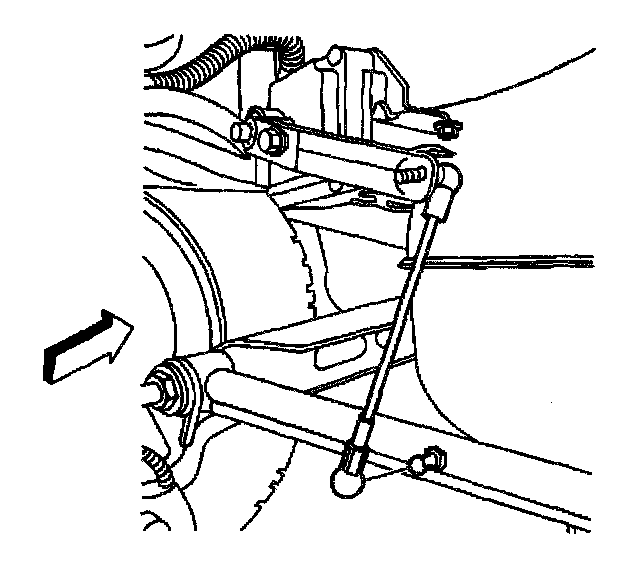
6. Disconnect the height sensor link from the lower control arm.
7. Disconnect the shock absorber from the lower control arm.
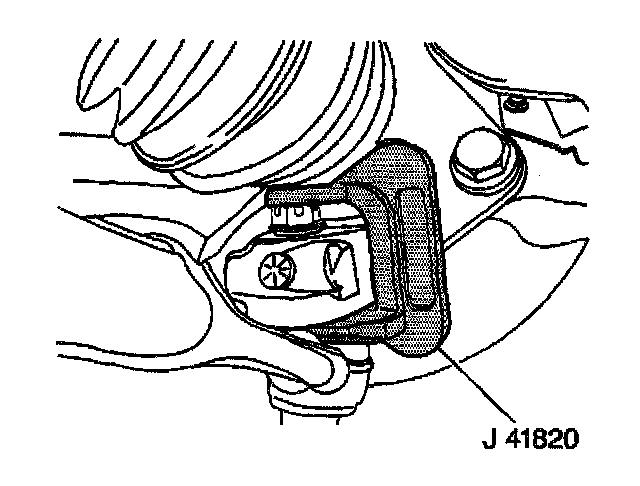
8. Use the J 41820 in order to disconnect the ball joint from the knuckle.
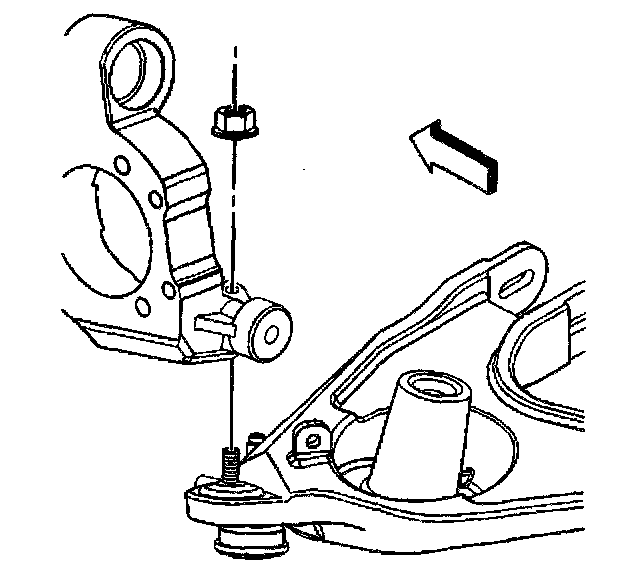
9. Remove the lower ball joint nut.
10. Use the utility stand in order to lower the control arm and relieve the coil spring tension.
Notice: Refer to Chipping or Scratching the Coating on a Spring in Service Precautions.
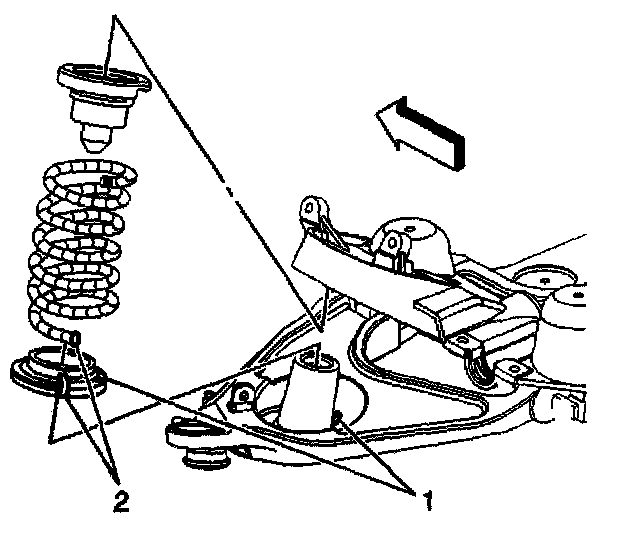
11. Carefully remove the coil spring and jounce bumper (2).
12. Remove the lower control arm.
Installation Procedure
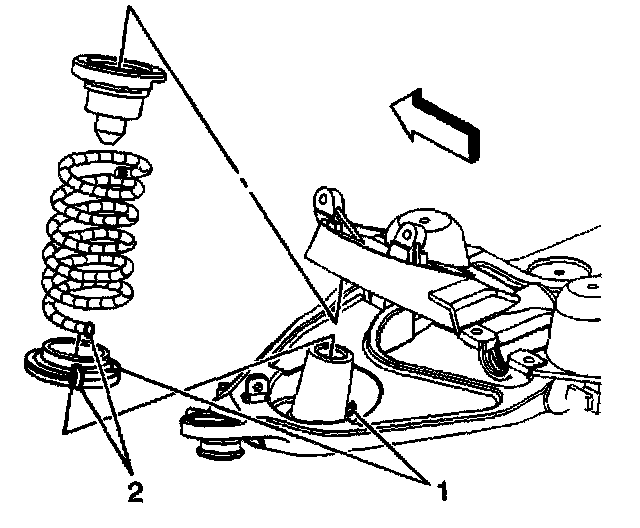
1. Install the spring jounce bumper to the spring.
2. Index and install the spring insulator to the spring (2).
Notice: Refer to Chipping or Scratching the Coating on a Spring in Service Precautions.
3. Index and install the spring seat with the spring and the jounce bumper to the lower control arm (1).
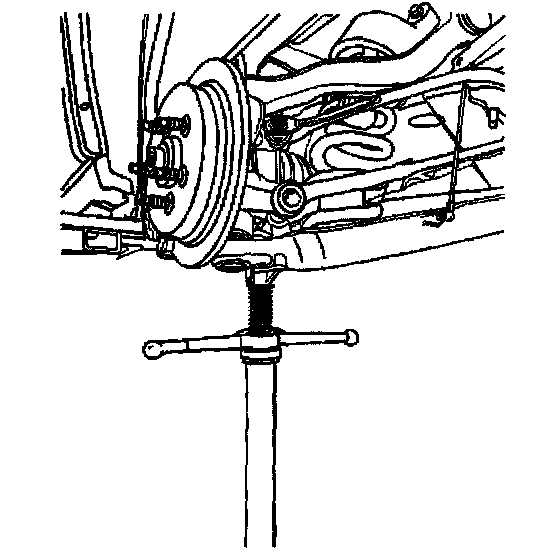
4. Use the utility stand in order to raise the lower control arm.
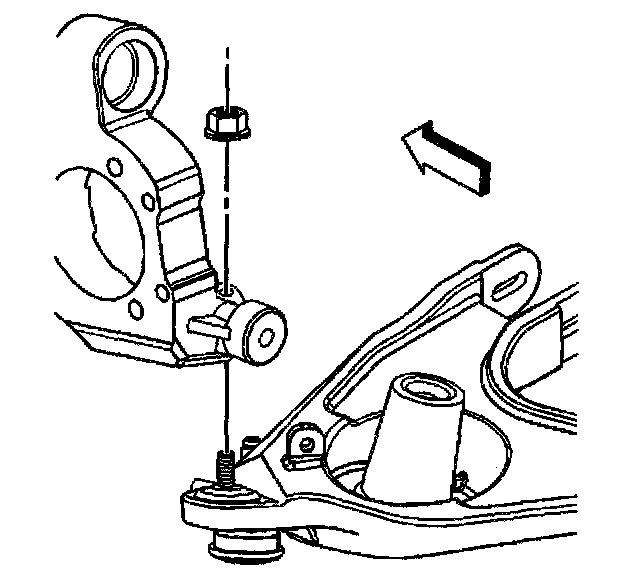
5. Install the lower ball joint to the knuckle.
Notice: Refer to Fastener Notice in Service Precautions.
6. Install the lower ball joint nut.
- Tighten the lower ball joint nut to 85 Nm (63 ft. lbs.).
7. Connect the shock absorber to the lower control arm.
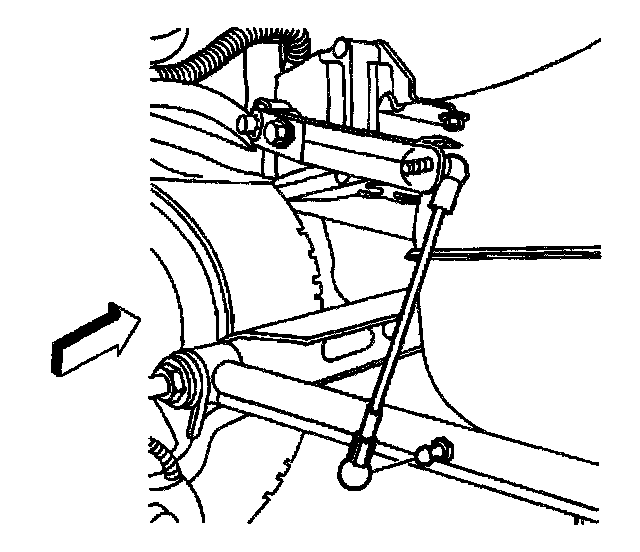
8. Connect the height sensor link to the lower control arm.
9. Disconnect the tie rod from the knuckle.
10. Install the brake caliper.
11. Install the rear wheel.
12. Lower the vehicle.