Air Outlet Replacement - Floor Console
REMOVAL PROCEDURE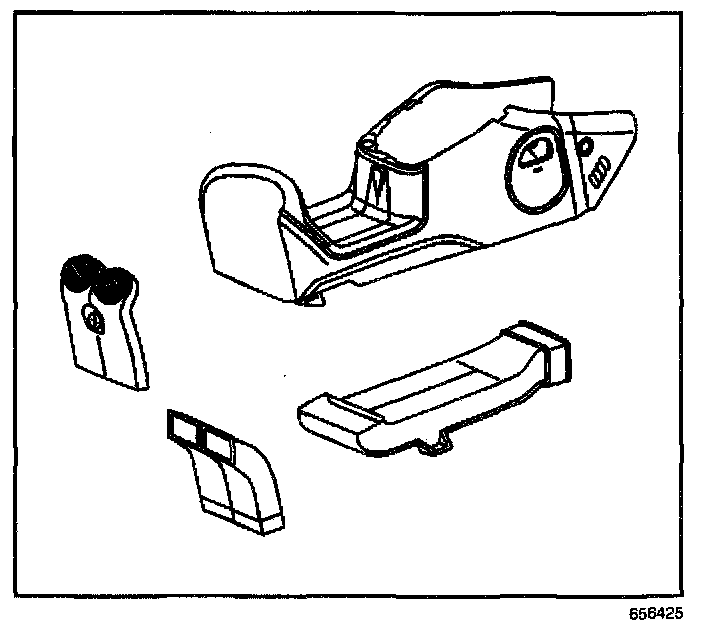
1. Remove the rear section of the console trim panel.
Lift up and towards the rear to release the clips.
2. Disconnect the rear power supply electrical connector.
3. Remove the rear duct screws.
4. Remove the rear duct from the console.
5. If replacing the center section of the console duct:
^ Remove the center console.
^ Rotate the console so the bottom side is up.
^ Remove the center duct screws.
^ Remove the center console duct from the console.
INSTALLATION PROCEDURE
1. If replacing the center section of the console duct:
2. Install the center console duct to the console.
NOTE: Refer to Fastener Notice in Service Precautions.
3. Install the center console duct screws.
Tighten
Tighten the center console duct screws to 1.5 N.m (13 lb in).
IMPORTANT: Align the rear power supply harness away from the center mounting stud of the rear duct.
4. Install the rear duct to the console.
5. Install the rear duct screws.
Tighten
Tighten the rear duct screws to 1.5 N.m (13 lb in).
6. Connect the rear power supply electrical connector.
7. Install the rear section of the console trim panel.
8. Install the center console.