Test Am: Turn Signal Lamps And/Or Indicators Inoperative
- If lighting system diagnostic system check has been performed, go to next step. If lighting system diagnostic system check has not been performed, see LIGHTING SYSTEM DIAGNOSTIC SYSTEM CHECK under SELF-DIAGNOSTIC SYSTEM in BODY CONTROL MODULES - AZTEK article.
- Turn ignition switch to RUN position. Observe turn signal lights and indicators, while moving turn signal lever from left to right positions. If all lights and indicators do not work as commanded, go to next step. If all lights and indicators work as commanded, concern may be intermittent. For aid in diagnosing intermittent problems, see PROBLEM DIAGNOSIS under INTERMITTENTS.
- If turn signal indicators and turn signal lights are inoperative, go to next step. If only turn signal indicators are inoperative, go to step 5.
- If all turn signal lights are operative, go to step 6. If only one turn signal light is inoperative, go to step 12.
- Place turn signal lever to inoperative position. Using a test light connected to ground, probe turn signal lamp indicator control circuit. See WIRING DIAGRAMS . If test light flashes, go to step 10. If test light does not flash, go to step 11.
- Turn ignition switch to OFF position. Disconnect in-line 40-pin harness connector C201. In-line harness connector C201 is located on left side of steering column, connector is at base of column. Turn ignition switch to RUN position. Using a test light connected to ground, probe turn signal supply voltage feed circuit, Pink wire in in-line harness connector C201 terminal C1 (male terminal side). See Fig 1. See ILLUMINATION/INTERIOR LIGHTS article. If test light illuminates, go to next step. If test light does not illuminate, go to step 13.
- Connect test light between in-line harness connector C201 terminals C1 and C2 (male terminal side). Turn ignition switch to RUN position. If test light flashes on and off, go to next step. If test light flashes on and off, go to step 9.
- Check for poor, loose or corroded terminals in hazard flasher module harness connector. If problem exists, repair as necessary and go to step 17. If no problem exists, go to step 15.
- Check for poor, loose or corroded terminals in turn signal switch harness connector. If problem exists, repair as necessary and go to step 17. If no problem exists, go to step 16.
- Check for poor, loose or corroded terminals in Instrument Panel Cluster (IPC) harness connector. If problem exists, repair as necessary and go to step 17. If no problem exists, go to step 14.
- Repair open in inoperative turn signal lamp indicator power supply circuit. See ILLUMINATION/INTERIOR LIGHTS article. After repairs are made, go to step 17.
- Repair open, in inoperative turn signal supply voltage or ground circuit. See ILLUMINATION/INTERIOR LIGHTS article. After repairs are made, go to step 17.
- Repair open in turn signal battery voltage feed circuit, Pink wire between turn signal switch harness connector terminal "E" and center console fuse block harness connector C1 terminal B5. See Figure and Fig 2. After repairs are made, go to step 17.
- Replace IPC. See INSTRUMENT PANEL CLUSTER under REMOVAL & INSTALLATION. After repairs are made, go to step 17.
- Replace hazard flasher module. After repairs are made, go to step 17.
- Replace multifunction switch. See STEERING COLUMN SWITCHES - AZTEK article. After repairs are made, go to next step.
- Check system for normal operation. If system operates normally, test is complete. If system does not operate normally, go to step 3.
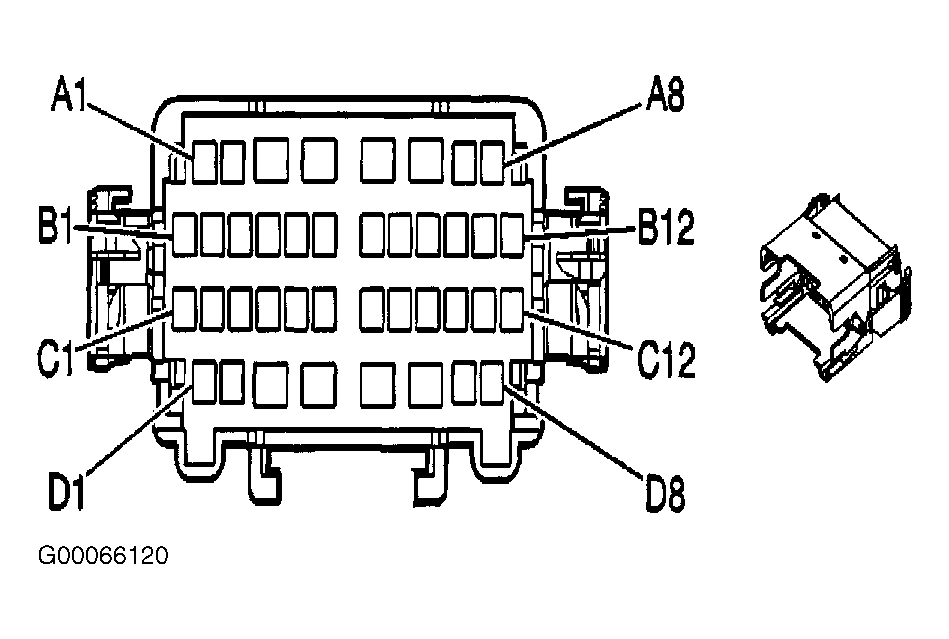 Courtesy of GENERAL MOTORS CORP.
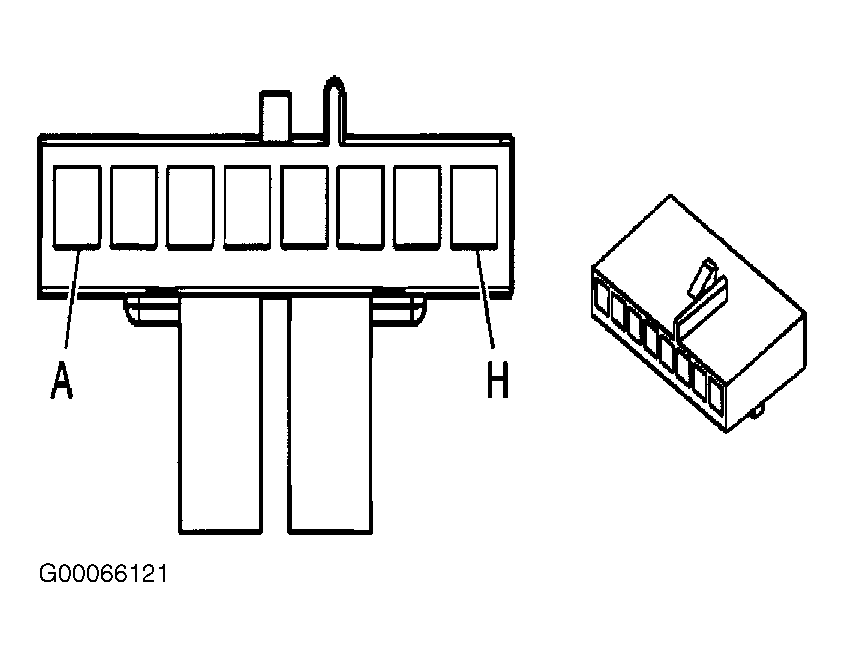 Courtesy of GENERAL MOTORS CORP.