Removal & Installation (FWD Models)
- Disconnect negative battery cable. Remove sound insulation panels and steering column trim cover. Disconnect parking brake cable and vent cables (as needed).
- On Sunbird models, remove glove box and door. On all models disconnect temperature control cable, heater control cable, A/C wiring, vacuum harnesses and A/C duct (as equipped). Remove steering column retaining bolts and lower steering column.
- On 6000 models, disconnect chassis harness and ECM connectors. Disconnect instrument panel harness at cowl. Remove center instrument panel trim plate and radio. Disconnect neutral and brake light switches.
- On Sunbird models, remove right lower trim plate and disconnect cigarette lighter and accessory switches. Pull heater or A/C control head out slightly. Disconnect wiring and vacuum harnesses, then remove head. Unplug front end and engine harnesses from bulkhead connector. Remove bulkhead connector from cowl. Remove hood release handle set screw and handle. Loosen retaining nut and disconnect hood release cable.
- On all models, remove upper instrument panel retaining screws (in defroster ducts on Sunbird) and lower retaining screws. Pull panel out partially and disconnect ignition, headlight dimmer and turn signal switches. Disconnect remaining electrical wiring and vacuum lines. Remove panel. To install, reverse removal procedure.
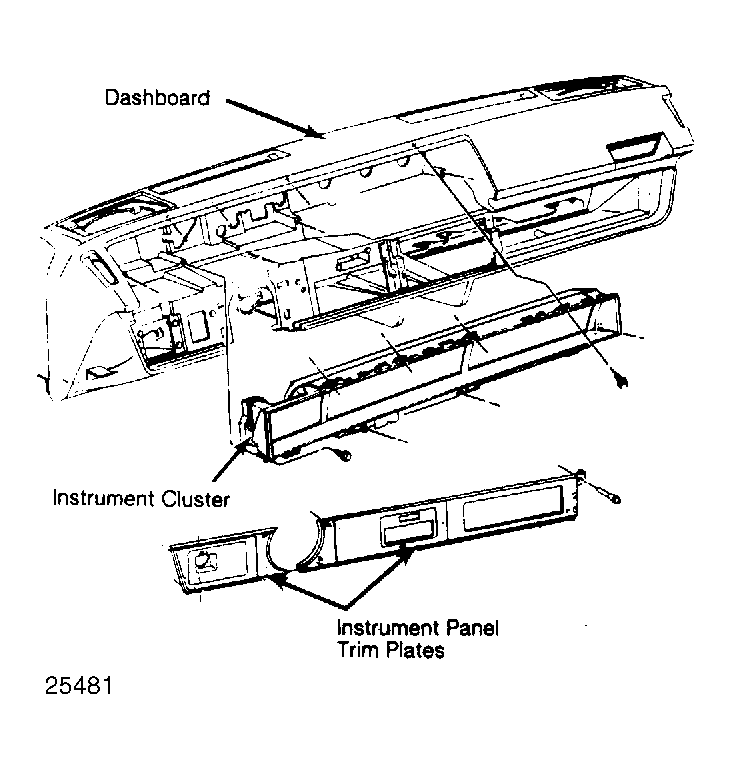 Courtesy of GENERAL MOTORS CORP.