- Disconnect the negative and positive battery terminals, then wait at least three minutes.
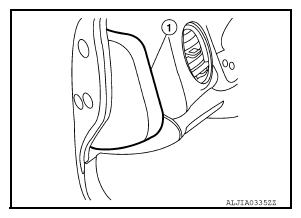
- Remove the instrument side finishers (1) (LH/RH) using a suitable tool.
NOTE:
LH side shown; RH side similar.
 Courtesy of NISSAN NORTH AMERICA, INC.
- Remove the front pillar finishers (LH/RH). Refer to
"FRONT PILLAR FINISHER: REMOVAL AND INSTALLATION
".
- Remove the front kicking plates (LH/RH). Refer to
"KICKING PLATE INNER: REMOVAL AND INSTALLATION
".
- Remove the instrument lower panel LH. Refer to
"REMOVAL AND INSTALLATION ".
- Remove the audio unit. Refer to
"REMOVAL AND INSTALLATION
" (BASE AUDIO),
"REMOVAL AND INSTALLATION
" (DISPLAY AUDIO WITHOUT BOSE) or
"REMOVAL AND INSTALLATION
" (DISPLAY AUDIO WITH BOSE).
- Remove the AV control unit. Refer to
"REMOVAL AND INSTALLATION
" (NAVIGATION WITHOUT BOSE) or
"REMOVAL AND INSTALLATION
" (NAVIGATION WITH BOSE).
- Remove the steering wheel. Refer to
"REMOVAL AND INSTALLATION
".
- Remove the combination switch. Refer to
"REMOVAL AND INSTALLATION
".
- Remove the combination meter. Refer to
"REMOVAL AND INSTALLATION
".
- Remove the glove box assembly. Refer to
"REMOVAL AND INSTALLATION ".
- Remove the center console assembly. Refer to
"REMOVAL AND INSTALLATION ".
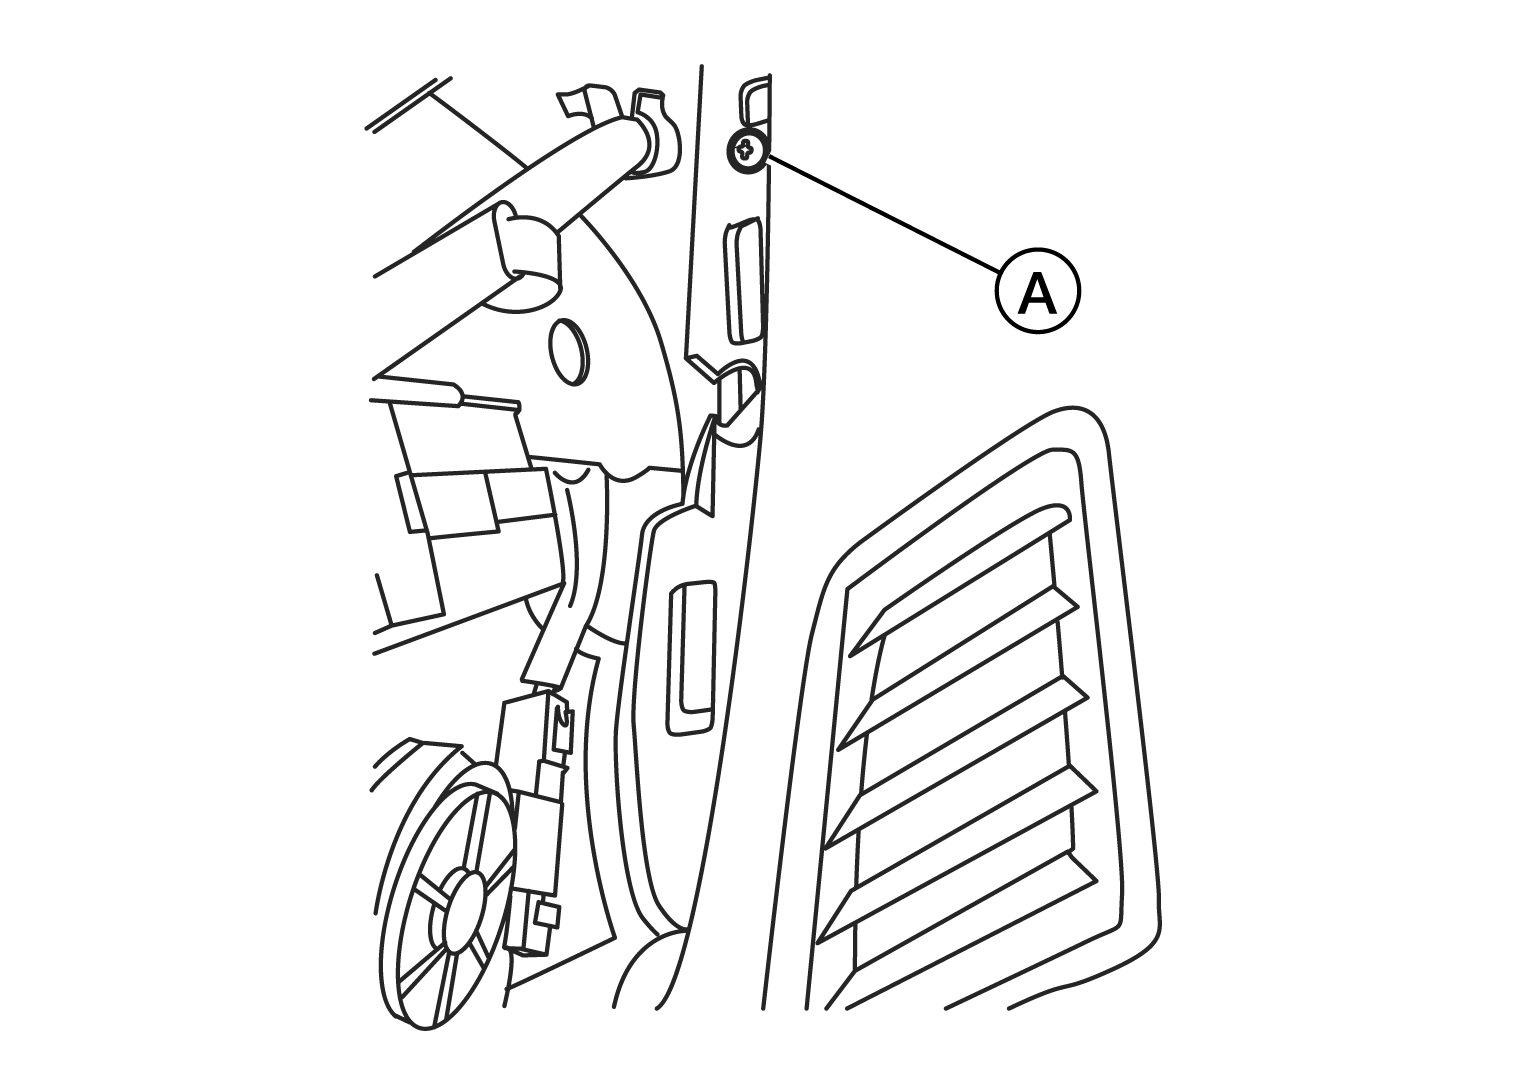
- Remove the instrument panel screws (A) (LH/RH).
NOTE:
The instrument panel screws (A) can be found near the side defroster grilles (LH/RH).
 Courtesy of NISSAN NORTH AMERICA, INC.
- Remove the remaining instrument panel screws.
- Disconnect the harness connector from the front passenger air bag module.
- Disconnect all remaining harness connectors.
- With the help of an assistant, remove the instrument panel assembly.
CAUTION:
Be careful not to scratch the instrument panel pad and other parts.