Removal and Installation: Removal
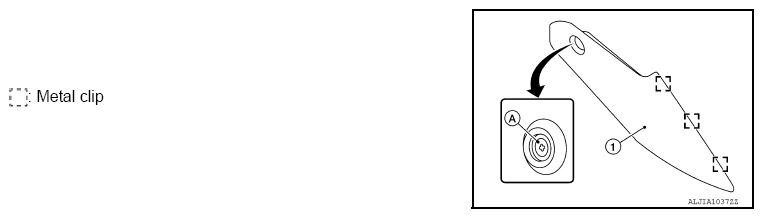
- Remove the center console side finishers (1) (LH/RH).
- Remove the center console side finisher screw (A) (LH/RH).
- Release the clips using a suitable tool, then remove the center console side finisher.
 Courtesy of NISSAN NORTH AMERICA, INC.
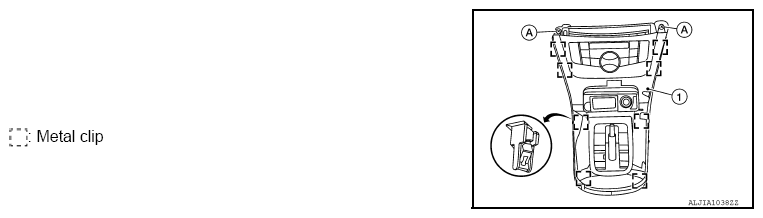
- Remove the shift selector finisher (1).
- Remove cluster lid C lower. Refer to
"REMOVAL AND INSTALLATION - CLUSTER LID C LOWER ".
- Remove the shift selector screws (A).
- Release the clips using a suitable tool, then remove the shift selector finisher.
 Courtesy of NISSAN NORTH AMERICA, INC.
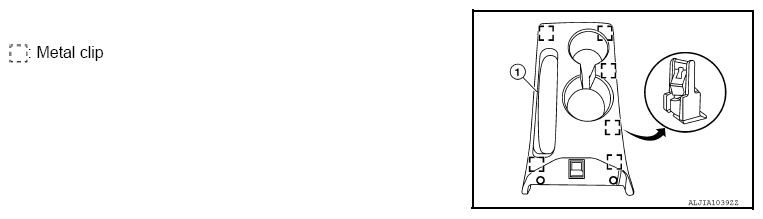
- Release the center console cup holder finisher clips, then remove the center console cup holder finisher (1).
 Courtesy of NISSAN NORTH AMERICA, INC.
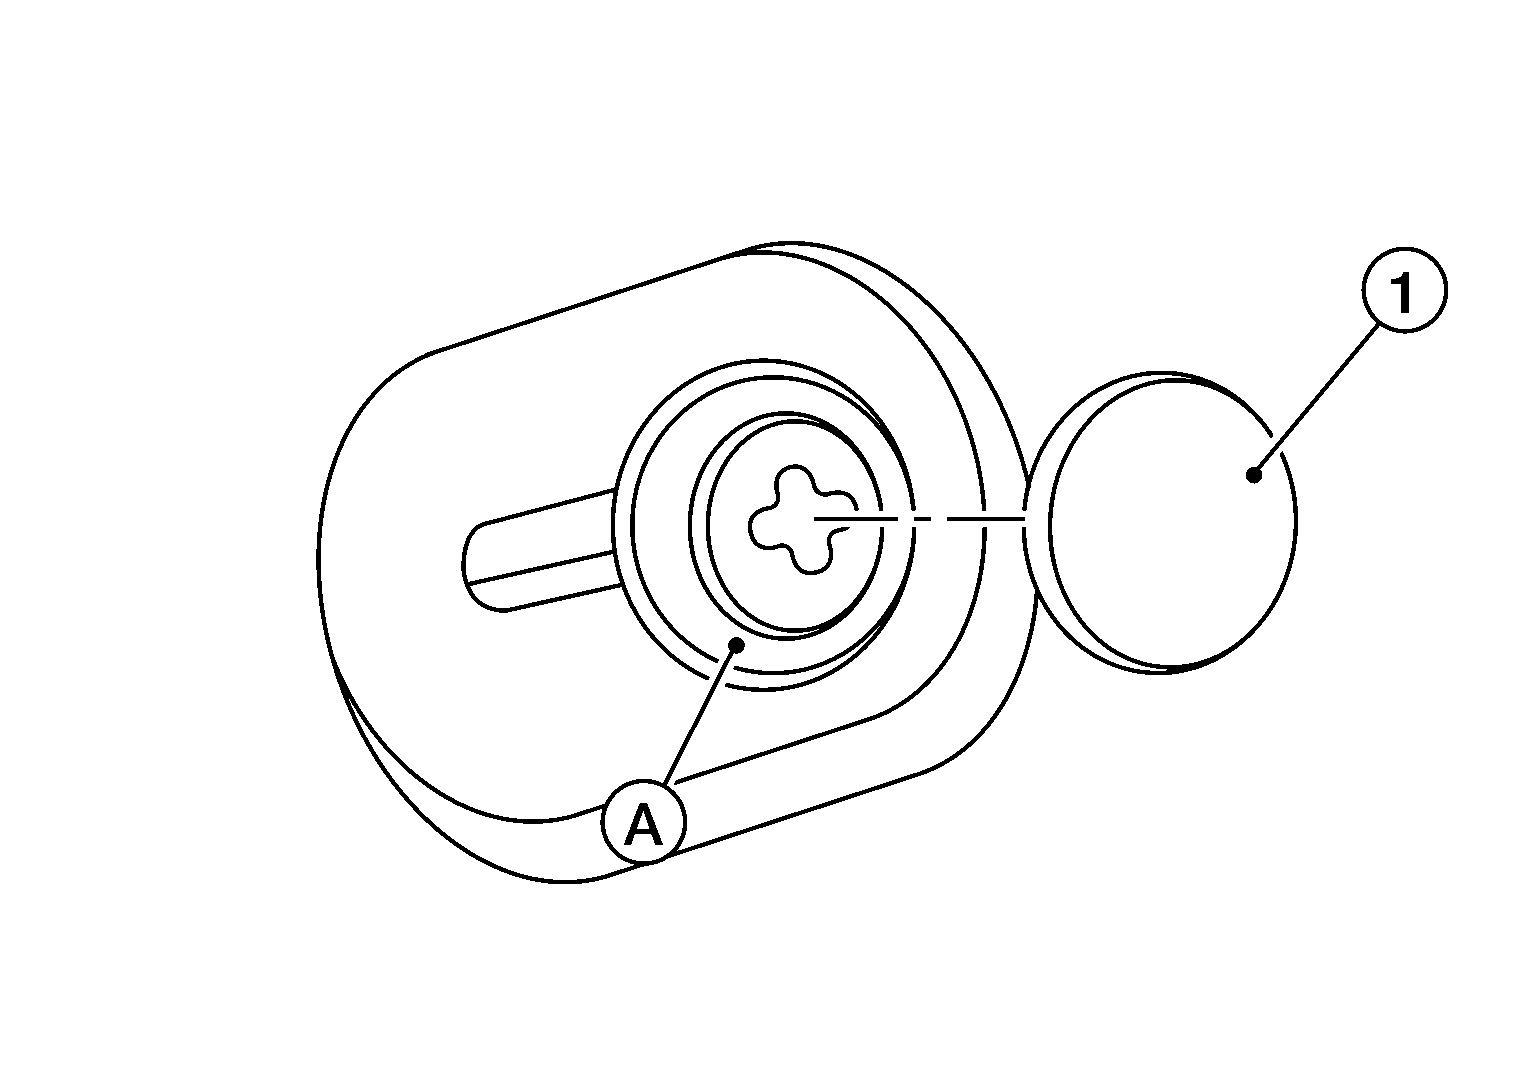
- Remove the center console screw cover (1) using a suitable tool and the center console screws (A) (LH/RH).
 Courtesy of NISSAN NORTH AMERICA, INC.
- Remove the remaining center console screws (A).
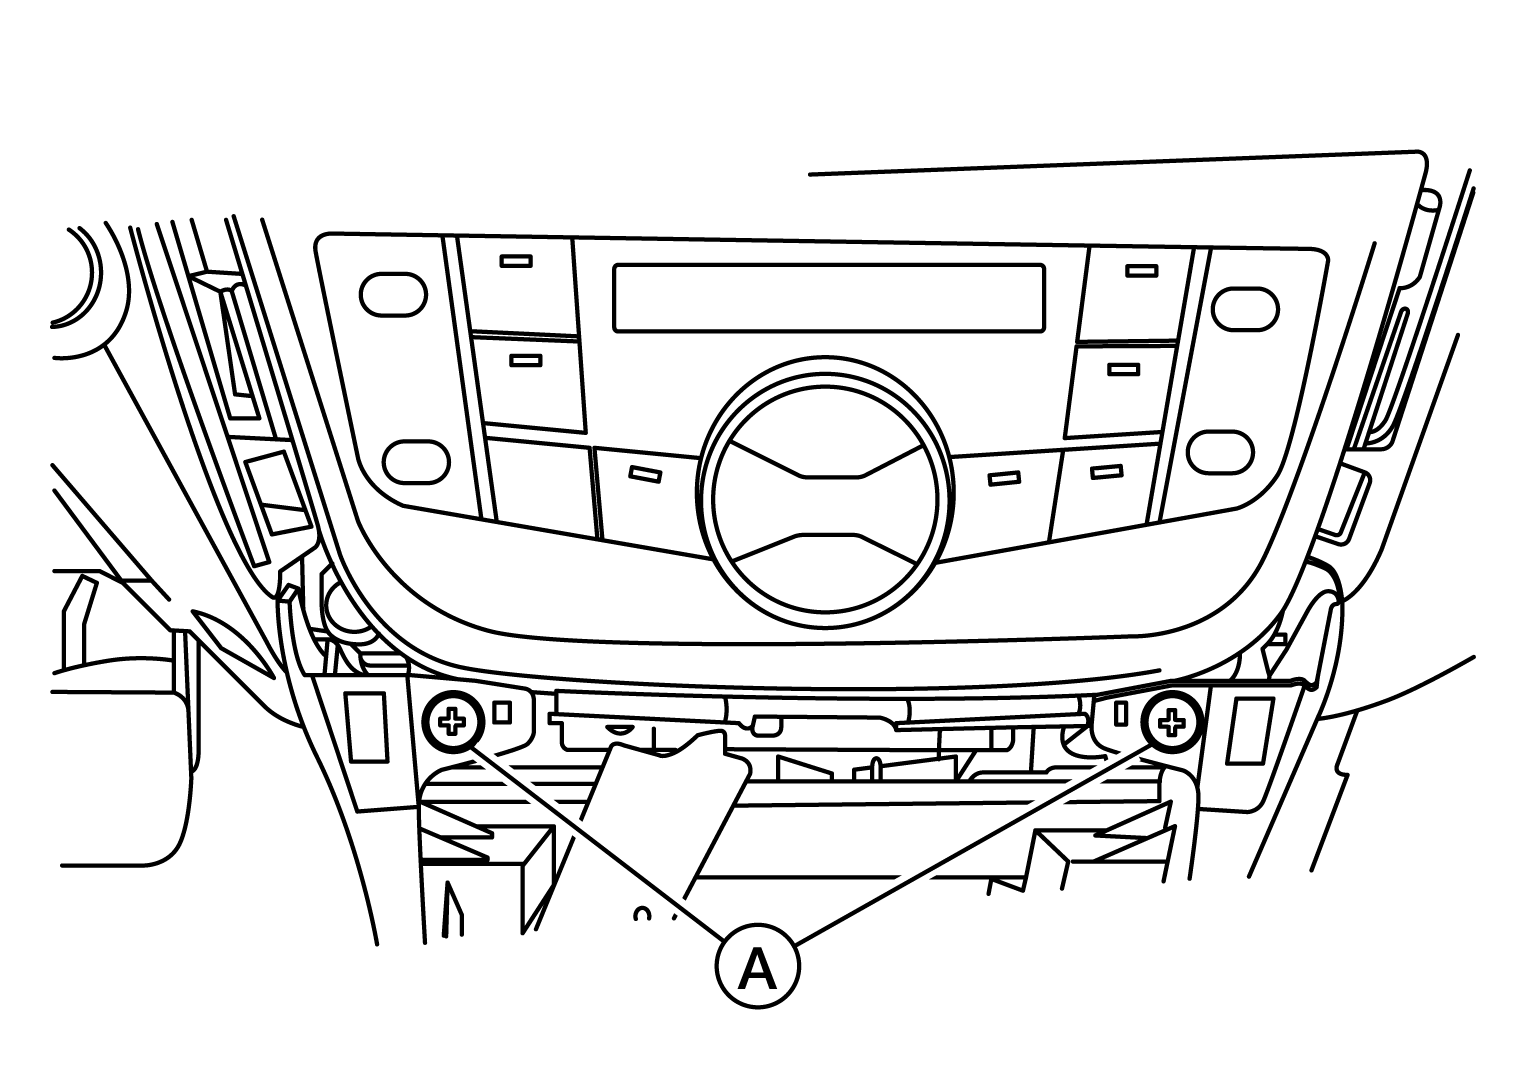 Courtesy of NISSAN NORTH AMERICA, INC.
- Disconnect the harness connectors from the center console assembly and remove.