Oil Pan: Service and Repair
REMOVALOil Pan:
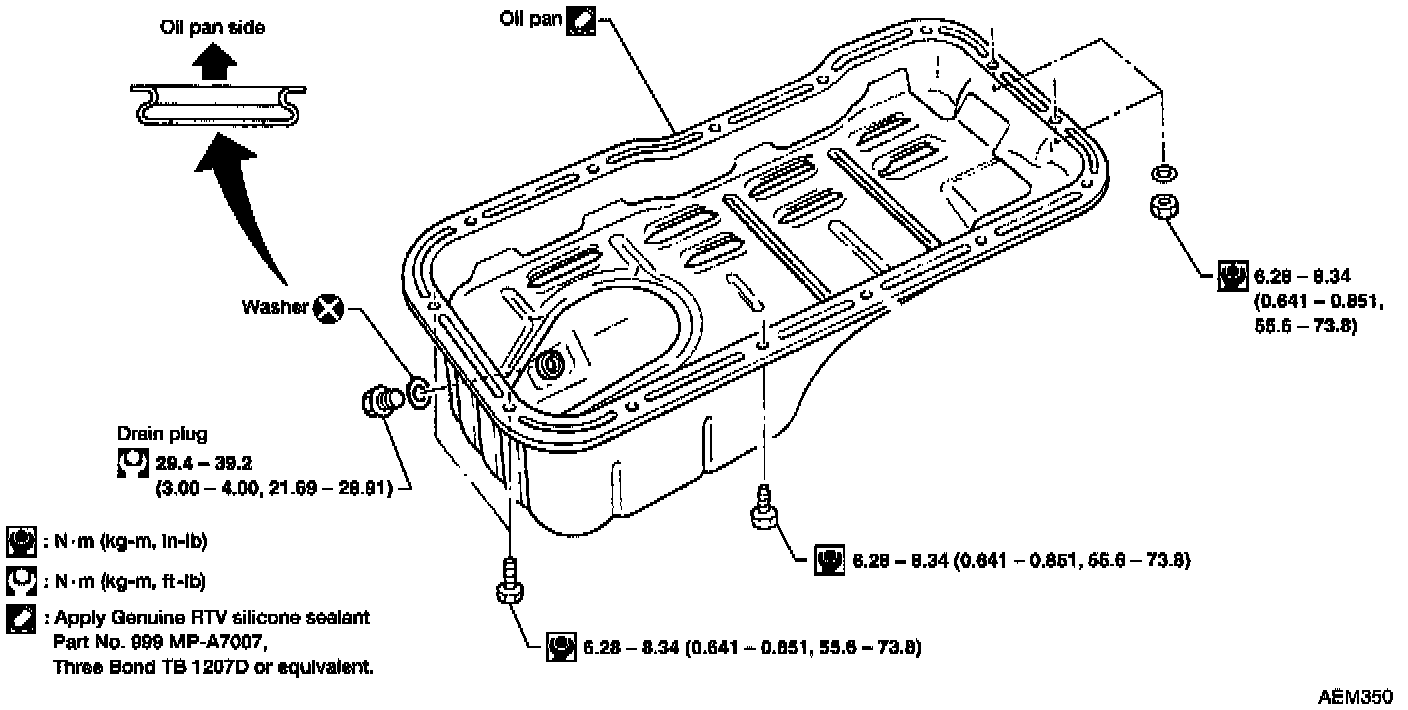
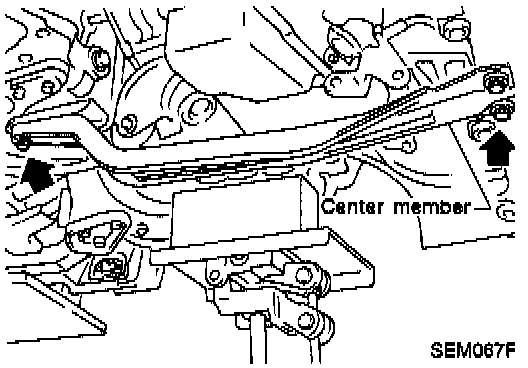
1. Remove engine RH side cover and under covers.
2. Drain engine oil.
3. Remove front exhaust tube.
4. Set a suitable transmission jack under transaxle and lift engine with engine slinger.
5. Remove center member.
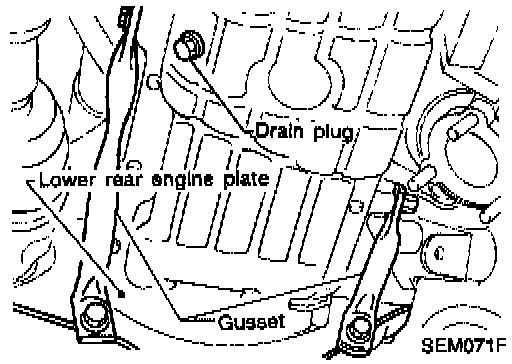
6. Remove front and rear engine gussets.
7. Remove rear plate cover (A/T models).
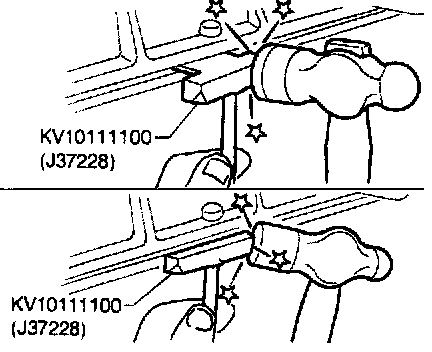
8. Remove oil pan.
a. Insert Tool between cylinder block and oil pan. Be careful not to damage aluminum mating face. Do not insert screwdriver, or oil pan flange will be damaged.
b. Slide Tool by tapping on the side of the Tool with a hammer.
INSTALLATION
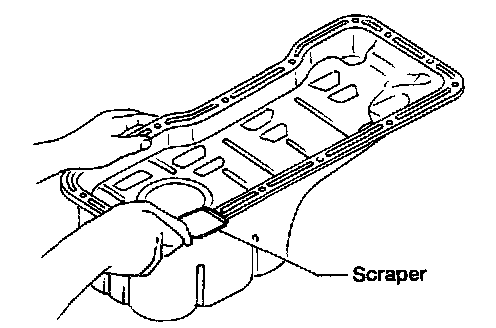
1. Use a scraper to remove old liquid gasket from mating surface of oil pan.
- Also remove old liquid gasket from mating surface of cylinder block.
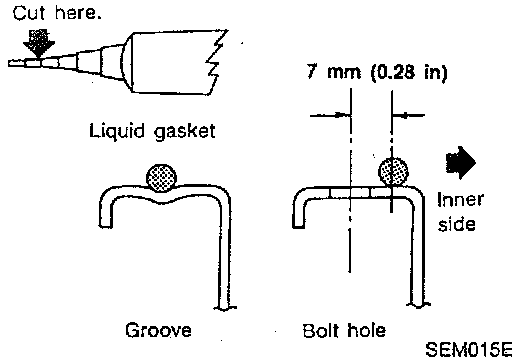
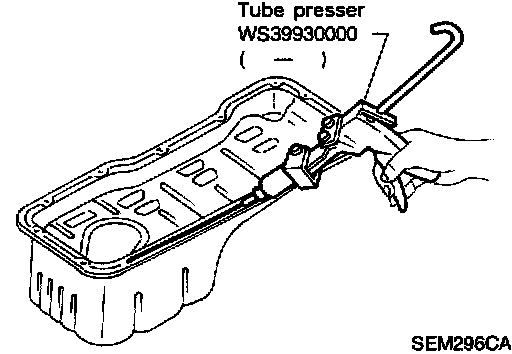
2. Apply a continuous bead of liquid gasket to mating surface of oil pan.
- Use Nissan Genuine RTV silicone sealant part no. 999MP-A7007, Three Bond TB1207-D or equivalent.
- Apply to groove on mating surface.
- Allow 7 mm (0.28 inch) clearance around bolt holes.
- Be sure liquid gasket diameter is 4.0 to 5.0 mm (0.157 to 0.197 inch).
- Attaching should be done within 5 minutes after coating.
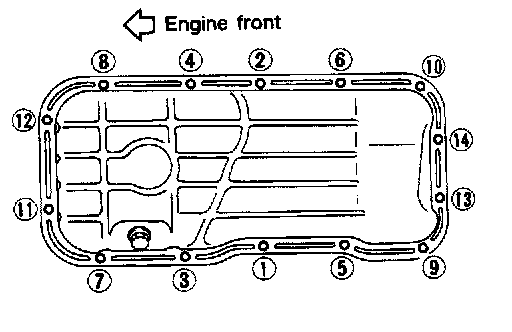
3. Install oil pan.
- Tighten oil pan nuts and bolts in the numerical order.
- Wait at least 30 minutes before refilling engine oil.
4. Install parts in reverse order of removal.