Removal and Installation
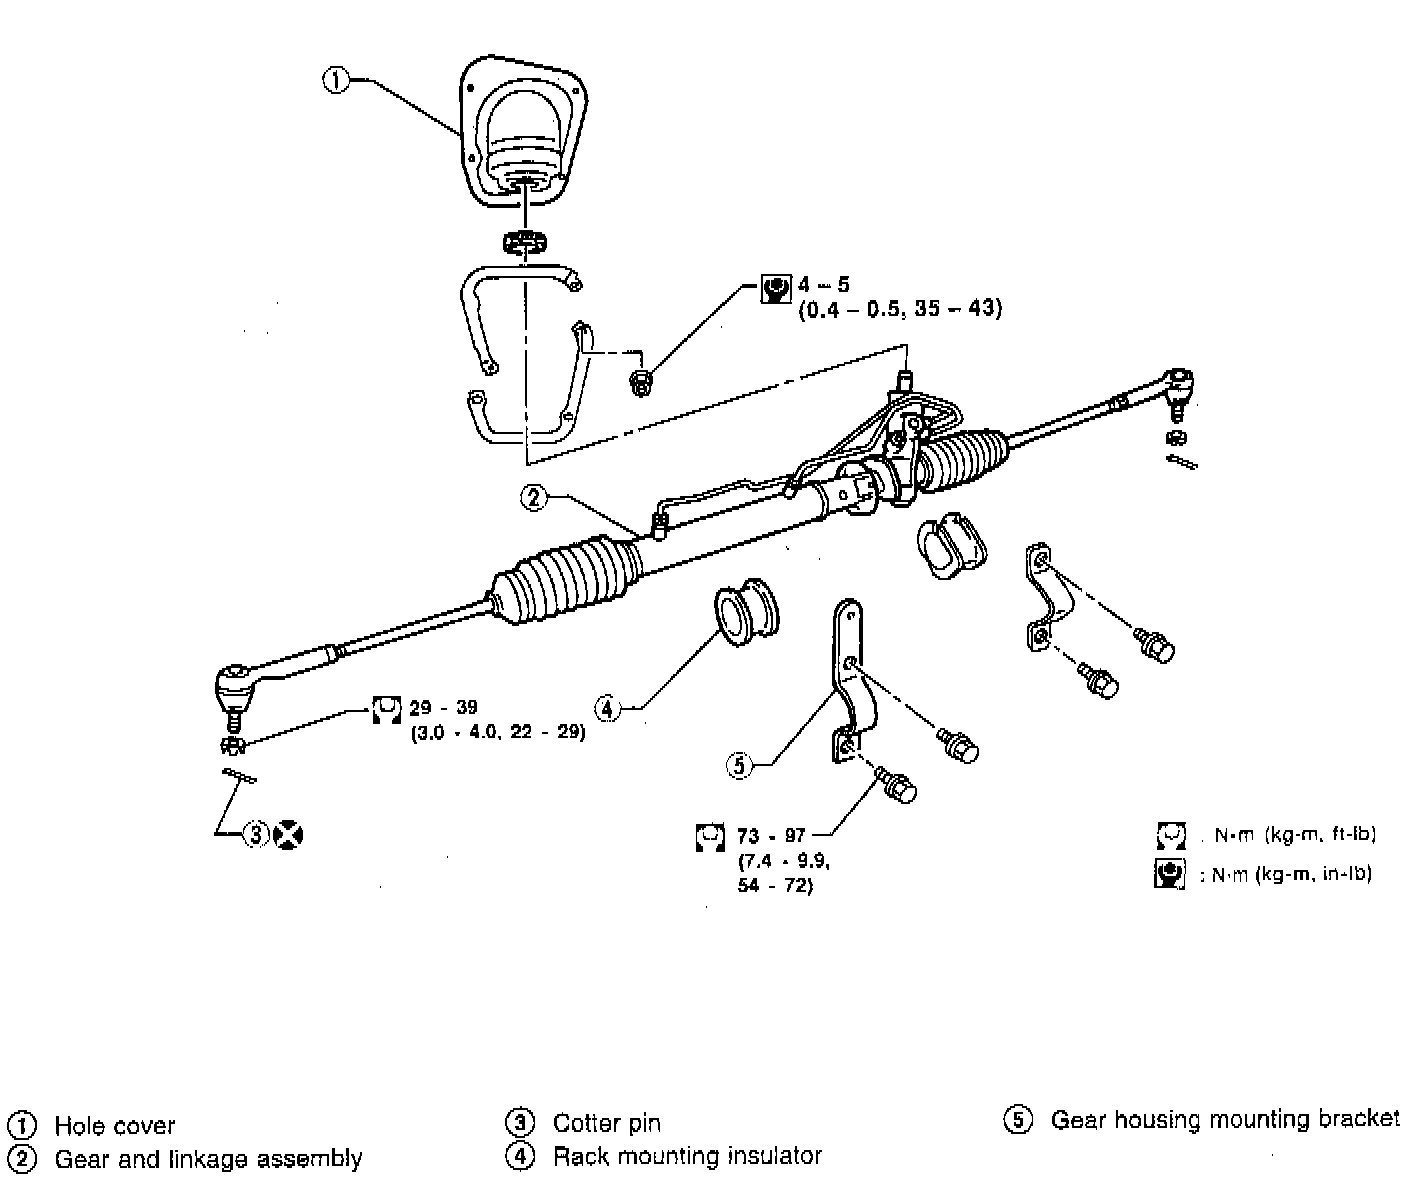
CAUTION: The rotation of the spiral cable (SRS "Air Bag" component part) is limited. If the steering gear must be removed, set the front wheels in the straight ahead position. Do not rotate the steering column while the steering gear is removed.
1. Loosen upper clamp on dust boot in engine compartment.
2. Remove lower bolt from coupling joint.
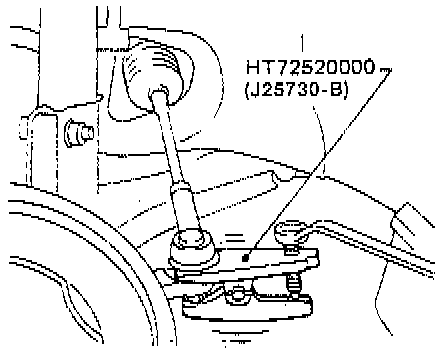
3. Detach tie rod outer sockets from knuckle arms with ball joint remover tool No. HT72520000, or equivalent.
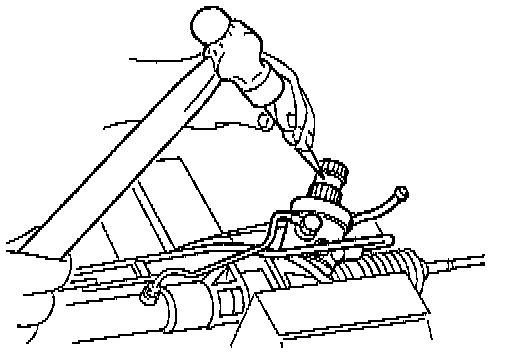
4. After removing steering gear from vehicle, mark pinion shaft and pinion housing to record neutral position.
5. To install, set left and right dust boots to equal deflection. Align matching marks on pinion shaft and pinion housing.
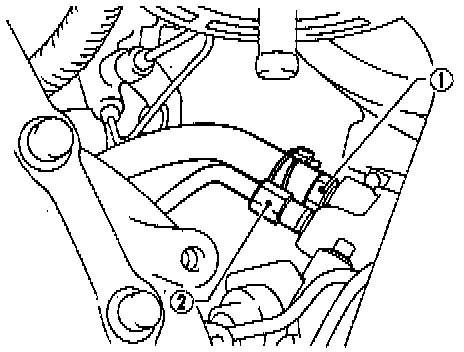
6. The O-ring in the low pressure line (1) is larger than that in the high pressure line (2). Take care to install the proper O-ring.
7. Observe specified tightening torque when tightening high pressure and low pressure line flare nuts. Excessive tightening can damage threads or O-ring. Flare nut tightening torque:
Low pressure side (1): 27 - 39 Nm (20 - 29 ft. lbs.)
High pressure side (2): 15 - 25 Nm (11 - 18 ft. lbs.)
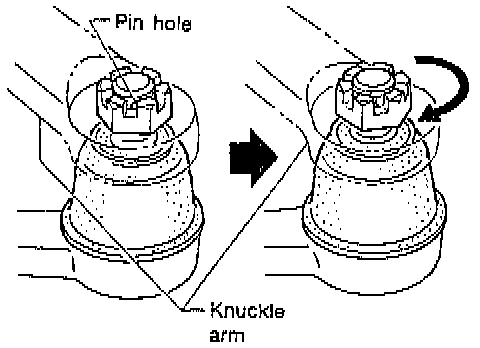
8. Initially, tighten nut on tie rod outer socket and knuckle arm to 29 - 39 Nm (22 - 29 ft. lbs.). Then tighten further to align nut groove with first pin hole so that cotter pin can be installed.
CAUTION: Tightening torque must not exceed 49 Nm (36 ft. lbs.).
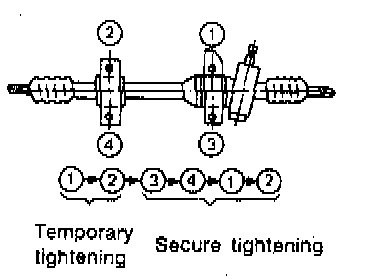
9. Tighten gear housing mounting bracket bolts in the order shown.