Adhesive Repair - Polyurethane Facia
If extensive reinforcing or patching from the back of the facia is required, use the following procedure.
1. Scuff the back side with 180 grade abrasive.
2. Cut a glass cloth patch to cover repair area.
3. Mix a quantity of Flexible Parts Repair Material. Lay the glass cloth on a clean surface. Use a squeegee to press the Flexible Parts Repair into the glass cloth.
4. Apply glass cloth patch to the back side of the repair area.
5. Apply additional Flexible Parts Repair Material over surface of the glass cloth patch.
Facia Surface Repair
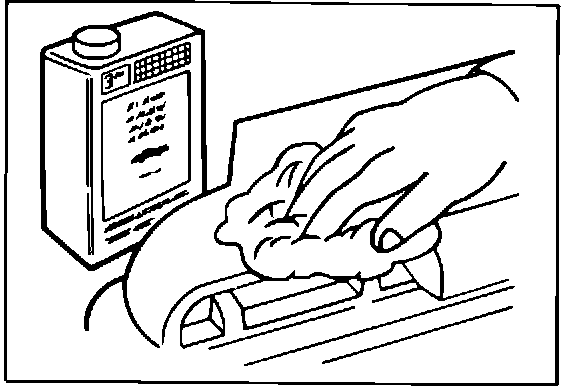
1. Clean the repair area with soap and water. Remove grease and tar with solvent. Avoid solvent contact with plastic base material -- temporary swelling can occur.
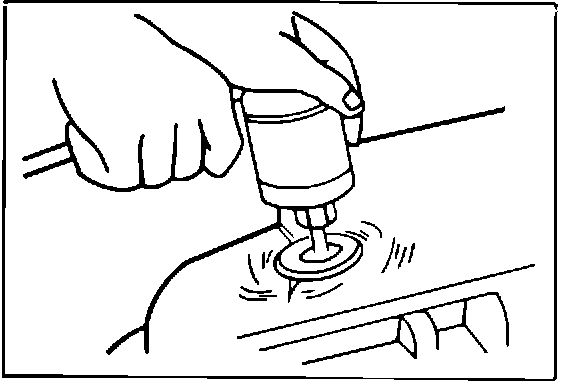
2. Grind the repair surface with a 36 grit disc. Grind about 1-1/2" around the actual damage to achieve a taper for best adhesion.
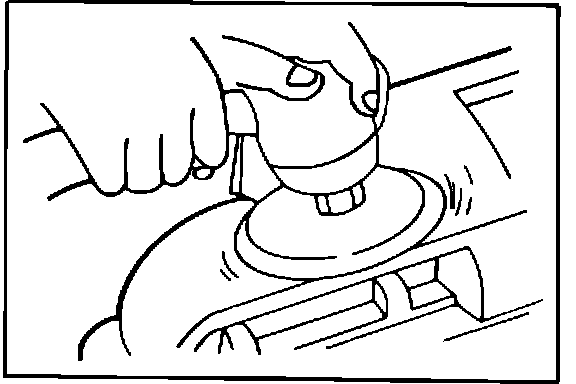
3. Featheredge the paint around the repair using an orbital sander with a 180 grit disc. Wipe with a clean, dry rag and blow off with air.
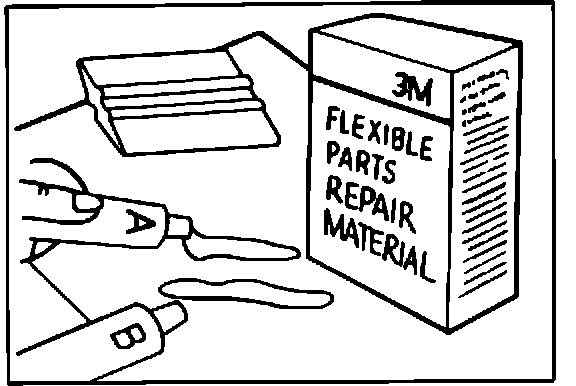
4. Mix Flexible Parts Repair Material according to the instructions and apply to the repair area with a squeegee, building it up higher than the undamaged area. Allow it to cure for 20-30 minutes at 60-80~ F.
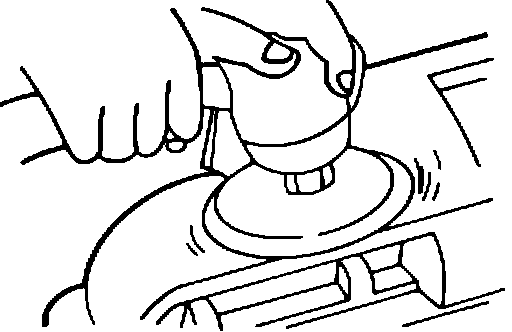
5. After curing, sand with 180 grit disc followed by a 240 grit disc.
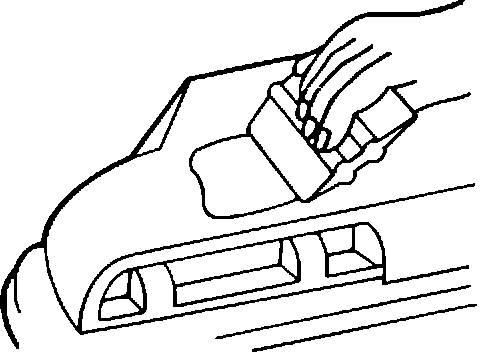
6. Fill sand scratches and pinholes with Flexible Parts Putty. Allow at least 15 minutes to dry. Sand with a 320 grit disc.
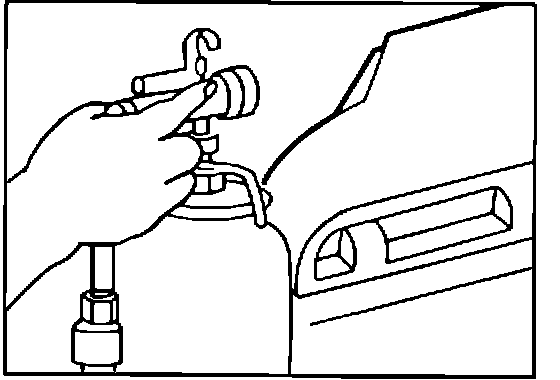
7. Apply a double wet coat of Flexible Parts Coating. After a 10 minute flash time, apply a second double coat. Let dry for 45 minutes and lightly scuff sand the coating with 320 grit disc. Apply color coats recommended for plastic body parts.