Sunroof - Seal Replacement
89Nissan08Classification: Section:
BF89-019 Body & Frame
Reference:
TECHNICAL BULLETIN TS89-120
Models: 1986-89 Truck/Pathfinder
Date: August 17, 1989
TRUCK/PATHFINDER SUNROOF SEAL REPLACEMENT
APPLIED MODEL: 1986-89 Truck (D21) 1987-89 Pathfinder (WD21)
SERVICE INFORMATION:
If the sunroof seal on a 1986-89 Truck/Pathfinder deteriorates due to age, exposure or weathering, it may develop water leaks. To avoid the expense of replacing the entire sunroof assembly, a removal/installation procedure for the sunroof seal has been developed.
SERVICE PROCEDURE
Original Seal Removal:
1. Remove sunroof from vehicle and place on a worktable with a soft cover.
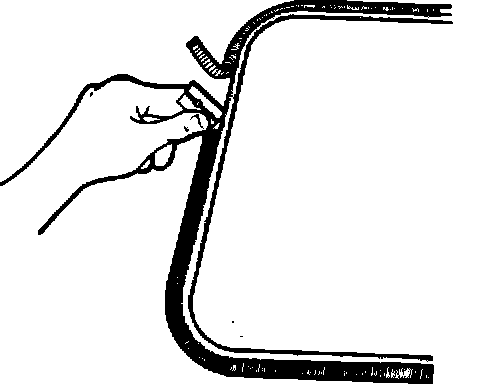
2. Using a new single edge razor or utility knife, cut off the outside of the seal around the perimeter of the sunroof glass. This will make it easier to remove the inner portion of the weatherstrip which is sealed to the glass with a urethane bond. See illustration below.
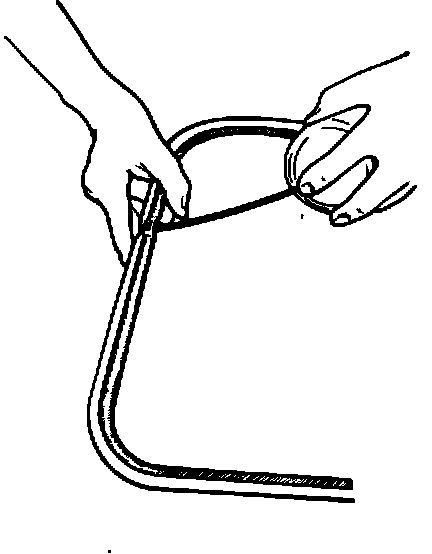
3. 3M Natural Cleaner (citrus base) P/N 62-4615-4930-5 is recommended to loosen the urethane bond and aid in scraping off the weatherstrip. Starting with the top side of the sunroof, slide the razor between the glass and weatherstrip, lifting the weatherstrip as much as possible. Spray Natural Cleaner into the raised portion of weatherstrip as shown in the illustration below:
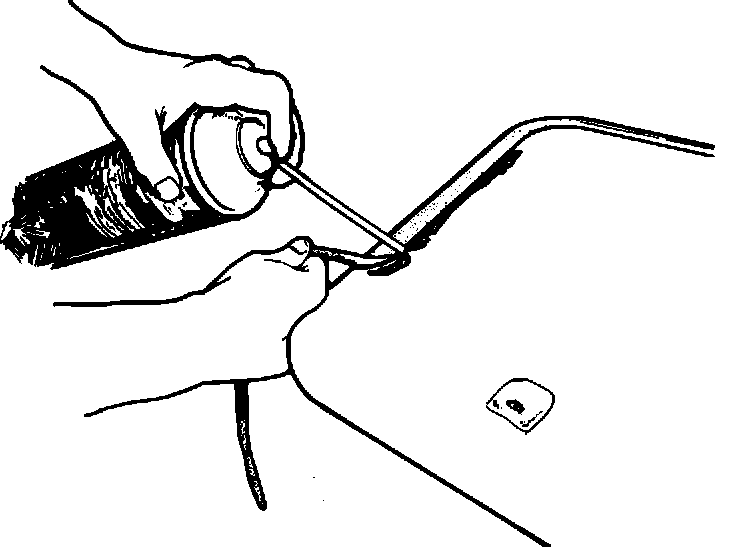
4. From the starting point described in Step # 2, spray a bead of Natural Cleaner 5-6" along the weatherstrip. Cut across the weatherstrip and begin scraping it away from the glass in the direction of the sprayed area. Be sure to cut the weatherstrip/sealant all the way down to the glass, leaving a smooth glass surface. See illustration below.
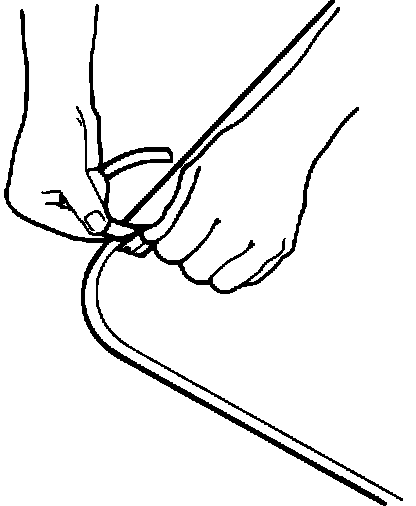
5. Repeat the process of spraying and scraping in 5-6" sections until the weatherstrip is completely removed from the top of the sunroof glass (see illustration).
NOTE: This process rapidly dulls razor blades. Changing blades frequently will speed up the procedure.
NOTE: The weatherstrip over the hinge portion is removed in the same way as over the glass, using extra caution to avoid damaging the finish.
6. Repeat the procedure for the bottom side of the sunroof glass.
CAUTION: The bottom side of the glass has a sunscreen mesh -- use caution to avoid damaging this screen. The razor blade, as long as it's kept parallel to the glass surface, won't damage the mesh.
7. If necessary, remove the hinges to clean off any remaining weatherstrip.
Installation
1. Reinstall the hinges if they were previously removed.
2. Thoroughly clean the sunroof surfaces to be bonded.
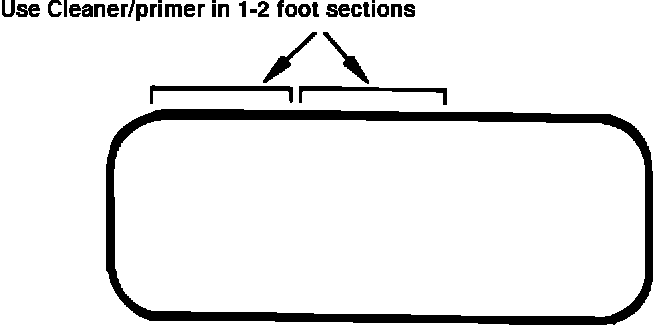
3. Using the wool dauber (from windshield sealing kit P/N 999V1-U5000), apply Cleaner-primer (bottle # 1) around the perimeter of the sunroof glass. Prime the edge and both sides of the glass extending about 1/4" in from the edge. The primer sets up very quickly and must be wiped while still wet. Prime only a 1-2 foot section of the sunroof edge at a time, quickly wiping with a clean cloth or Chem-wipe from kit. DO NOT touch after cleaning.
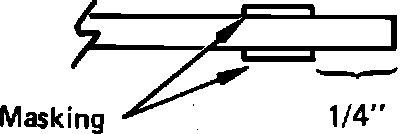
4. Using a high grade masking tape, mask off the perimeter of the glass leaving 1/4" exposed at the edge (see illustration). Do this on both sides of the glass. For best results, use quarter inch masking tape.
NOTE: The top of the hinges require about 1/2" of exposed area.

5. Using the small brush from the kit apply primer # 2 around the perimeter of the glass up to the taped area (both sides).
CAUTION: Allow the primer to dry. DO NOT touch the primed surface.
6. Remove the masking tape after the primer has dried.
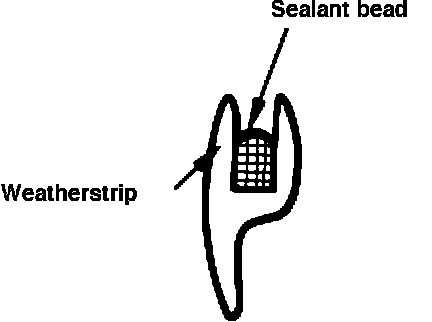
7. Using a caulking gun, apply a continuous bead of Windshield Sealant in the grooved section of the weatherstrip as indicated below. Make sure there are no gaps in the bead; this will result in a loose seal.
NOTE: The canister of sealant has a metal cap at the bottom which must be removed before the canister can be installed in the caulking gun.

8. Starting at the hinge area, install the weatherstrip onto the glass.
9. Press the weatherstrip into position. Use a roller if necessary to evenly distribute the sealant. Make sure the weatherstrip is properly seated at all areas around the sunroof glass.
10. Allow the sealant to set up for 12-24 hours.
11. Use a razor blade to trim away the excess sealant. Be careful not to damage the rubber seal.