Interior - Jump Seat Installation Revisions
87nissan12Models D21 King Cab Truck
Section Body & Frame
Classification BF87-028
Bulletin No. TS87-118
Date July 27, 1987
JUMP SEAT KIT INSTALLATION INSTRUCTIONS
APPLIED MODEL: D21 King Cab Truck with "E" series trim
SERVICE INFORMATION
This bulletin contains revised installation instructions and torque values for the optional jump seats of "E" series King Cab Truck vehicles.
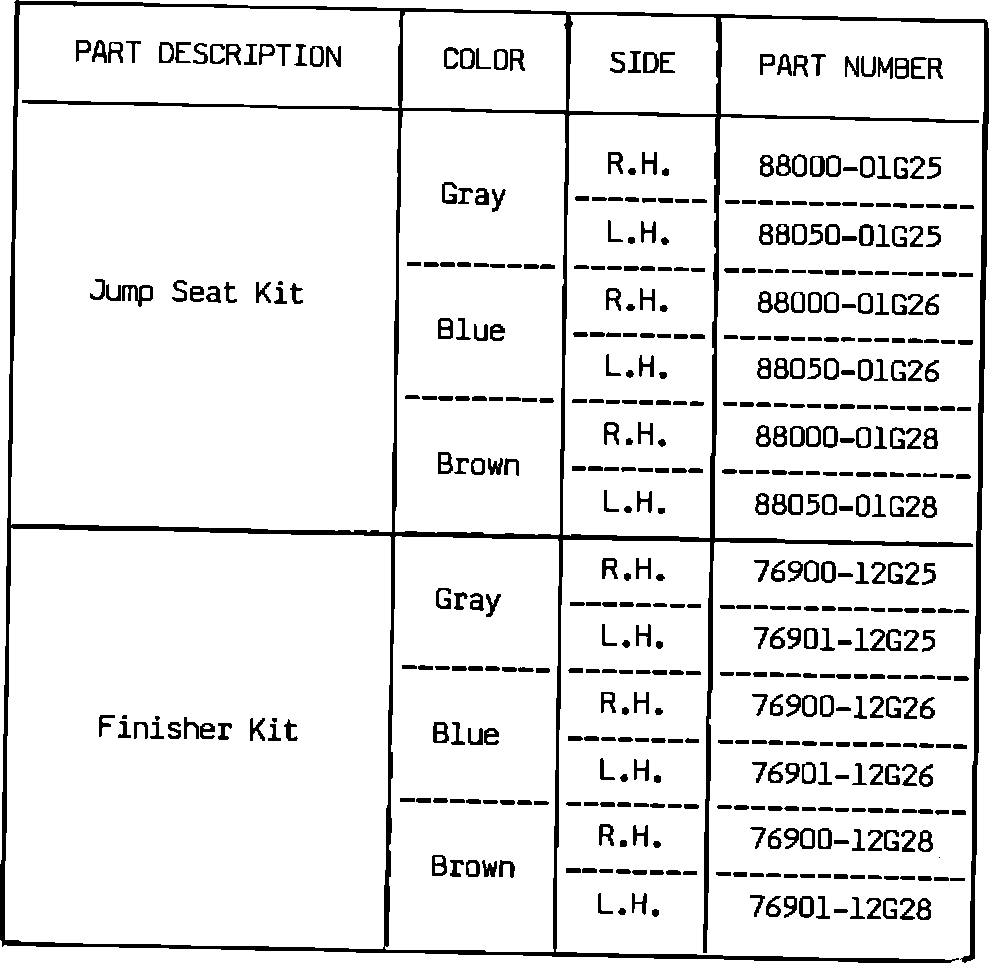
PARTS INFORMATION
Jump Seat Kit Components
COMPONENT DESCRIPTION QUANTITY
Jump Seat Assembly 1
Rear Seat Belt Set 1
Rear Seat Belt Hook 1
Bolt 8
Screw 1
Finisher Kit Components
COMPONENT DESCRIPTION QUANTITY
Rear Side Finisher # 1 1
Rear Side Finisher # 2 1
Clip 2
INSTALLATION PROCEDURE
Tools Required
Phillips Screwdriver Ratchet 12 mm Socket 16 mm Socket Torque Wrench
FIGURE 1:
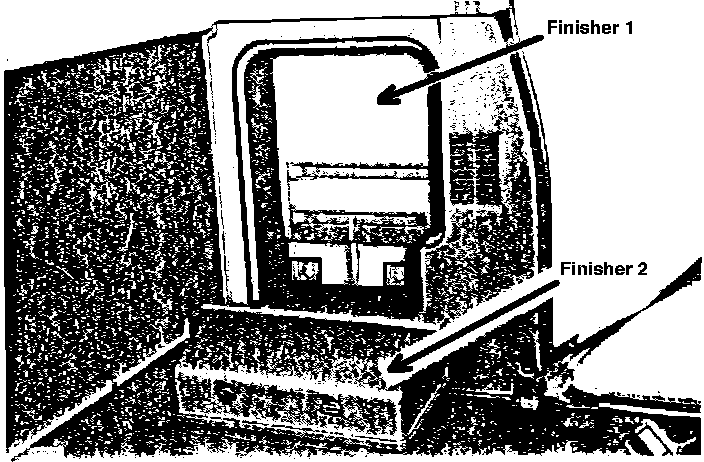
1. Remove the rear side finishers # 1 and # 2 (Figure 1). Save all screws and clips.
FIGURE 2:
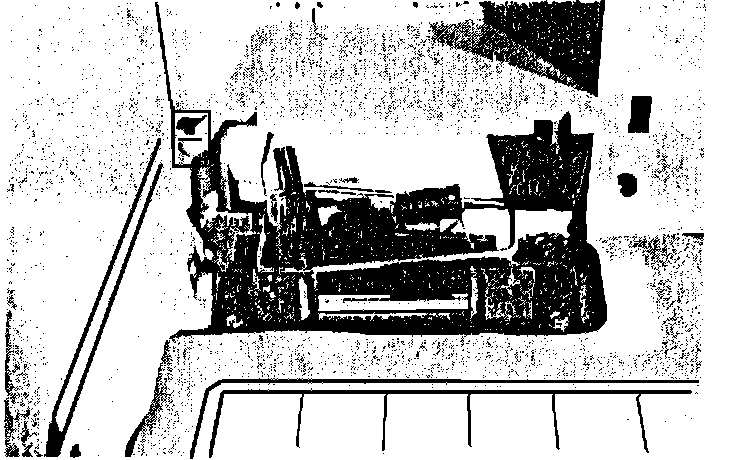
2. Remove the jack mounting bracket (left side only) and finisher bracket (Figure 2).
FIGURE 3:
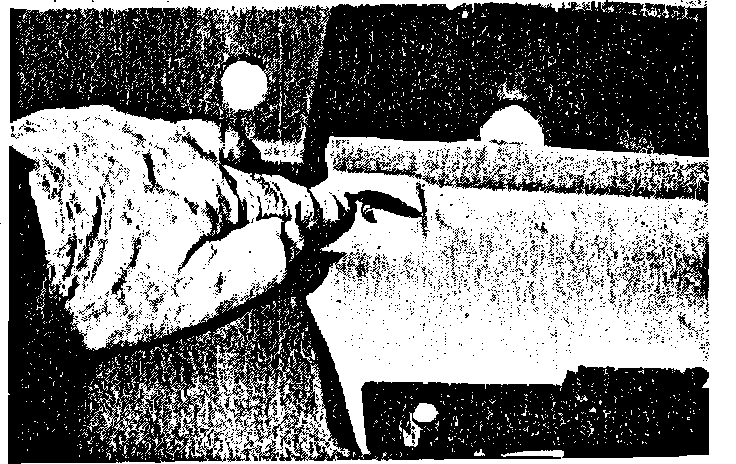
3. Remove the jump seat assembly mounting plugs (right side only) (Figure 3).
FIGURE 4:
FIGURE 5:
4. Remove the back panel garnish below the rear window (Figure 4). Install the seat belt hooks (L.H. and R.H.) to the back panel with the screws as shown (Figure 5).
FIGURE 1:
5. Install the new rear side finisher # 1 using the screws and clips removed in Step 1.
FIGURE 6:
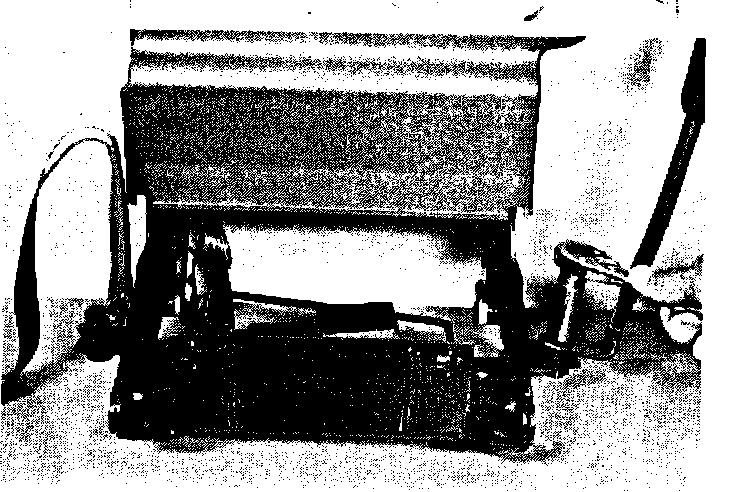
6. Attach the rear seat belt set to the jump seat assembly as shown (Figure 6). Torque the mounting bolts to 26.4 - 33.6 ft.lb. (3.65 - 4.65 kg-m).
7. Install the jump seat assembly. Torque the mounting bolts to 15 - 20 ft.lbs. (2.1 - 2.7 kg-m).
8. Install the jack to the new bracket of the jump seat assembly.
9. Install the new rear side finisher # 2
10. Repeat procedure for the opposite jump seat.
WARRANTY INFORMATION
Refer to Section SD in the Warranty Flat Rate Manual for Warranty Information.