How To Locate Wind Noise
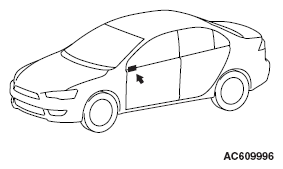
- Attach cloth tape to every place, such as panel seams, projections, molding seams, glass and body seams, etc. which might conceivably be the source of wind noise.
- Then make a road test to check that the places not covered by tape are not sources of wind noise.
- Remove the strips of tape one by one, making a road test after each is removed, until a wind noise source is discovered.
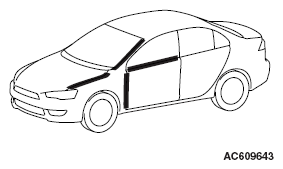 Courtesy of MITSUBISHI MOTOR SALES OF AMERICA.
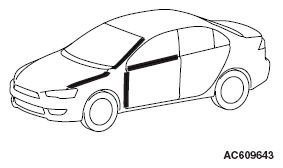 Courtesy of MITSUBISHI MOTOR SALES OF AMERICA.
- When such a place is found, cover it again and repeat the procedure to check if there are any other noise source.
- If no others are found, the last remaining tape is the only source.
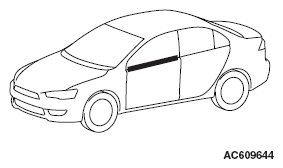 Courtesy of MITSUBISHI MOTOR SALES OF AMERICA.
- Cut the remaining piece of tape into smaller pieces, attach it again as it was before, and then remove the pieces one by one to narrow down the source.
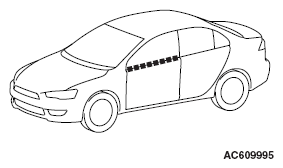 Courtesy of MITSUBISHI MOTOR SALES OF AMERICA.
- Check that wind noise occurs when the last remaining tape is removed, and that noise does not occur when it is re-attached.
- When the source(s) of the wind noise is finally located, attach butyl tape, body sealer or similar material to obstruct this source as much as possible.
 Courtesy of MITSUBISHI MOTOR SALES OF AMERICA.