Automatic check mode
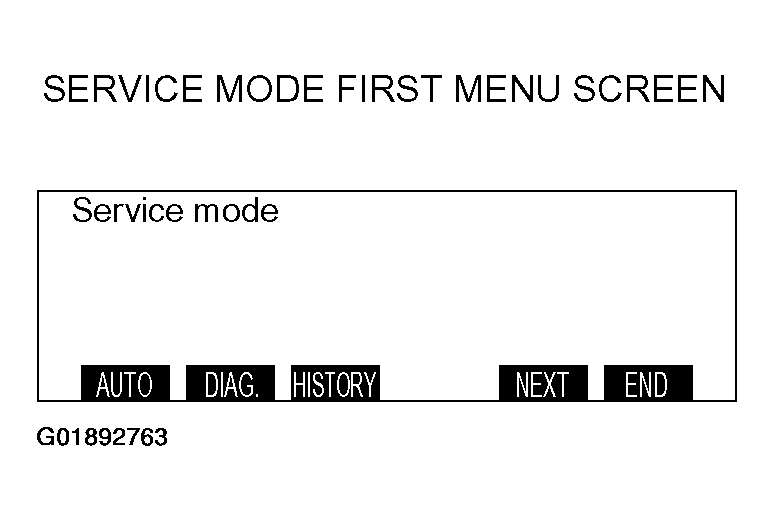
- Press the "ADJ" switch with the ignition switch at "LOCK" (OFF) position, and while keeping on pressing, turn the ignition switch to the "ACC" or "ON" position. When the "ADJ" switch is pressed continuously for more than five seconds, the service function is activated at the same time with the reception signal (pip sound) and the first menu screen of the service mode is displayed.
 Courtesy of MITSUBISHI MOTOR SALES OF AMERICA.
- Press the function switch 1 [AUTO] on the service mode first menu screen. The screen is switched to the automatic check mode. Follow the on-screen instructions to turn the ignition switch to "ON" position.
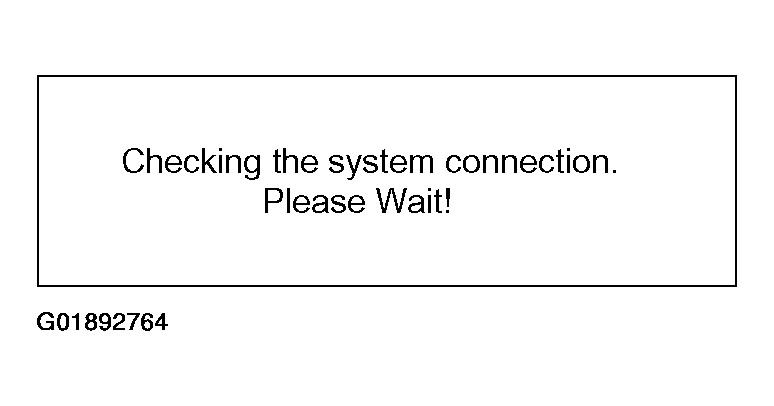
- Press the ignition switch is turned "ON." The communication and connection checks are performed. The checks will be finished with 10 seconds.
 Courtesy of MITSUBISHI MOTOR SALES OF AMERICA.
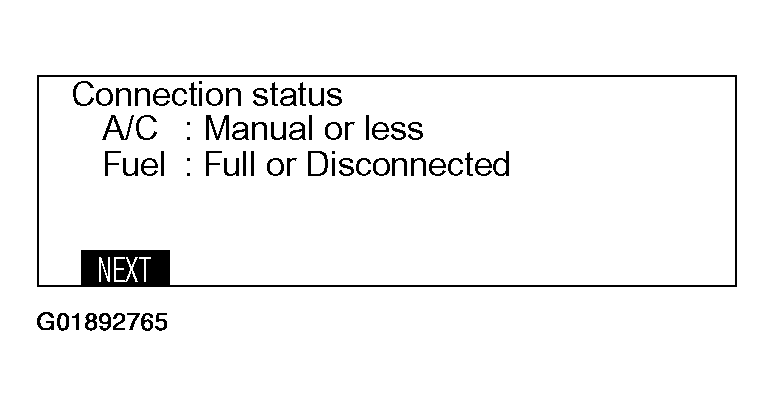
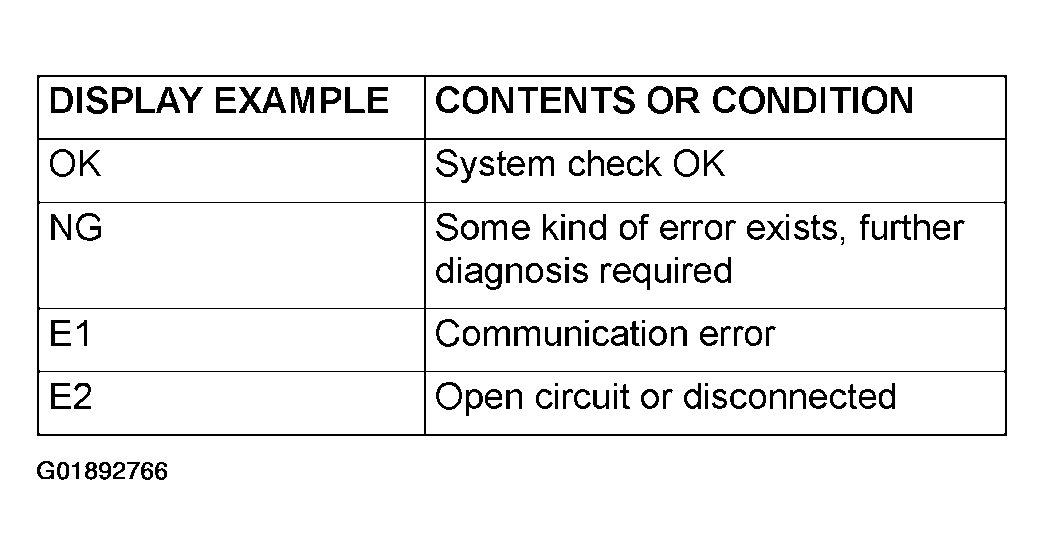
- After the communication check and connection check are completed, the check results are displayed. Air-conditioner input (Auto, manual or less are displayed.) Fuel gauge input (OK, full or disconnected are displayed.)
NOTE:
- Auto: Automatic A/C
- Manual or less: No-automatic A/C circuit or automatic A/C circuit open
- OK: Some fuel in tank.
- Full or Disconnected: Full tank of fuel or fuel level circuit open.
 Courtesy of MITSUBISHI MOTOR SALES OF AMERICA.
- Press the function switch 1 [NEXT]. The unit status is displayed.
NOTE:
- Monitor: RV meter
- A/C: Automatic A/C
 Courtesy of MITSUBISHI MOTOR SALES OF AMERICA.
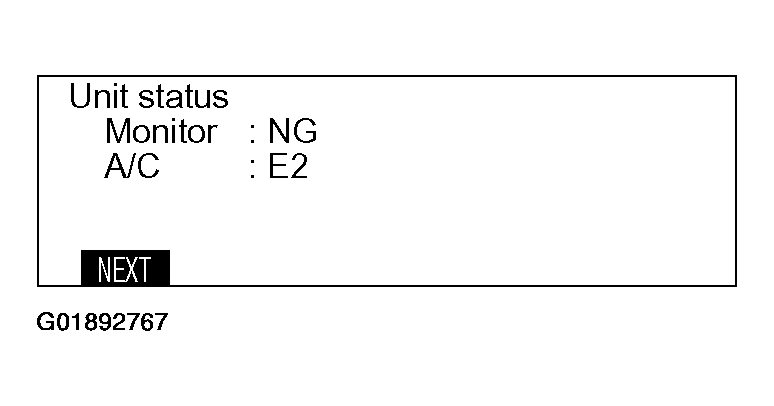 Courtesy of MITSUBISHI MOTOR SALES OF AMERICA.
- Press the function switch 1 [NEXT] on this screen. The inner status of the monitor is displayed.
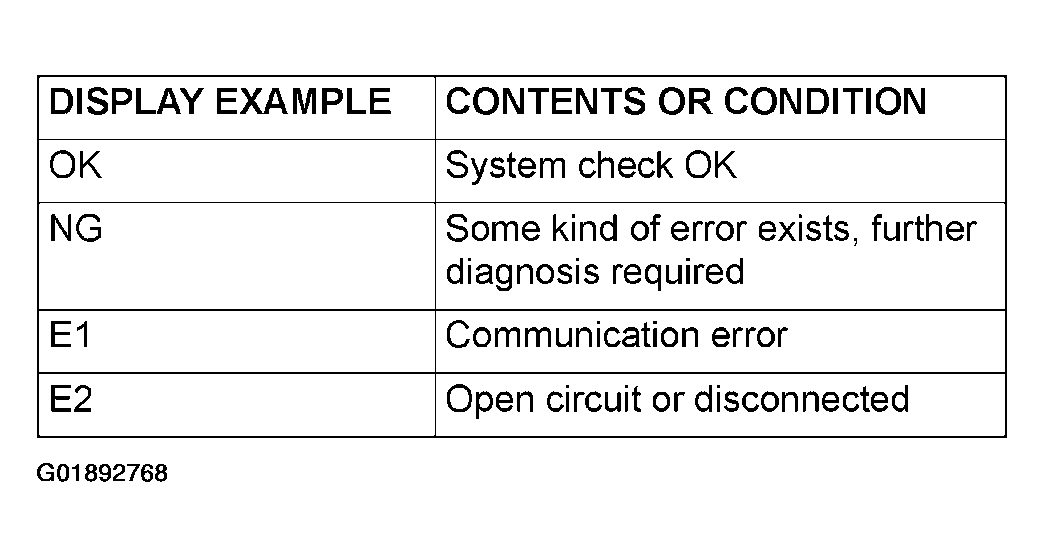 Courtesy of MITSUBISHI MOTOR SALES OF AMERICA.
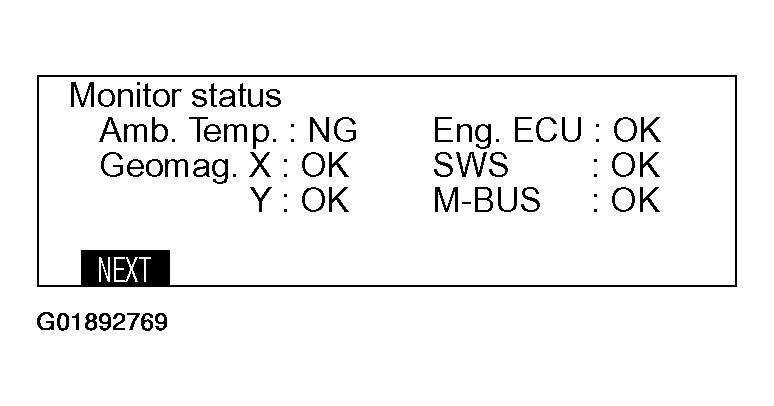 Courtesy of MITSUBISHI MOTOR SALES OF AMERICA.
NOTE:
- Amb.: Outside air temperature sensor
- Geomag.: Geomagneic sensor
- Eng. ECU: Powertrain control module.
- SWS: Simplified Wiring System
- M-BUS: Communications for A/C-ECU
- Press the function switch 1 [NEXT] on this screen. The versions of monitor and the automatic air-conditioner (if equipment) are displayed. In the case of air-conditioner-less or manual air-conditioner, the version is not displayed.
NOTE:
- M: Mitsubishi Electric
- D: Denso
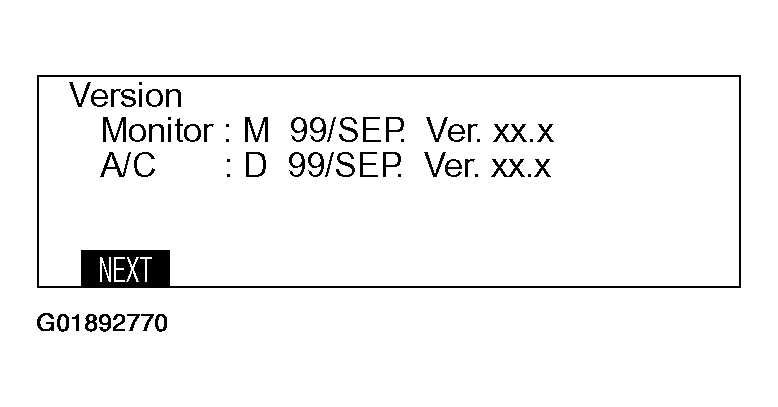 Courtesy of MITSUBISHI MOTOR SALES OF AMERICA.
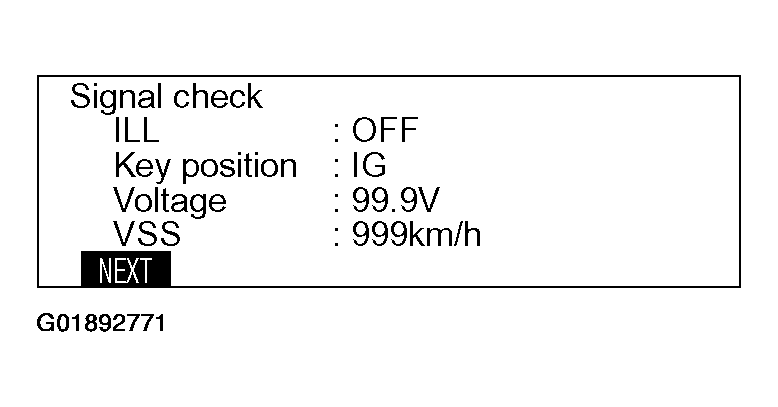
- Press the function switch 1 [NEXT] on this screen. The vehicle signal status is displayed.
- ILL: ON or OFF
- Key position: "ACC" or "IG"
- Voltage: Battery voltage
- VSS: Vehicle speed
 Courtesy of MITSUBISHI MOTOR SALES OF AMERICA.
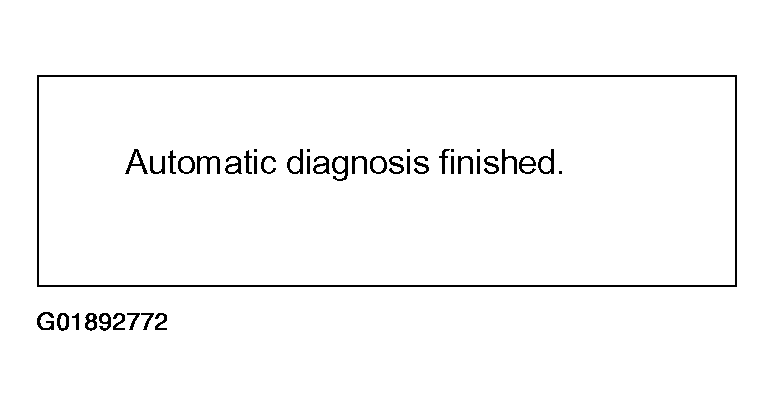
- Press the function switch 1 [NEXT] on this screen. The message stating [Automatic diagnosis finished.] is displayed and within seven seconds later the screen moves to the screen just before the service mode screen.
 Courtesy of MITSUBISHI MOTOR SALES OF AMERICA.