11 14 151 Replacing crankshaft radial seal (transmission side)
WARNING: This page is about a different car, the 2002 BMW M Roadster, 2002 BMW M Coupe, 2001 BMW M Roadster, and 2001 BMW M Coupe. However, it is still accessible from the selected car via links, so may be relevant.
NOTE:
This repair instruction is valid for the following engines:
- M40 / M42 / M43 / M43TU / M44
- M50 / M52 / M52TU / M54 / M56
- S52 / S54
Necessary preliminary tasks:
- Remove gearbox
- Drain off engine oil
- Remove flywheel
Unfasten oil sump screws on transmission end.
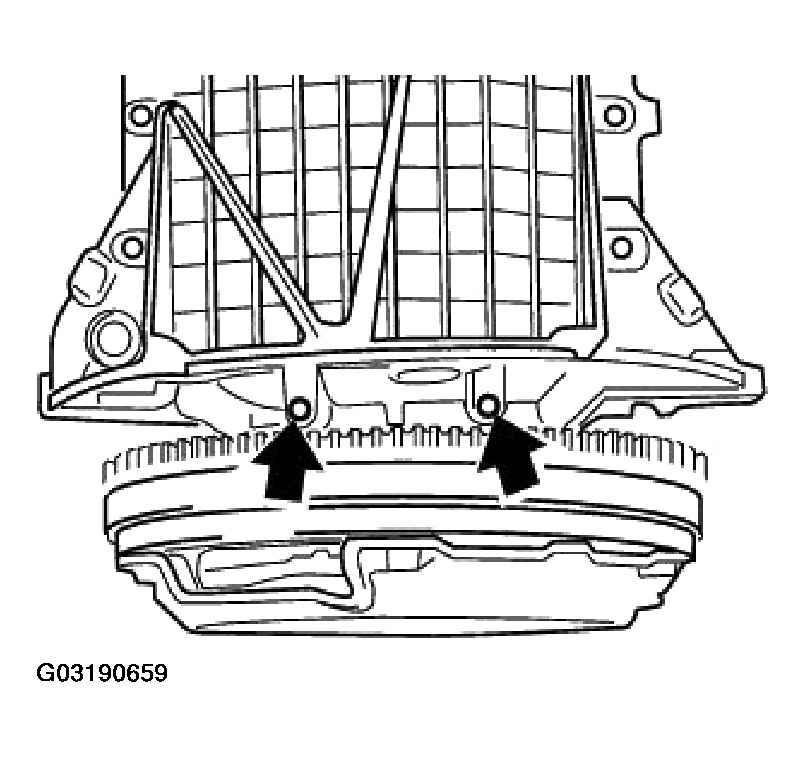 Courtesy of BMW OF NORTH AMERICA, INC.
Loosen oil pan.
Release screws in end cover at rear.
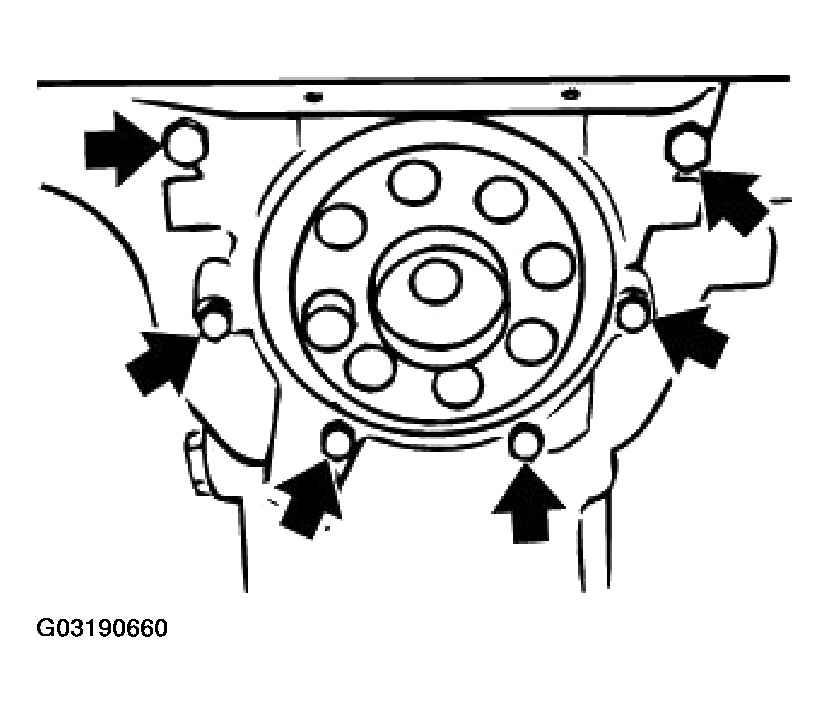 Courtesy of BMW OF NORTH AMERICA, INC.
Carefully detach oil sump gasket from end cover, remove end cover.
NOTE:
After removing end cover: check oil sump gasket for damage. If necessary, remove oil sump and replace oil sump gasket.
NOTE:
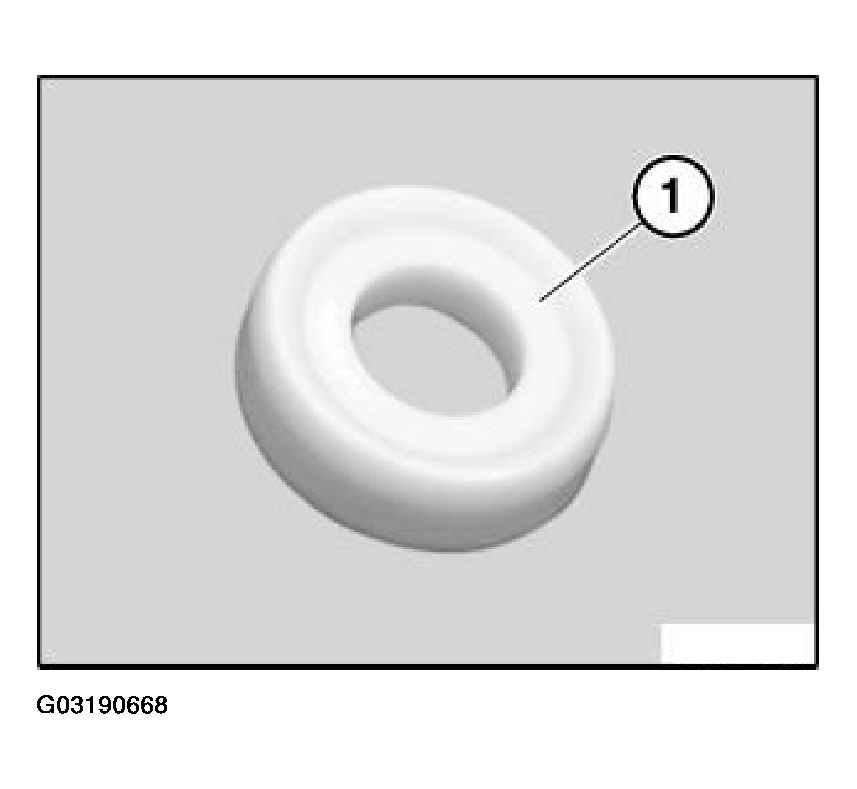
As from 4/98, a new type of radial seal is used in the Series and as a replacement. This radial seal may only be supported with a "support bushing".
If the radial seal is supported without the support bushing (1) for more than six months, operational reliability will no longer be assured and the radial seal must not be used any further.
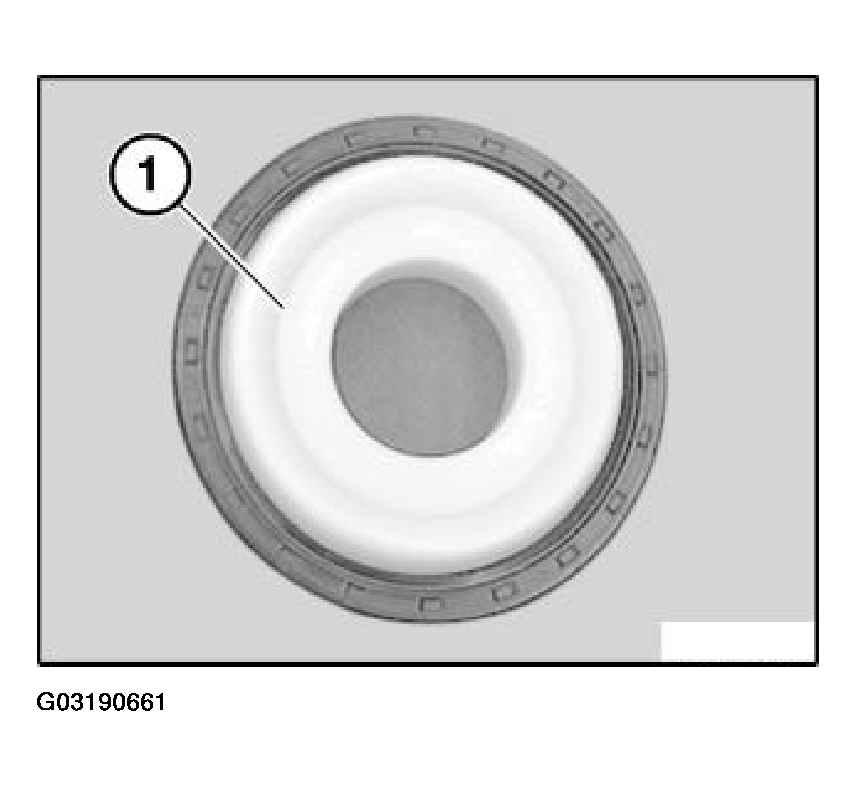 Courtesy of BMW OF NORTH AMERICA, INC.
Distinguishing feature:
- New version "without hose spring"
- Old version "with hose spring"
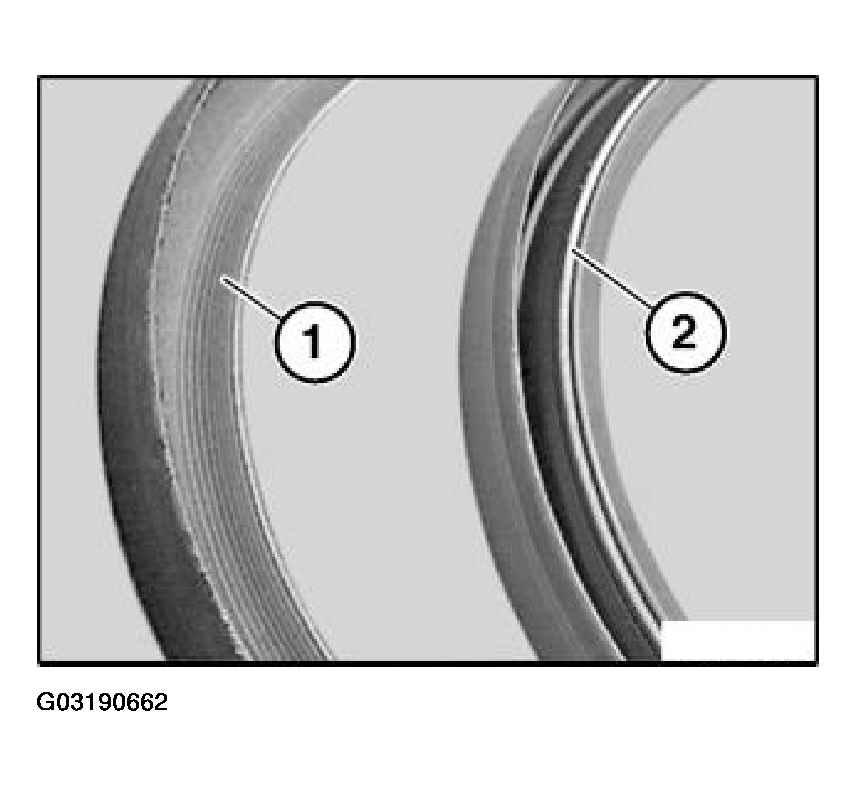 Courtesy of BMW OF NORTH AMERICA, INC.
IMPORTANT:
The sealing lip of the new version (1) is very sensitive and must not be kinked under any circumstances. Do not touch the sealing lip with your fingers.
NOTE:
The end cover is offered in the kit with a radial seal.
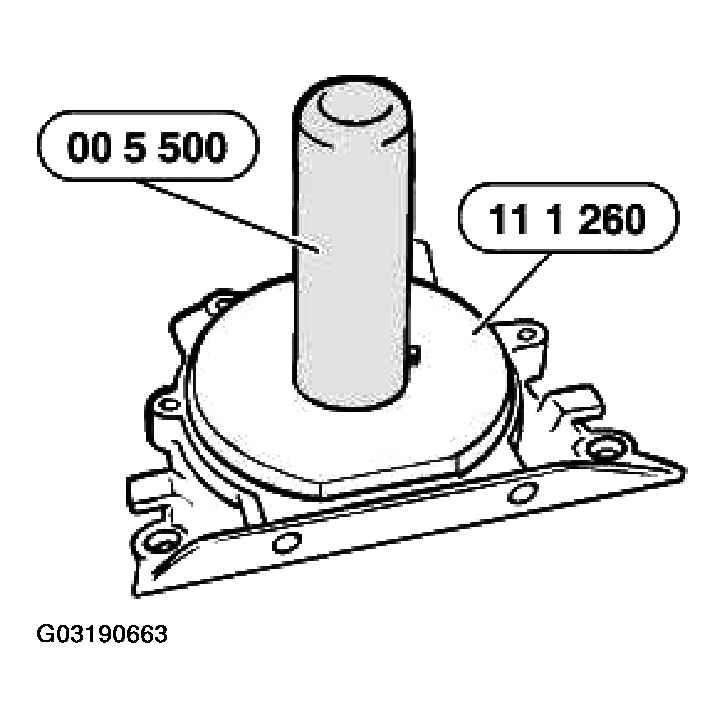
If necessary, lift out the radial sealing ring and drive in new sealing ring using special tool 11 1 260 in conjunction with special tool 00 5 500.
 Courtesy of BMW OF NORTH AMERICA, INC.
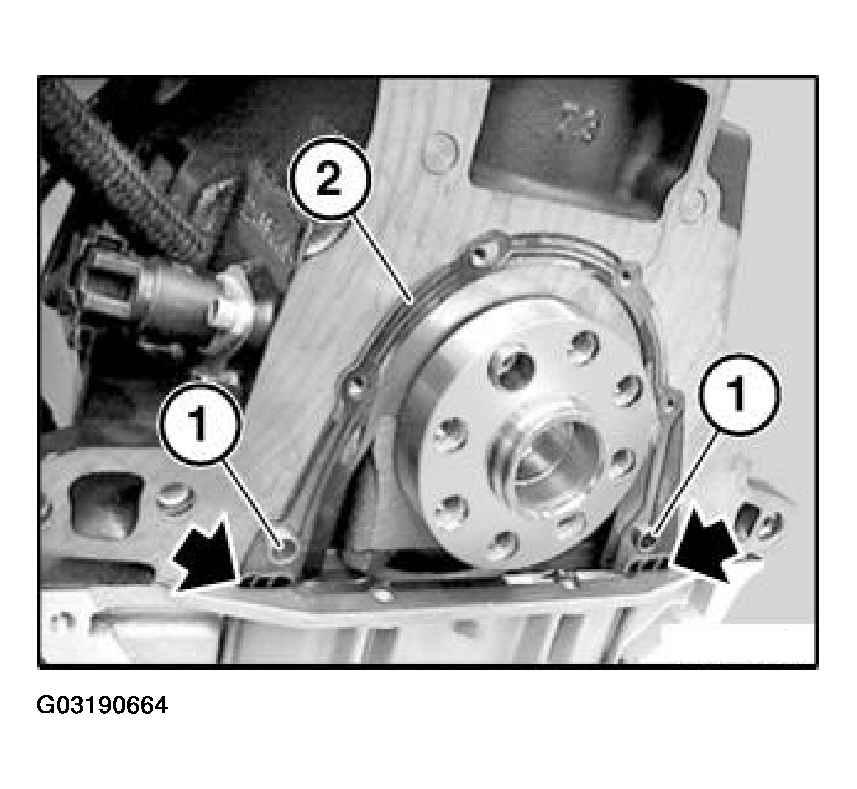
Check dowel sleeves (1) for damage and correct installation position.
 Courtesy of BMW OF NORTH AMERICA, INC.
Replace seal (2).
Apply thin, uniform coat of Drei Bond 1209 sealing compound to edges of joint on oil pan.
IMPORTANT:
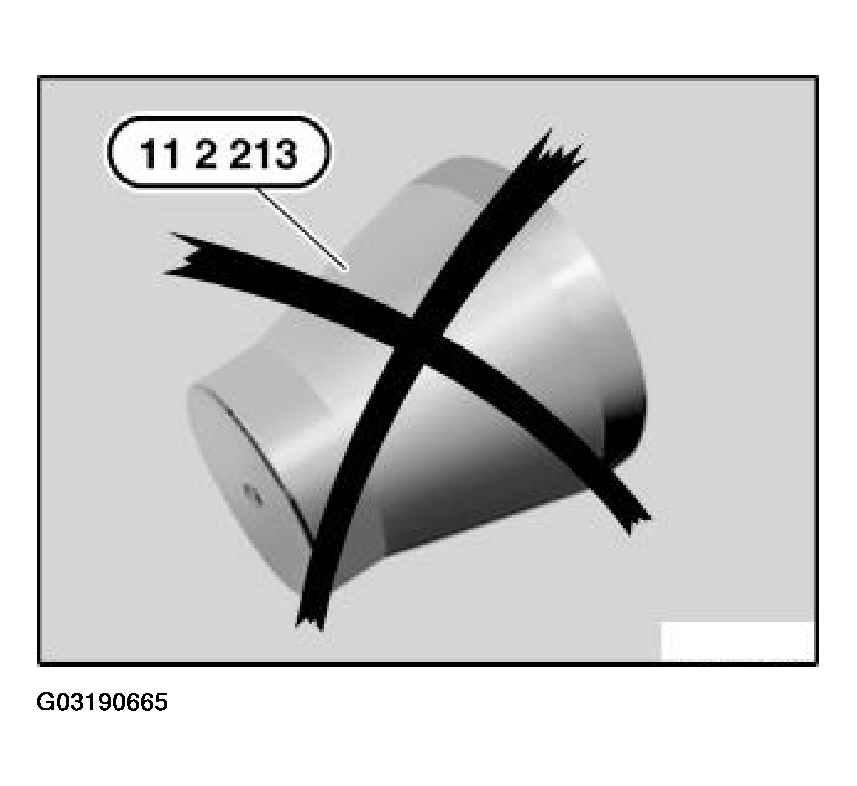
Do not use special tool 11 2 213 for the new radial seal version.
 Courtesy of BMW OF NORTH AMERICA, INC.
NOTE:
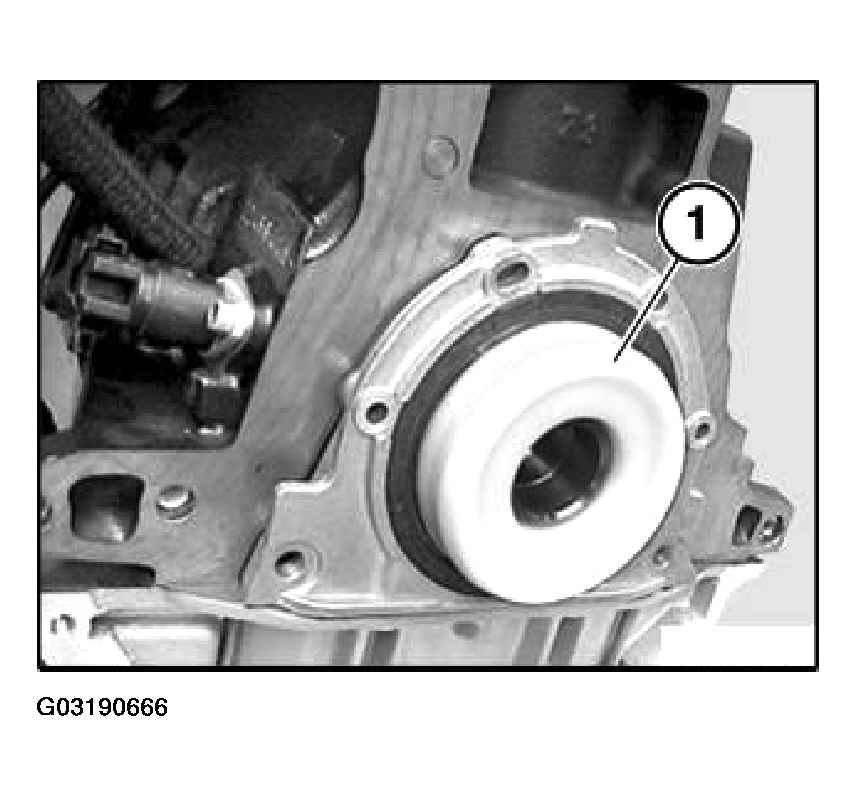
When fitting the end cover with radial seal on the crankshaft, it is only permitted to use the "support bushing (1)" as an installation tool.
 Courtesy of BMW OF NORTH AMERICA, INC.
Lubricate contact face of crankshaft.
IMPORTANT:
Push on end cover with support bushing (1) straight and without tilting sideways.
NOTE:
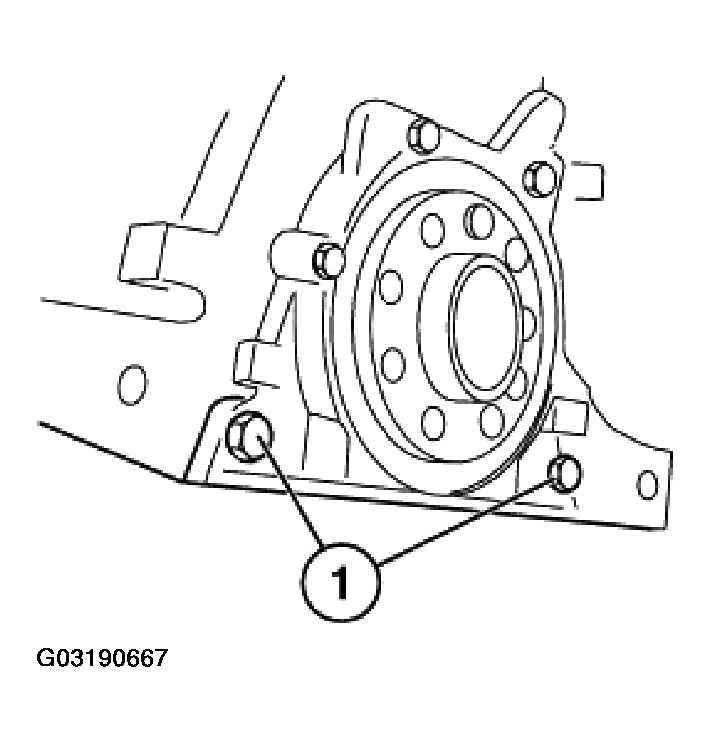
Screw threads (1) are coated with sealing compound.
Replace screws (1).
 Courtesy of BMW OF NORTH AMERICA, INC.
Insert all screws and tighten down end cover.
NOTE:
Keep the support bushing (1) of the new radial seal version as a "special tool", then render the special tool 11 2 213 unusable and dispose of it.
The old and new radial seal versions can be installed with the support bushing (1).
 Courtesy of BMW OF NORTH AMERICA, INC.