Necessary Preliminary Tasks:
IMPORTANT:
After completing the tasks, press the brake pedal to the floor several times to ensure the brake pads are firmly pressed against the brake discs. If the brake pads are replaced simultaneously on the front and rear axles, the brake fluid level must be checked and if necessary the brake fluid topped up to the "MAX" marking.
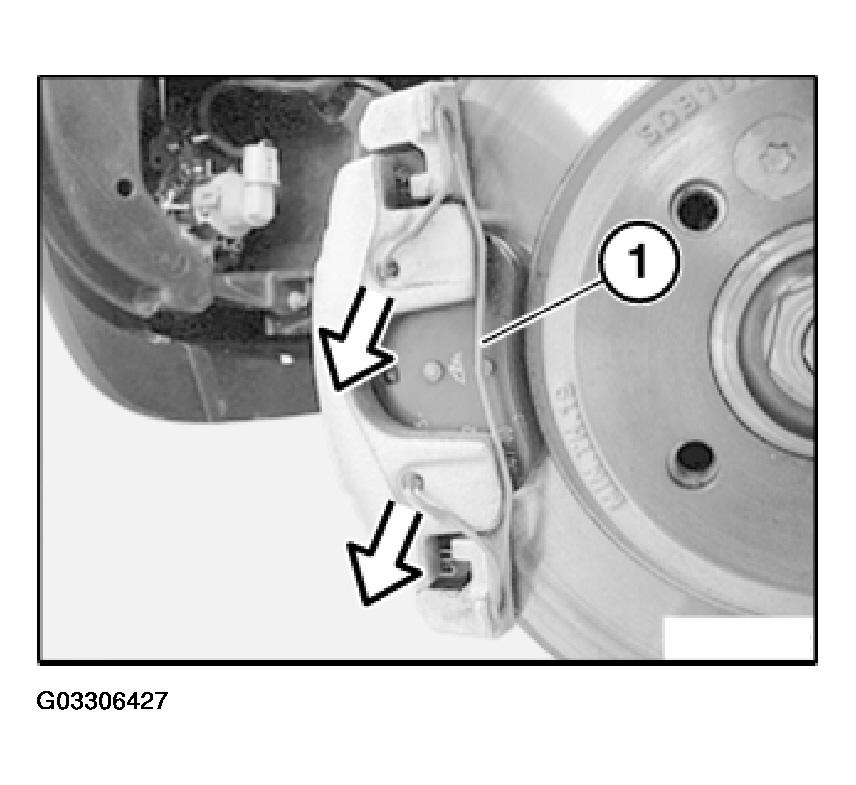
Detach retaining spring (1).
Installation:
Attach retaining spring first at bottom and then at top.
 Courtesy of BMW OF NORTH AMERICA, INC.
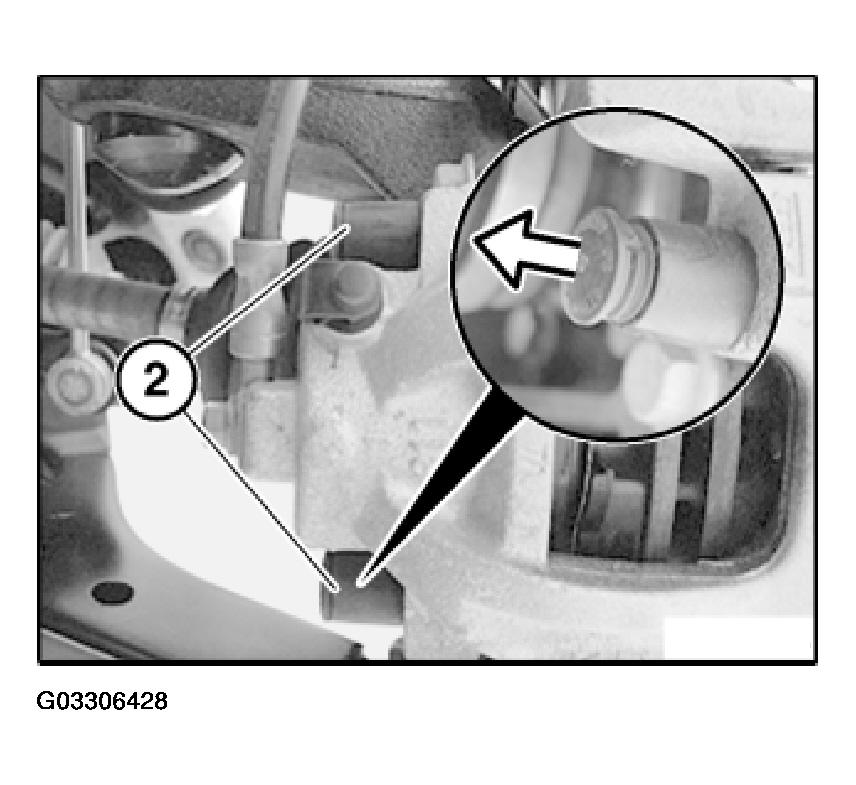
Remove plastic plugs (2).
 Courtesy of BMW OF NORTH AMERICA, INC.
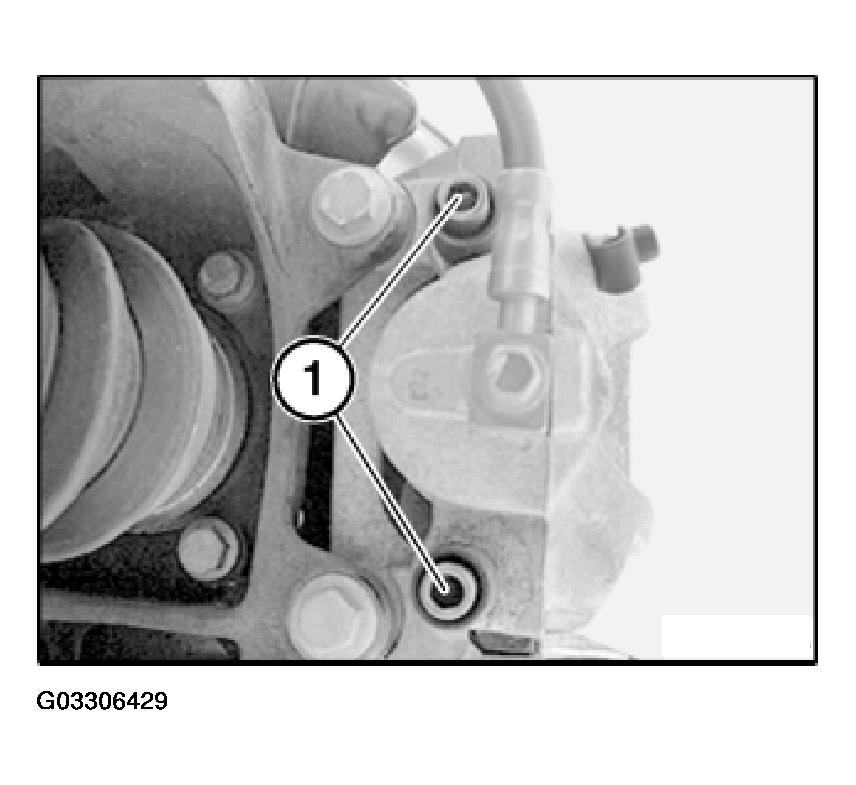
Release guide screws (1) and pull brake caliper towards rear to remove.
Installation:
Only clean guide screws; do not grease.
Check threads.
Replace all guide screws which are not in perfect condition. Tightening torque, (32-38 N.m.).
IMPORTANT:
Tie up brake caliper to relieve strain on brake hose.
 Courtesy of BMW OF NORTH AMERICA, INC.
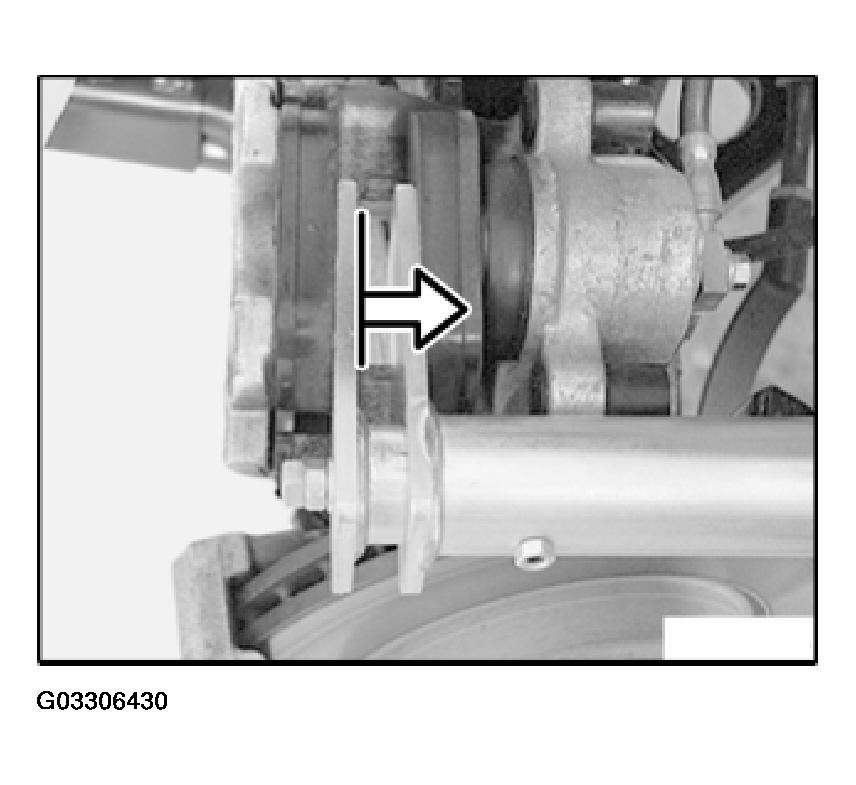
Press piston fully back with special tool.
 Courtesy of BMW OF NORTH AMERICA, INC.
IMPORTANT:
When pressing down piston, note brake fluid level in expansion tank. Overflowing brake fluid can attack the paintwork!
Remove outer brake pad. Inner brake lining is located with its spring in the piston.
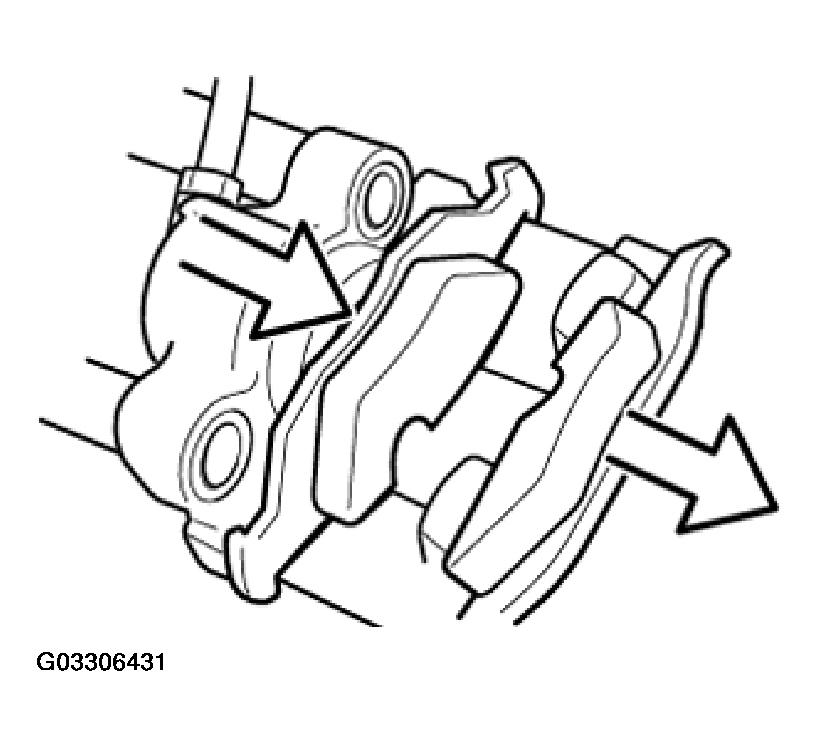 Courtesy of BMW OF NORTH AMERICA, INC.
IMPORTANT:
Mark any worn brake linings. In the event of one-sided brake lining wear, do not change brake linings round. New brake linings may only be installed if the measured brake disk thickness is greater than or equal to the minimum brake disk thickness (MIN TH). Clean brake linings. Do not grease backs of brake linings sleeve.
Check dust sleeve (1) for damage and replace if necessary. Clean contact faces (2) of brake piston and apply a thin coating of anti-squeak compound.
IMPORTANT:
The dust sleeve must not come into contact with antisqueak compound as this would cause the dust sleeve to swell.
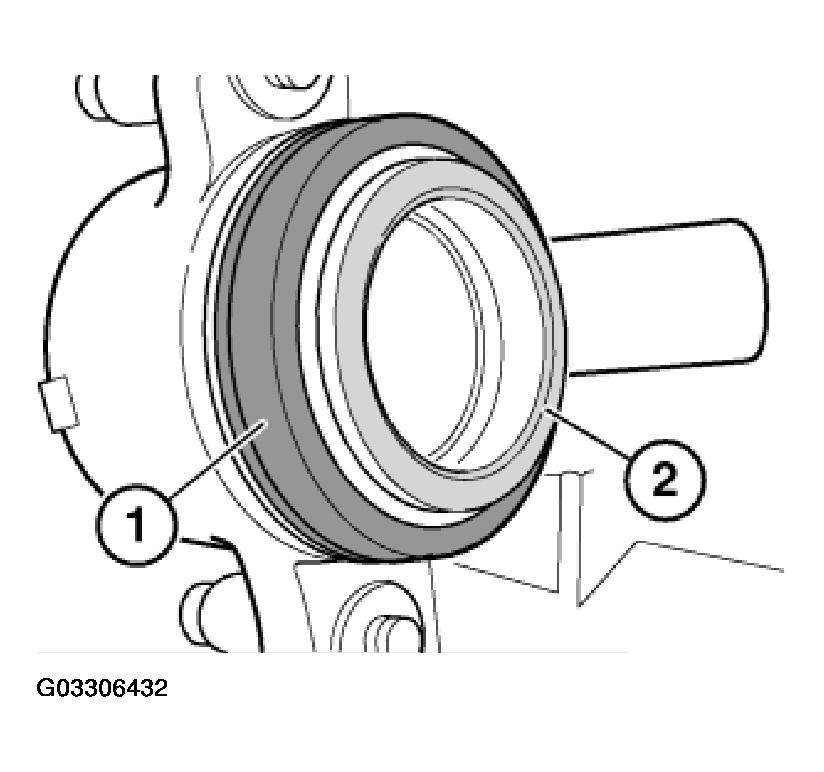 Courtesy of BMW OF NORTH AMERICA, INC.
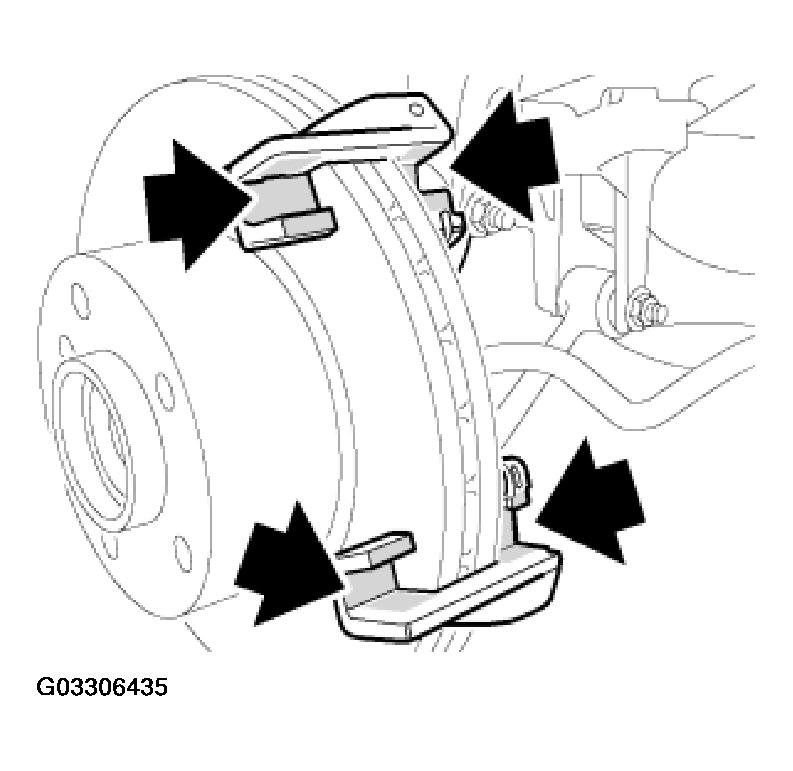
Clean contact faces (1-2) of brake lining hammer heads/brake caliper housing and coat with anti-squeak compound.
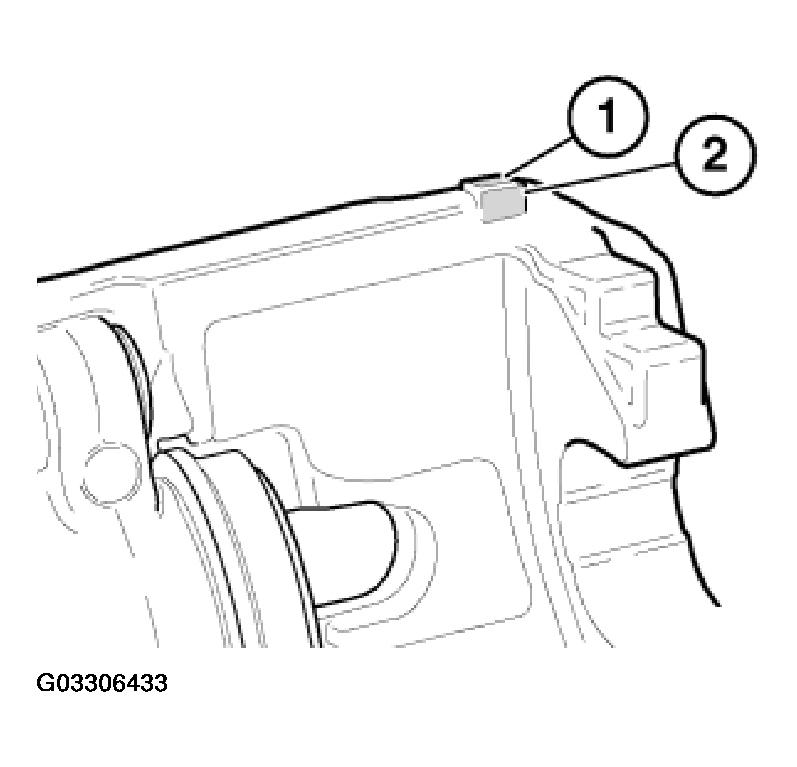 Courtesy of BMW OF NORTH AMERICA, INC.
Clean contact faces (3) of brake caliper and apply a thin coating of anti-squeak compound.
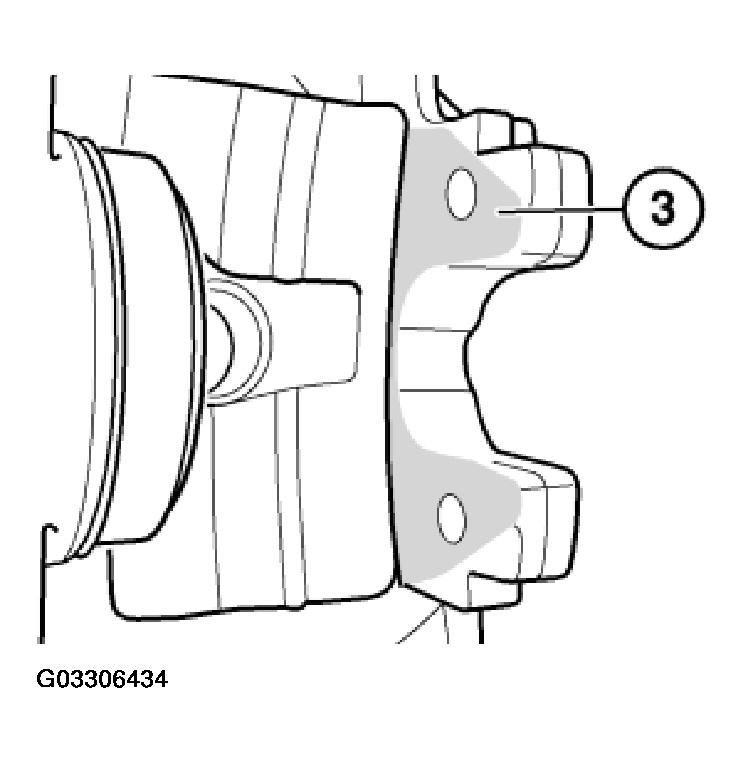 Courtesy of BMW OF NORTH AMERICA, INC.
Clean hammer head guides at brake caliper mounting bracket and apply a thin coating of anti-squeak compound.
 Courtesy of BMW OF NORTH AMERICA, INC.