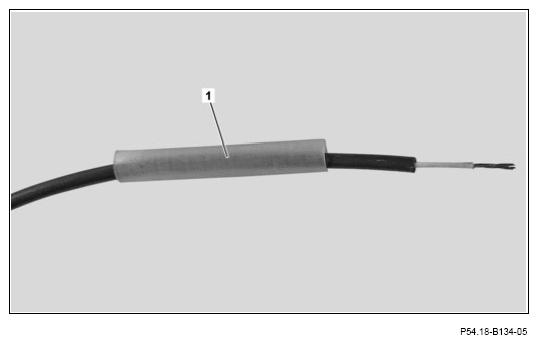
- Slide the corresponding heat-shrinkable tube (1) onto the FlexRay line.
 For repairs in the interior, shorten the heat-shrinkable tube to 65 mm. For repairs in the exterior area, use the heat-shrinkable tube with a length of 130 mm.
 Courtesy of MERCEDES-BENZ USA Courtesy of MERCEDES-BENZ USA
|
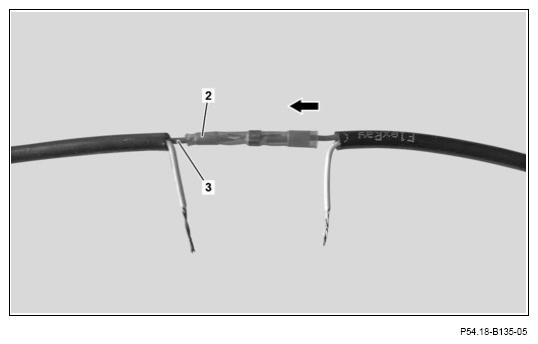
- The Slide the axial solder connector (2) in the direction of the arrow onto the electric line (3) and past the solder point.
Push on the thinner side of the axial solder connector (2) first.
 Courtesy of MERCEDES-BENZ USA Courtesy of MERCEDES-BENZ USA
|
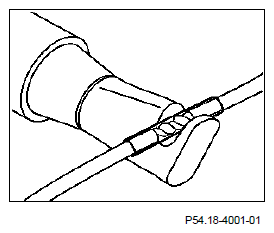
- The Using the heat gun, heat the axial solder connector (2) to 400°C.
 Use the welding pearl catcher in the vehicle interior. Otherwise, damage could be caused by liquid soldering material.
Continue heating until the soldering ring dissolves and covering has thoroughly wrapped itself around the lines.
 Courtesy of MERCEDES-BENZ USA Courtesy of MERCEDES-BENZ USA
|
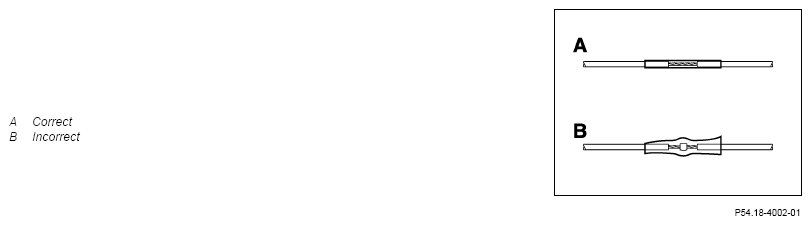
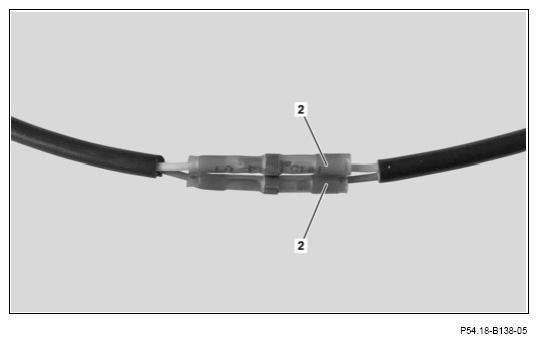
- Check soldered point.
It must not be possible to see the soldering ring of the axial solder connector (2) any more. The covering must lie cleanly against the lines.
 Courtesy of MERCEDES-BENZ USA Courtesy of MERCEDES-BENZ USA
|
- Install the axial solder connector (2) in the same position.
Make sure that after the procedure the electrical lines are laid as closely to each other as possible.
Ensure the repair area (entire heat-shrinkable tube (1)) is not within the bending area or on the fastener.
 Courtesy of MERCEDES-BENZ USA Courtesy of MERCEDES-BENZ USA
|
- Center the heat-shrinkable tube (1), then, using a heat gun, heat to 200°C and shrink from the inside toward the outside.
Adhesive extrusion (4) must be visible on both ends.
Observe information provided by the heat gun manufacturer, especially information regarding the exposure time.
- Wrap fabric insulation tape around the wiring harness.