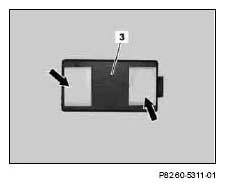
- Glue two of the Velcro strips (see arrows) included in the installation kit onto the iPod interface (3) as per the picture.
 Bonding surfaces must be clean, dry and free of grease.
 Courtesy of MERCEDES-BENZ USA
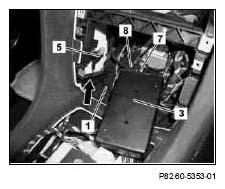
- Connect coupling for interface wiring harness (7) of iPod interface wiring harness (8) to iPod interface (3).
The connection is mechanically coded and can therefore not be confused.
- Route coupling for interface (5) of iPod wiring harness (1) behind the strut (see arrow).
 Courtesy of MERCEDES-BENZ USA
- Connect coupling for interface (5) of iPod wiring harness (1) to iPod interface (3).
The connection is mechanically coded and can therefore not be confused.
 Courtesy of MERCEDES-BENZ USA
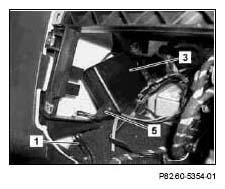
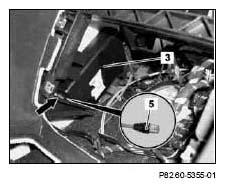
- Fasten iPod interface (3) in radio recess with Velcro strips attached beforehand as shown in figure.
The iPod interface (3) has to be installed in such a manner that the connection for the coupling for interface (5) is at the top (see arrow).
Adhesion surfaces must be clean, dry and free of grease. If required, the iPod interface (3) additionally has to be secured in place with self-adhesive felt tape.
 Courtesy of MERCEDES-BENZ USA
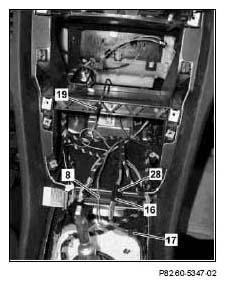
- Route black coupling (19) from iPod interface wiring harness (8) into the radio recess.
The black coupling (19) will be connected to the COMAND operating, display and control unit (A40/3) at a later point in time.
- Connect black, 4-pin connector (28) of on-board wiring harness to black coupling (16) of iPod wiring harness (8).
The black, 4-pin connector (28) was connected to the upper control panel control unit (N72/1). The black connector (17) will be connected to the upper control panel control unit (N72/1) at a later point in time.
 Courtesy of MERCEDES-BENZ USA
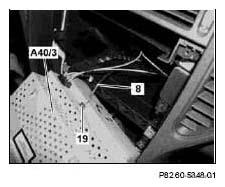
When installing the COMAND operating, display and control unit (A40/3), the black connector (19) of the iPod interface wiring harness (8) has to be connected to the COMAND operating, display and control unit (A40/3).
 Courtesy of MERCEDES-BENZ USA
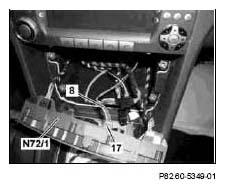
When installing the upper control panel control unit (N72/1), the black connector (17) of the iPod interface wiring harness (8) has to be connected to the upper control panel control unit (N72/1).
 Courtesy of MERCEDES-BENZ USA