Rear Bumper Removal/Installation
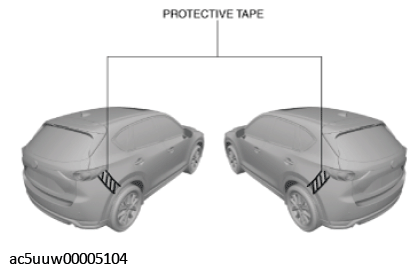
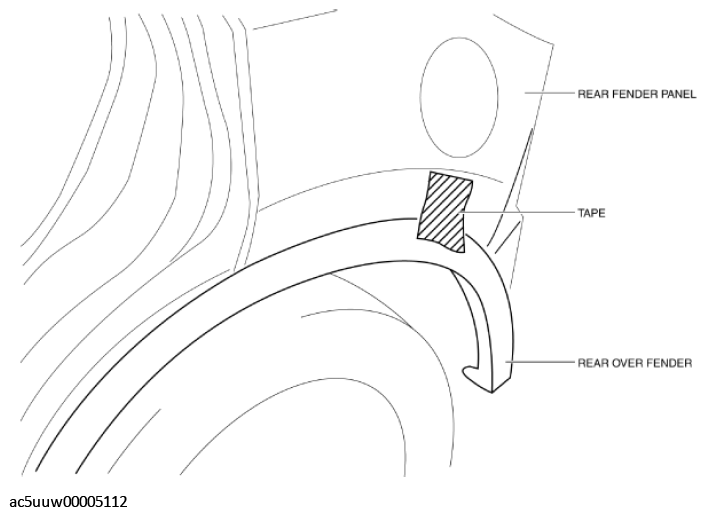
- Affix the protective tape to the position shown in the figure to prevent scratches and damage.
 Courtesy of MAZDA MOTORS CORP.
- Disconnect the negative battery terminal. (See NEGATIVE BATTERY TERMINAL DISCONNECTION/CONNECTION
.)
- Remove the rear combination right. (See REAR COMBINATION LIGHT REMOVAL/INSTALLATION
.)
- Remove the rear splash shield. (See SPLASH SHIELD REMOVAL/INSTALLATION
.)
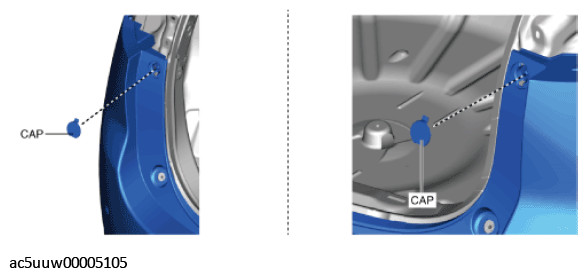
- Remove the cap.
 Courtesy of MAZDA MOTORS CORP.
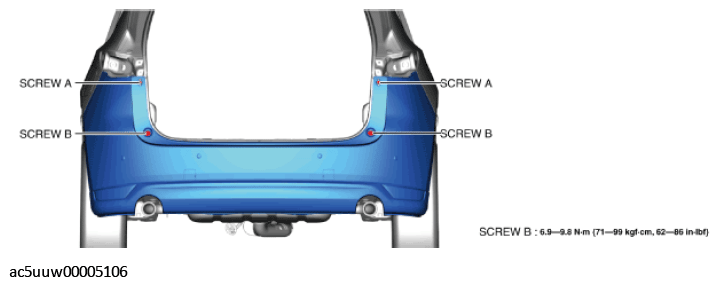
- Remove the screws A and B.
 Courtesy of MAZDA MOTORS CORP.
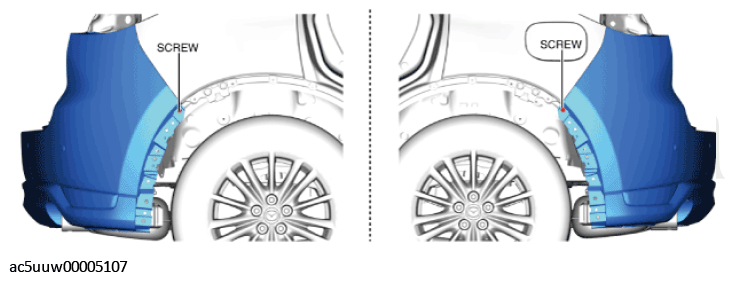
- Remove the screws.
 Courtesy of MAZDA MOTORS CORP.
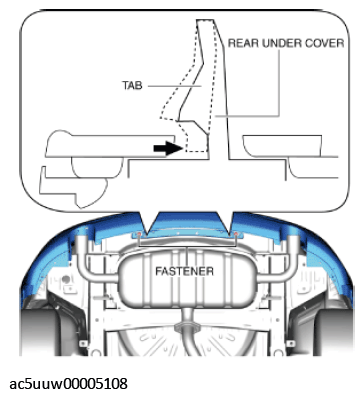
- Remove the fasteners.
 Courtesy of MAZDA MOTORS CORP.
- Press the tab of rear under cover and remove it. (with rear under cover)
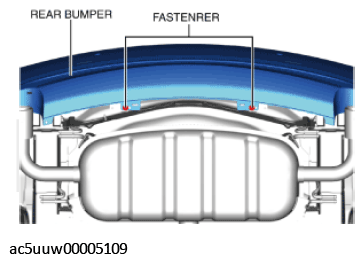
- Remove the fasteners.
 Courtesy of MAZDA MOTORS CORP.
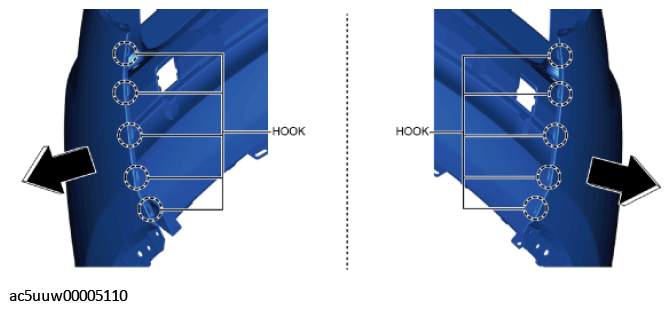
- Detach the rear bumper from the rear bumper slider while holding the rear end of the rear bumper, moving it in the direction of the arrows shown in the figure, and detaching the hooks.
 Courtesy of MAZDA MOTORS CORP.
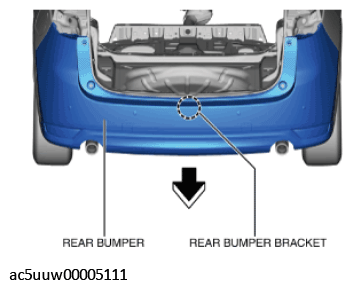
- Move the rear bumper in the direction of the arrow shown in the figure and detach it from rear bumper bracket.
 Courtesy of MAZDA MOTORS CORP.
CAUTION:
- After removing rear bumper, it may hit the rear over fender and cause a damage and/or injury. Perform the following procedure to prevent the rear over fender from being damaged.
- Fix the rear over fender and rear fender panel with protective tape.
 Courtesy of MAZDA MOTORS CORP.
- Remove the rear bumper.
- Install in the reverse order of removal.
- If the rear bumper is replaced, perform the blind spot monitoring (BSM) radar test. (with blind spot monitoring system)
CAUTION:
- If the rear bumper installation position is changed or individual differences (coating film/thickness) occur, the blind spot monitoring control module radar angle will deviate which could result in the module not detecting a vehicle approaching from the rear correctly. If the rear bumper is replaced, perform the blind spot monitoring (BSM) radar test.