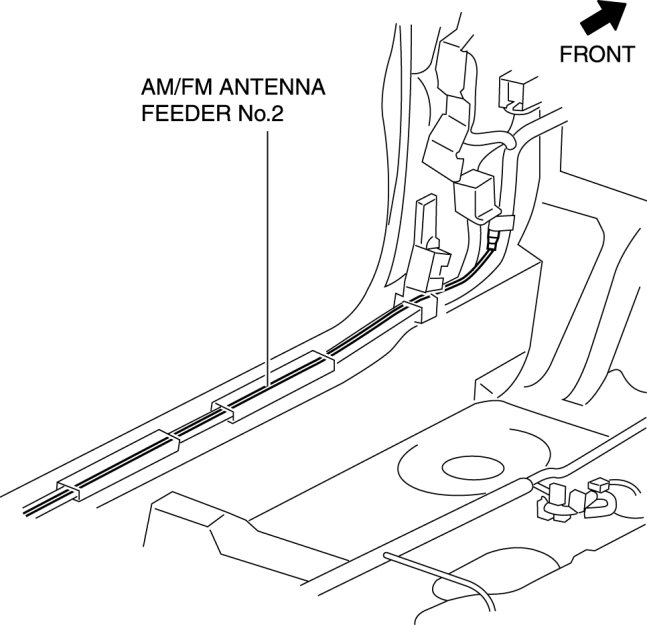
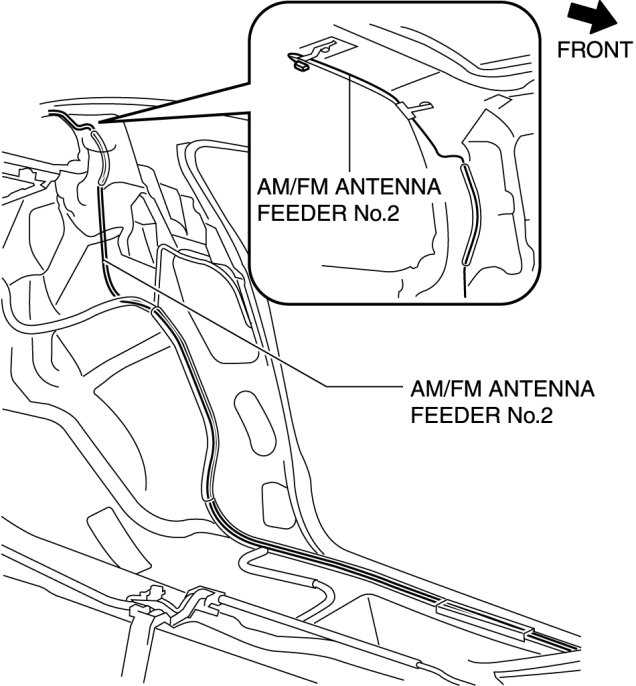
AM/FM Antenna Feeder No.2 Installation
AM/FM ANTENNA FEEDER NO.2 INSTALLATION
CAUTION:
- If the antenna feeder is installed with tension on the cable and wiring harness it could result in loosening of the connection areas and poor contact. When installing and connecting the antenna feeder, always make sure there is slack on the cable and wiring harness.
NOTE:
- The antenna feeder is integrated with the vehicle wiring harness.
- When installing a new antenna feeder, secure it to the vehicle wiring harness along the installation route of the old antenna feeder.
1. Disconnect the negative battery cable.
2. Remove the following parts:
a. Sunroof seaming welt (with sunroof)
b. Roof side trim Roof Side Trim Removal/Installation
c. Inner scuff plate Inner Scuff Plate Removal/Installation
d. Front side trim Front Side Trim Removal/Installation
e. A-pillar trim A-Pillar Trim Removal/Installation
f. Rear seat Rear Seat Removal/Installation
g. Tire house trim Tire House Trim Removal/Installation
h. Rear pillar trim Rear Pillar Trim Removal/Installation
i. Map light Service and Repair
j. Interior light Service and Repair
k. Sunvisor Service and Repair
l. Assist handle Service and Repair
m. Headliner Service and Repair
3. Align and secure the new AM/FM antenna feeder No.2 to the vehicle wiring harness.