Automatic Transmission Oil Pan (Gasket And Oil Strainer) Removal/Installation
- Raise and support the vehicle; see JACKING
.
- Place a drain pan under the oil pan.
NOTE:
- The transmission heat shield (4.0L) does not have to be removed from vehicle for oil pan removal.
- Drain transmission fluid.
- Remove all the oil pan bolts except for two in the front. Loosen the two bolts. Pry the rear of the oil pan down and allow fluid to drain. After fluid is drained remove the two remaining bolts.
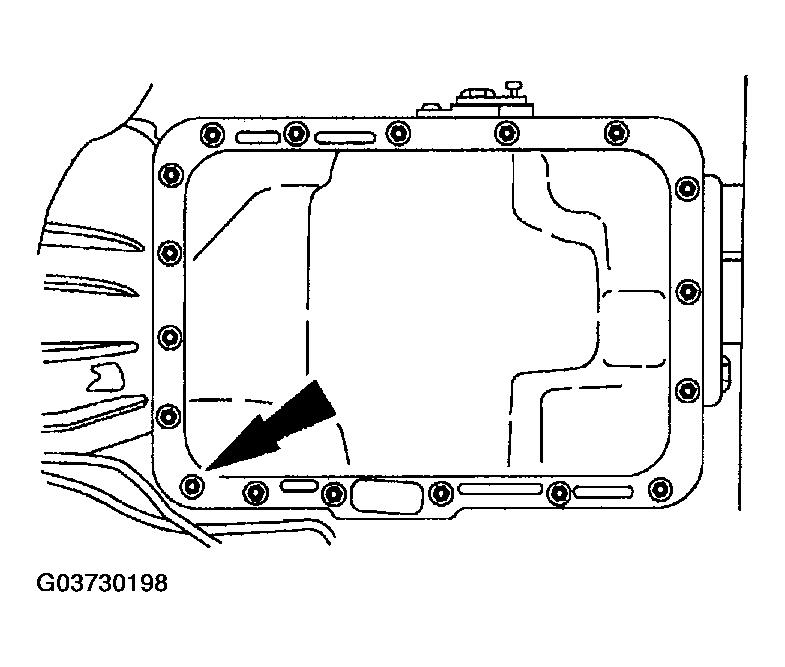 Courtesy of MAZDA MOTORS CORP.
- Remove the (1) oil pan and discard the (2) oil pan gasket.
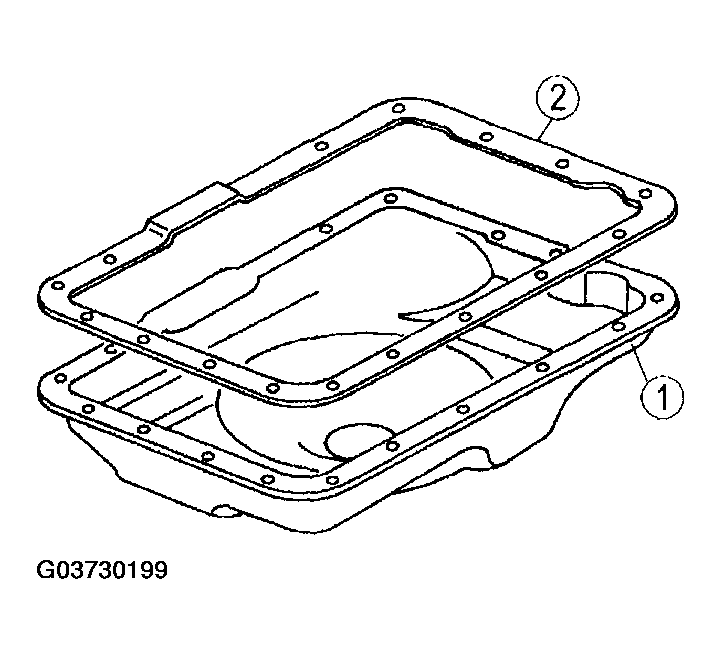 Courtesy of MAZDA MOTORS CORP.
- Remove the (1) bolt and the (2) oil strainer.
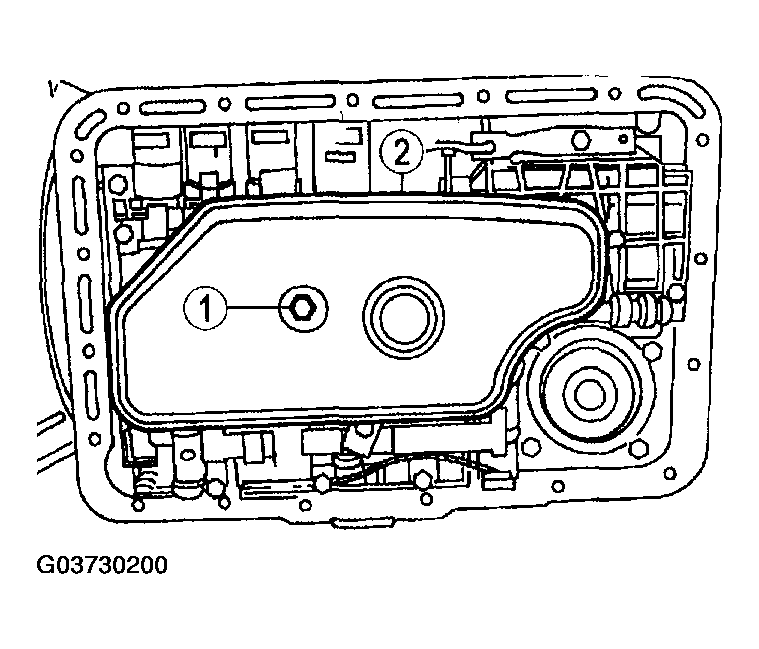 Courtesy of MAZDA MOTORS CORP.
- Clean and inspect the oil pan and magnet. Clean all mating surfaces.
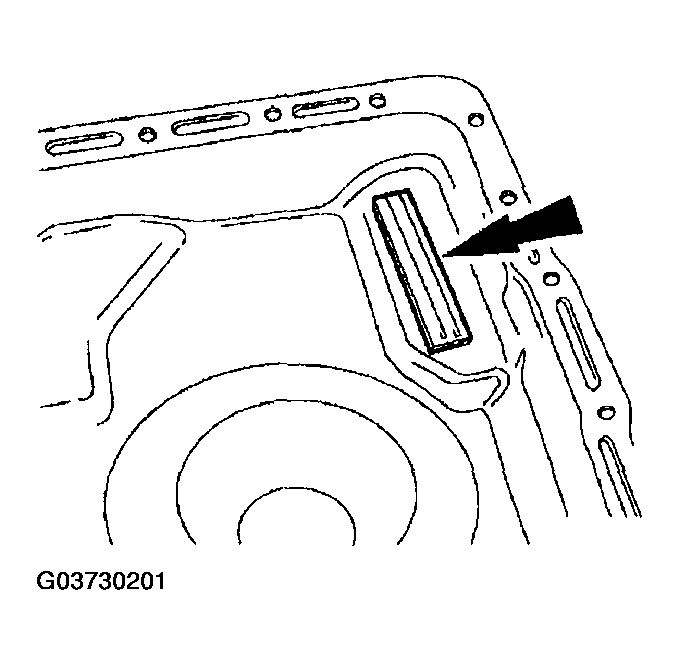 Courtesy of MAZDA MOTORS CORP.
- Flush the transmission fluid cooler and transmission fluid cooler lines; See AUTOMATIC TRANSMISSION POWER FLUSHING .
CAUTION:
- Lubricate O-rings with Mazda ATF TYPE 5 or they may be damaged.
- Lube and install new O-rings onto the oil strainer. Install a new oil strainer.
- Position oil strainer on the control valve body.
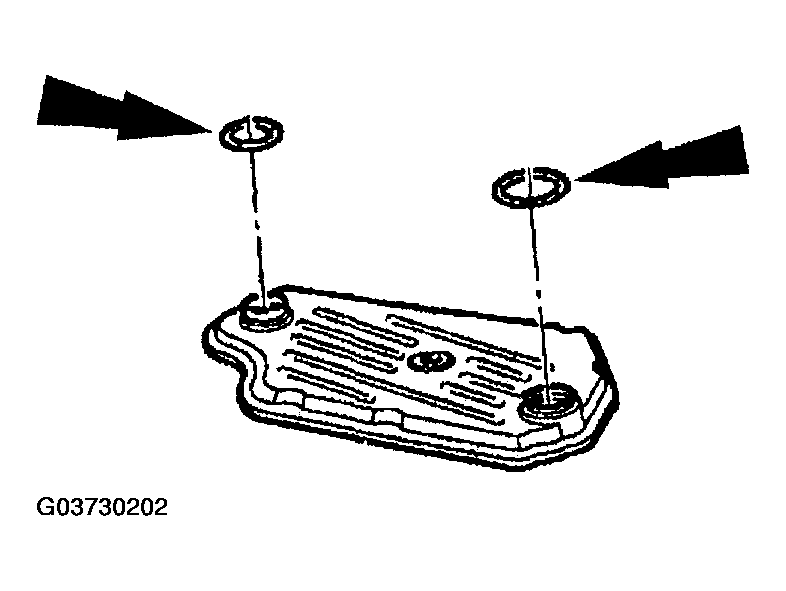 Courtesy of MAZDA MOTORS CORP.
CAUTION:
- Make sure wire harness is not pinched under filter.
- Install bolt.
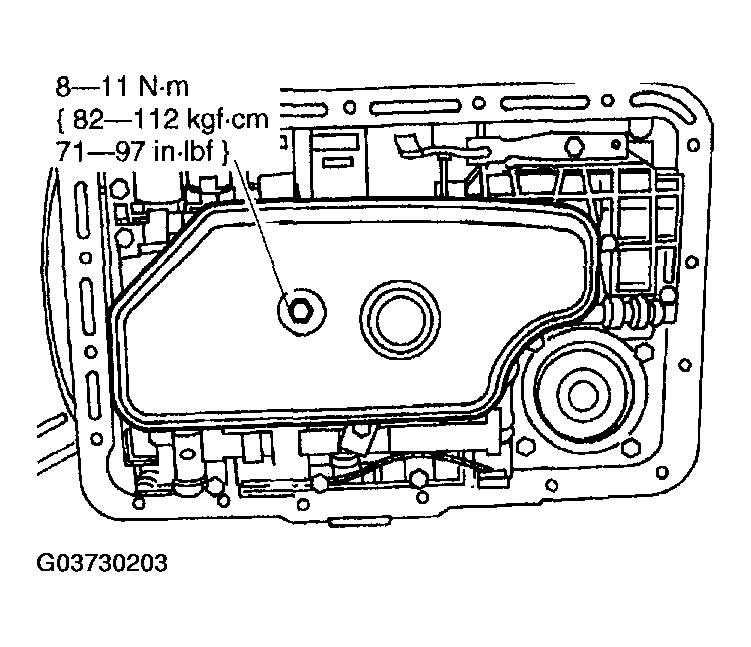 Courtesy of MAZDA MOTORS CORP.
- Position the oil pan magnet in the transmission oil pan.
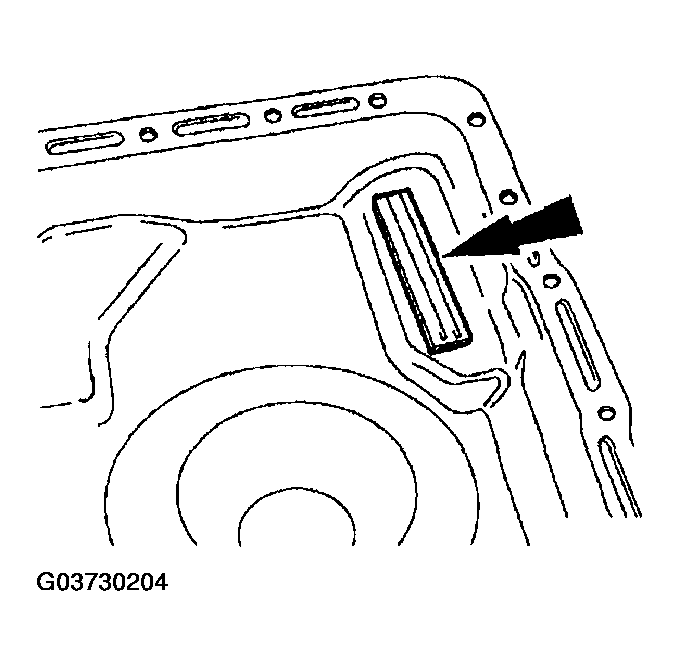 Courtesy of MAZDA MOTORS CORP.
- Position a new gasket (2) on the oil pan (1).
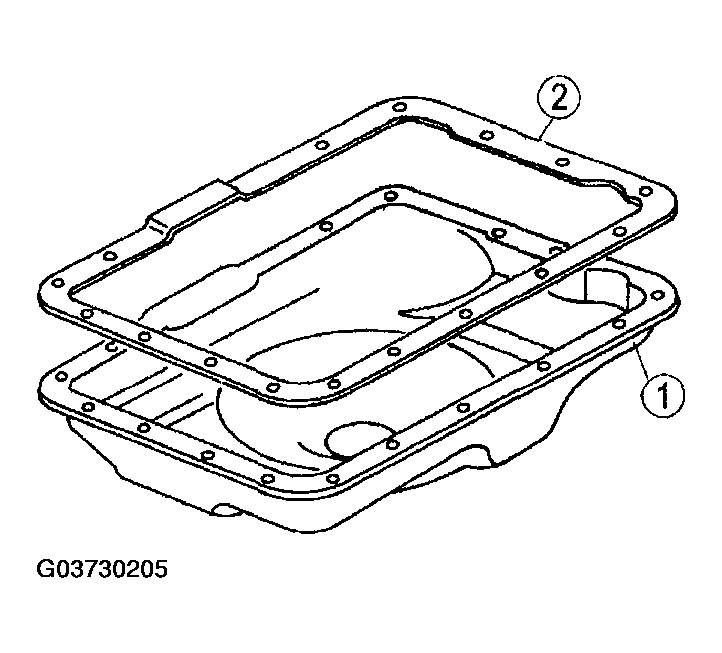 Courtesy of MAZDA MOTORS CORP.
- Install and align the oil pan.
- Loosely install the 18 transmission oil pan bolts.
- Tighten the oil pan bolts.
- Use a crisscross sequence to tighten the oil pan bolts.
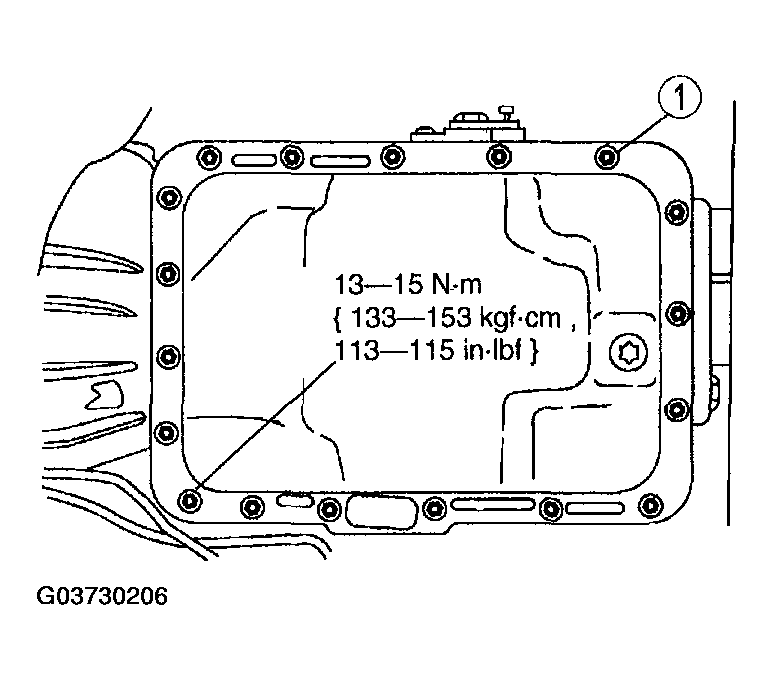 Courtesy of MAZDA MOTORS CORP.
- Lower the vehicle.
NOTE:
- When filling a dry transmission and converter start with a minimum of 3.7 liters (4 quarts).
- Fill transmission to proper fluid level. See AUTOMATIC TRANSMISSION PRELIMINARY INSPECTION
.