Camshaft: Service and Repair
CAMSHAFTSRemoval
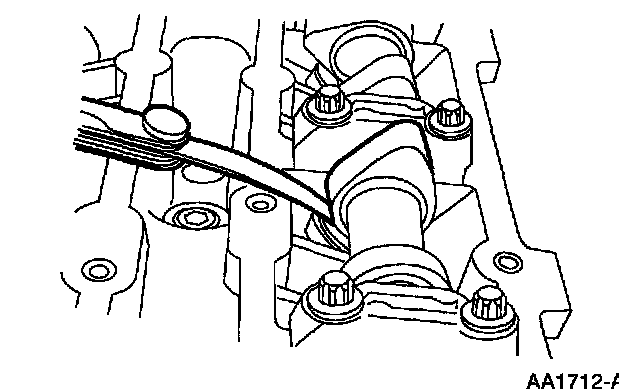
1. Remove the camshaft timing sprockets.
Note:
^ Measure each valve's clearance at the base circle with the lobe pointed away from the tappet before removing the camshafts. Failure to measure all clearances prior to removing the camshafts will necessitate repeated removal and installation and wasted labor time.
2. Use a feeler gauge to measure each valve's clearance and record its location.
Caution:
^ Cylinder head camshaft journal caps are numbered on the outside flats to make sure that they are assembled in their original positions. Failure to do so may result in engine damage.
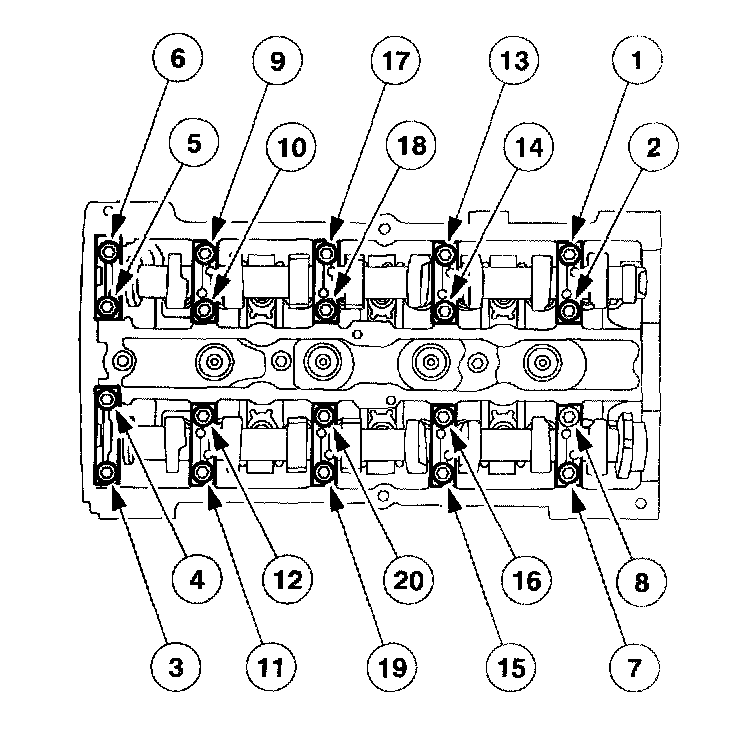
3. Remove the camshafts.
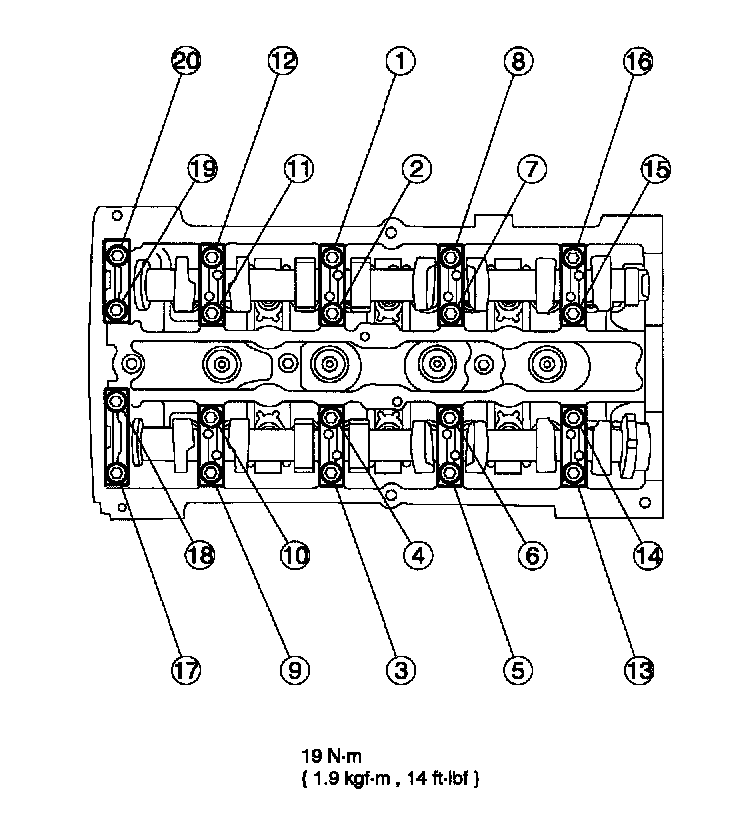
^ Loosen the camshaft journal cap bolts in several two-turn passes in the sequence shown.
^ Remove the bolts.
^ Remove the caps.
4. Inspect the camshafts for wear.
^ Discard the oil seals.
Caution:
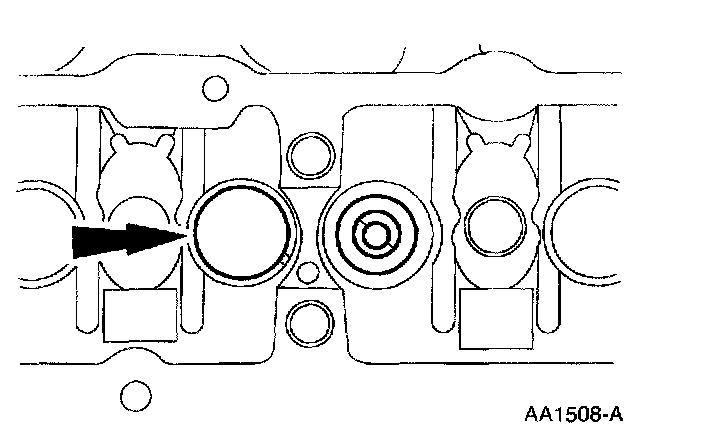
^ If the camshaft and valve tappets are to be reused, mark the location of the valve tappets to make sure that they are assembled in their original positions.
5. Remove the valve tappets from the cylinder head.
Note:
^ A midrange clearance is the most desirable:
- intake: 0.006 inch (0.15 mm)
- exhaust: 0.012 inch (0.3 mm)
Note:
^ Select tappets using this formula: tappet thickness = measured clearance plus the base tappet thickness minus most desirable thickness:
6. Select tappets and mark installation location.
Installation
Note:
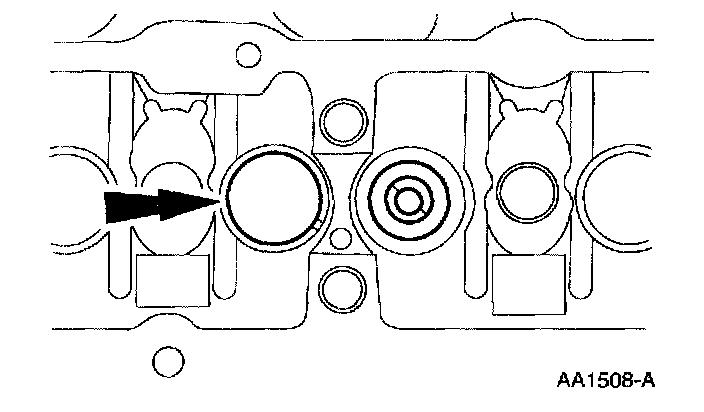
^ Lubricate the valve tappets with SAE 5W-20 Motor Oil.
1. Install the valve tappets.
Note:
^ Lubricate the camshaft bearing surfaces with SAE 5W-20 Motor Oil.
2. Install the camshafts.
^ Position the camshafts and camshaft journal caps.
^ Install the bolts and tighten the bolts in several two-turn passes using the sequence shown.
Note:
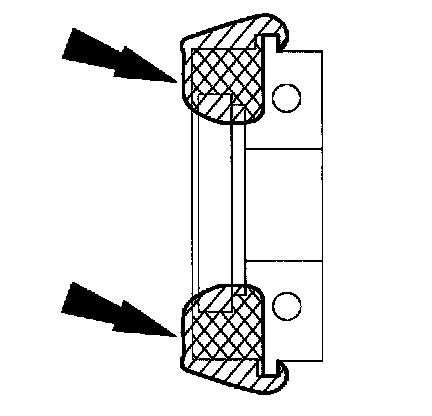
^ The front camshaft journal cap must be installed and the bolts tightened to specification within four minutes of sealer application or oil leaks may occur.
3. Coat the sealing surface of the front camshaft journal cap with silicone.
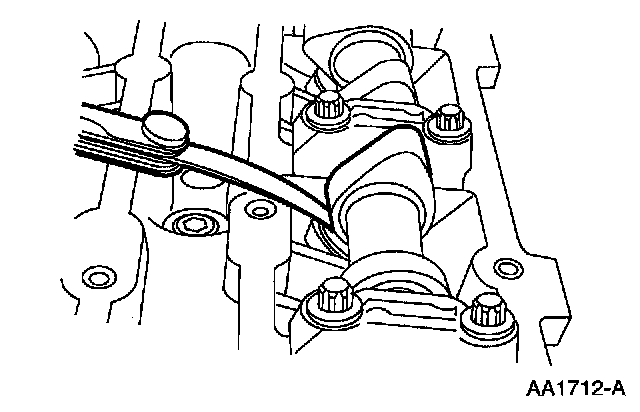
4. Confirm each valve's clearance at base circle with the lobe pointed away from the tappet.
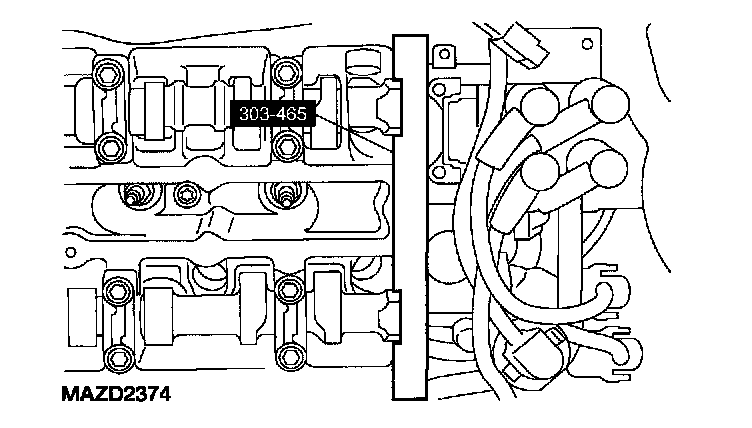
5. Install the camshaft aligning tool.
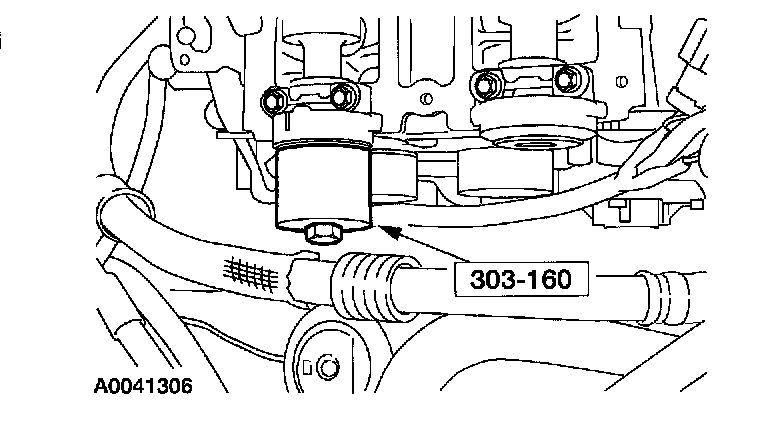
Note:
^ The exhaust camshaft oil seal is shown, the intake seal is similar.
6. Using the special tool, install new camshaft front oil seals.
7. Install the camshaft timing sprockets.