Transmission Disassembly
- Remove transmission and place on work stand. Remove torque converter. Remove governor tube, kickdown solenoid, vacuum diaphragm (with rod), oil pressure switch, OD cancel solenoid and lock-up control solenoid. Match mark converter housing-to-OD case and OD case-to-main case positions.
- Remove converter housing. Remove OD case assembly. Remove oil pan. Note location of valve body attaching bolts during removal. Remove bolts and valve body assembly. DO NOT
drop manual valve.
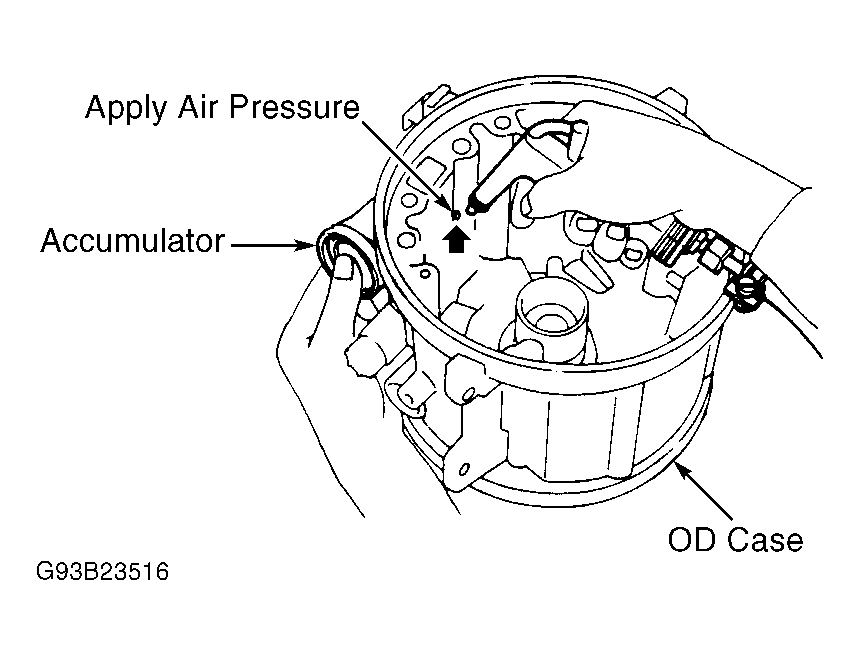
- Remove OD band servo cover. Loosen piston stem lock nut, and tighten piston stem to apply band. Repeat procedure for 2nd band servo. Remove OD case assembly from main case. Mark direction of input shaft and remove from OD case. Transmission model N4A-EL input shaft cannot be removed at this time. Mark direction of intermediate shaft and remove.
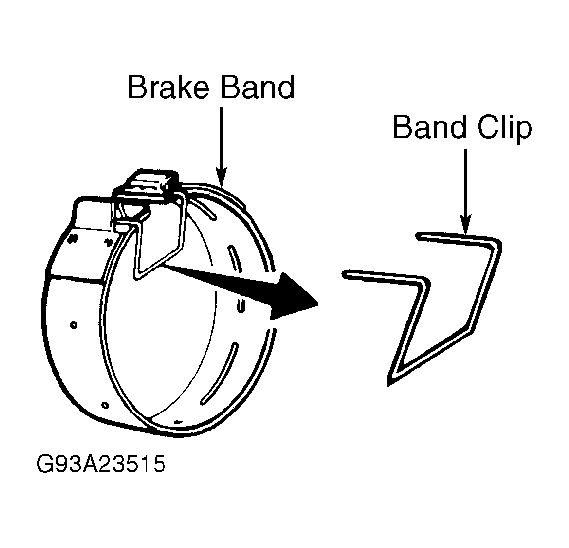
- Screw in 2 slide hammer type pullers into oil pump. Remove oil pump. Loosen OD band servo piston stem. Remove OD planetary gear and direct clutch as an assembly. Remove bearing, race, thrust washer, brake band and strut. Clip brake band to retain. See Fig 1
.
 Courtesy of MAZDA MOTORS CORP.
 Courtesy of MAZDA MOTORS CORP.
- Lightly tap servo retainer and remove OD servo assembly. Match mark OD case to drum support. Remove bolts retaining drum support to OD case. Remove gaskets. Remove speedometer pinion from extension housing.
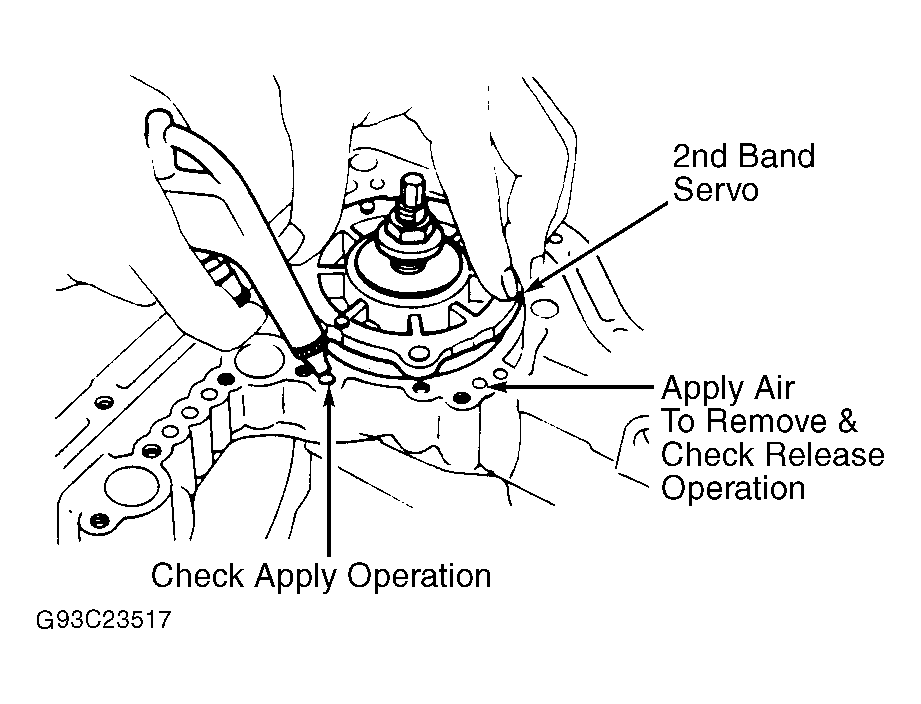
- Loosen 2nd brake band servo piston stem, and remove strut. Remove brake band. Clip brake band to retain. See Fig 1
. Remove front clutch, rear clutch, rear clutch hub, front planetary pinion carrier, connecting shell and sun gear as an assembly. Remove bolts retaining 2nd brake band servo. Remove servo assembly. See Fig 3
.
- Check one-way clutch for proper operation. See Figure
. Remove extension housing; DO NOT
lose parking pawl components. See Figure
. Remove rear planetary carrier snap ring. Remove rear planetary carrier. Remove output shaft snap ring. Remove connecting drum with internal gear.
 Courtesy of MAZDA MOTORS CORP.
- Pry out one end of low and reverse brake snap ring. Remove snap ring by rotating end of snap ring counterclockwise. Remove low and reverse clutch pack.
- Remove output shaft. Remove governor assembly from main case. Transmission model N4A-EL does not have a governor on output shaft.
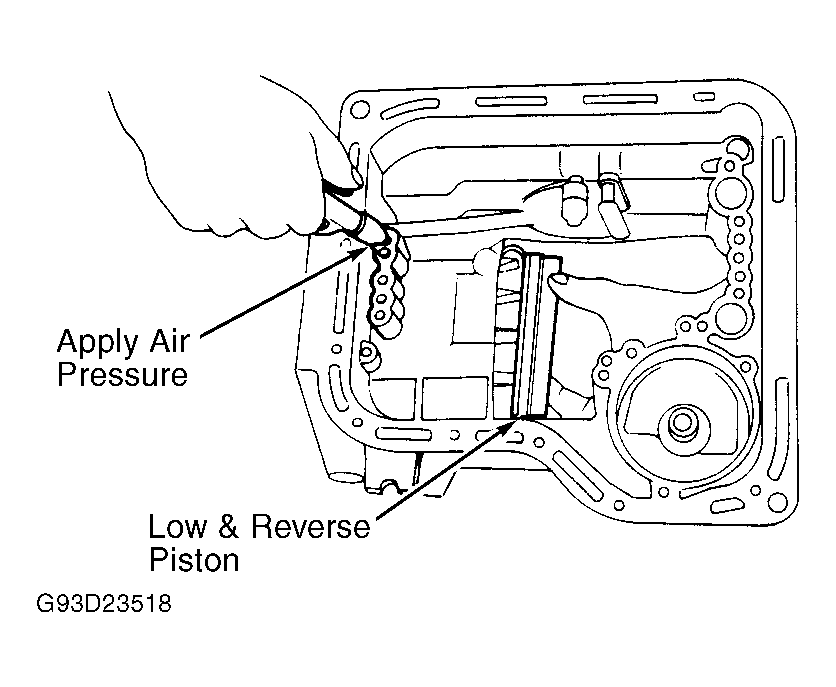
- Remove thrust washer and bearing from rear of transmission. Remove one-way clutch bolts. Remove one-way clutch inner race, thrust washer, return spring and thrust ring. Apply air to oil passage to remove low and reverse brake piston. See Fig 4
.
 Courtesy of MAZDA MOTOR CORP.