Disassembly
DRIVE SHAFT / PROPELLER SHAFT: FRONT DRIVE SHAFT ASSEMBLY: DISASSEMBLY
1. REMOVE FRONT NO. 2 AXLE INBOARD JOINT BOOT CLAMP
(a) Hold the drive shaft lightly in a vise between aluminum plates.
(b) Using pliers, remove the front No. 2 axle inboard joint boot clamp as shown in the illustration.
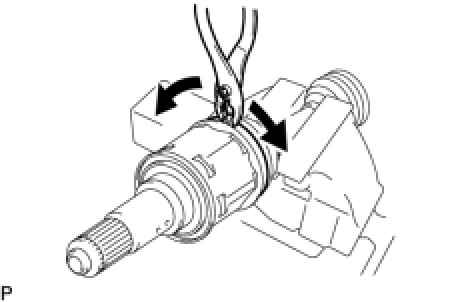
2. REMOVE FRONT NO. 1 AXLE INBOARD JOINT BOOT CLAMP
(a) Remove the front axle inboard joint boot clamp.
HINT
Perform the same procedures described for the front No. 2 axle inboard joint boot clamp.
3. REMOVE FRONT AXLE INBOARD JOINT BOOT
4. REMOVE FRONT AXLE INBOARD JOINT ASSEMBLY
(a) Place matchmarks on the inboard and outboard joint.
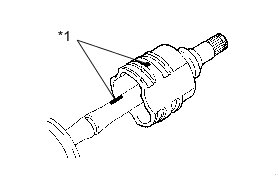
Text in Illustration
NOTICE:
Do not punch the marks.
(b) Remove the inboard joint from the outboard joint.
(c) Using a snap ring expander, remove the snap ring.
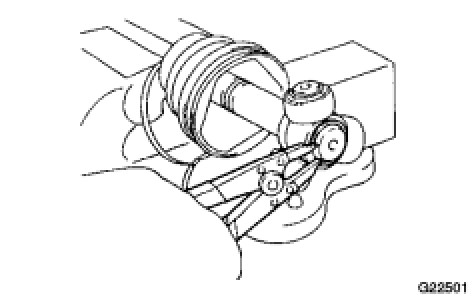
(d) Place matchmarks on the outboard joint and tripod.
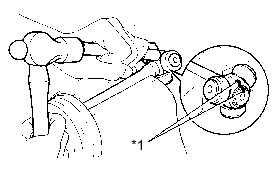
Text in Illustration
NOTICE:
Do not punch the marks.
(e) Using a brass bar and hammer, remove the tripod from the outboard joint.
NOTICE:
Do not tap the roller.
5. REMOVE FRONT NO. 2 AXLE OUTBOARD JOINT BOOT CLAMP
(a) Using a screwdriver, remove the outboard joint boot clamp.
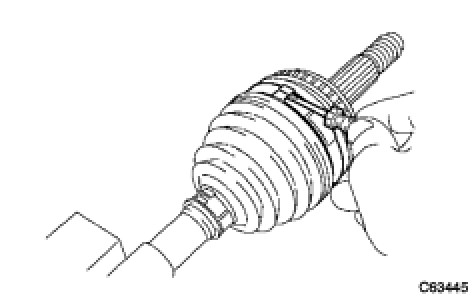
HINT
If the outboard joint boot clamp that have been replaced are installed to the drive shaft, use a side cutter to remove them.
6. REMOVE FRONT NO. 1 AXLE OUTBOARD JOINT BOOT CLAMP
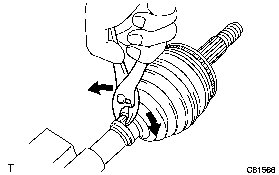
(a) Using pliers, remove the boot clamp as shown in the illustration.
7. REMOVE OUTBOARD JOINT BOOT
8. REMOVE SHAFT SNAP RING
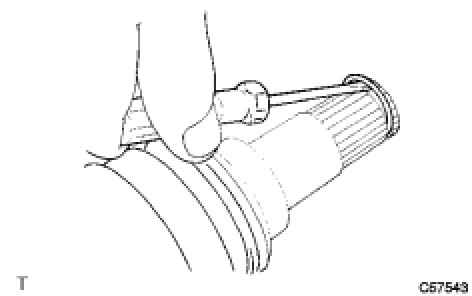
(a) Using a screwdriver, remove the shaft snap ring.
9. REMOVE FRONT DRIVE SHAFT DUST COVER
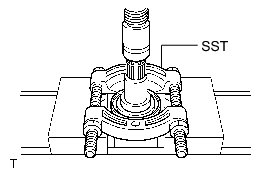
(a) Using SST and a press, remove the dust cover.
SST : 09950-00020
10. REMOVE FRONT AXLE HUB DUST SEAL
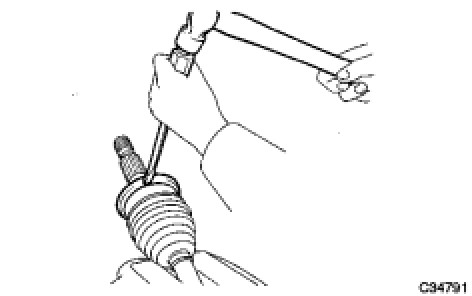
(a) Using a screwdriver and hammer, remove the dust seal.