Installation
DOOR / HATCH: HOOD LOCK CONTROL CABLE ASSEMBLY: INSTALLATION
HINT
A bolt without a torque specification is shown in the standard bolt chart Standard Bolt - Specified Torque For Standard Bolts.
1. INSTALL HOOD LOCK CONTROL CABLE ASSEMBLY
(a) Pass the hood lock control cable assembly into the engine compartment.
(b) Pass the cable through the upper radiator support.
(c) Attach the clamps as shown in the illustration.
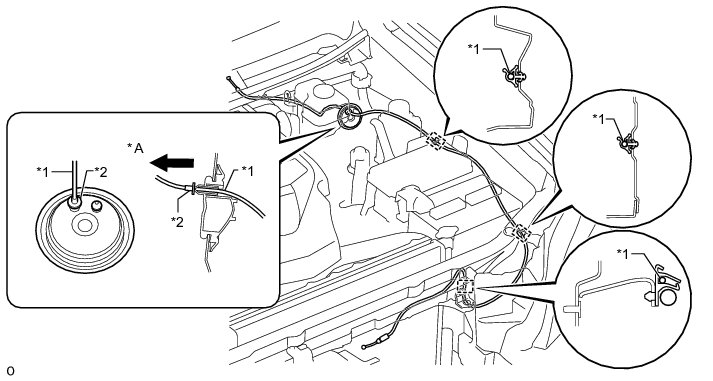
Text in Illustration

2. INSTALL HOOD LOCK CONTROL LEVER SUB-ASSEMBLY
(a) Connect the hood lock control cable assembly to the hood lock control lever sub-assembly.
(b) Attach the 3 claws to install the hood lock control lever sub-assembly.
(c) Attach the clamps as shown in the illustration.
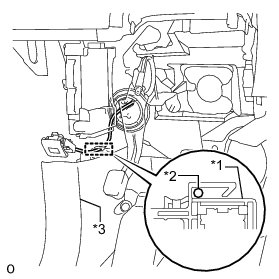
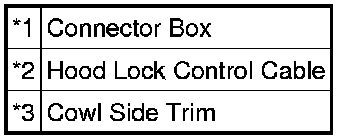
Text in Illustration
3. INSTALL HOOD LOCK ASSEMBLY
(a) Apply MP grease to the sliding areas of the lock.
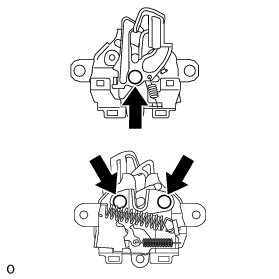
(b) Connect the hood lock control cable assembly.
(c) Connect the connector.
(d) Install the hood lock assembly with the 3 bolts.
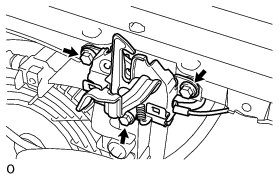
Torque : 7.5 Nm (76 kgf-cm, 66 in-lbf)
4. INSTALL HOOD LOCK CONTROL CABLE COVER
(a) Pass the hood lock control cable assembly through the hood lock control cable cover.
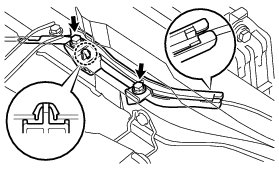
(b) Attach the claw to install the hood lock control cable cover.
(c) Install the 2 bolts.
Torque : 7.5 Nm (76 kgf-cm, 66 in-lbf)
5. INSTALL LOW PITCHED HORN ASSEMBLY Installation
6. INSTALL HIGH PITCHED HORN ASSEMBLY Installation
7. INSTALL HOOD LOCK RELEASE LEVER PROTECTOR
(a) Attach the 2 claws and 2 guides to install the hood lock release lever protector.
8. INSTALL MILLIMETER WAVE RADAR SENSOR ASSEMBLY (w/ Dynamic Radar Cruise Control System) Installation
9. INSTALL RADIATOR GRILLE
(a) Install the radiator grille Installation.
10. ADJUST MILLIMETER WAVE RADAR SENSOR ASSEMBLY (w/ Dynamic Radar Cruise Control System) Adjustments
11. INSTALL UPPER RADIATOR SUPPORT SEAL Installation
12. INSTALL ENGINE ROOM SIDE COVER LH Installation