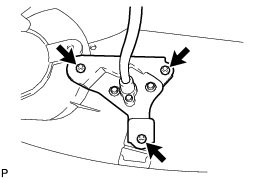
Removal
PARK ASSIST / MONITORING: TELEVISION CAMERA (for Side): REMOVAL
1. REMOVE OUTER REAR VIEW MIRROR ASSEMBLY RH
(a) Remove the outer rear view mirror assembly Removal.
2. REMOVE OUTER MIRROR RH Removal
3. REMOVE OUTER MIRROR COVER RH Disassembly
4. REMOVE SIDE TURN SIGNAL LIGHT ASSEMBLY RH Removal
5. REMOVE SIDE TELEVISION CAMERA ASSEMBLY
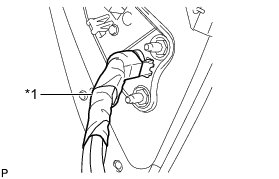
Remove the tape.
Text in Illustration
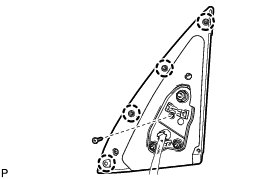
Remove the screw, detach the 4 claws and remove the rubber base.
HINT
It is not necessary to completely remove the rubber base. Slightly move the rubber base so that the lower mirror cover can be removed in a later step.
(a) Remove the lower mirror cover.
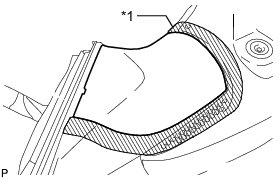
Put protective tape around the lower mirror cover.
Text in Illustration

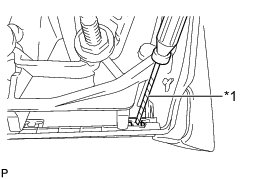
Using a screwdriver, detach the claw.
HINT
Tape the screwdriver tip before use.
Text in Illustration

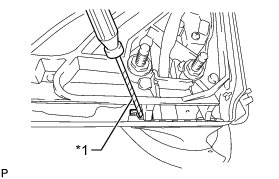
Using a screwdriver, detach the claw.
HINT
Tape the screwdriver tip before use.
Text in Illustration

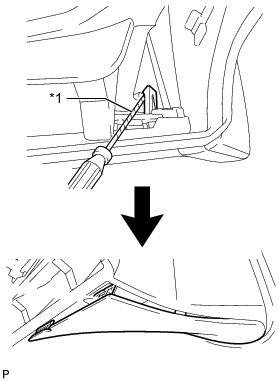
Using a screwdriver, detach the claw to create a space between the lower mirror cover and mirror body as shown in the illustration.
HINT
Tape the screwdriver tip before use.
Text in Illustration

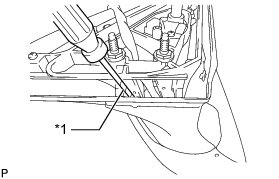
Insert a screwdriver as shown in the illustration.
HINT
Tape the screwdriver tip before use.
Text in Illustration

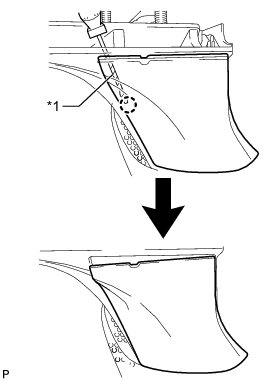
Detach the claw to create a space between the lower mirror cover and mirror body as shown in the illustration.
HINT
Tape the screwdriver tip before use.
Text in Illustration

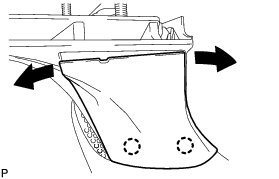
While moving the lower mirror cover back and forth in the directions of the arrows in the illustration, detach the 3 claws and remove the lower mirror cover.
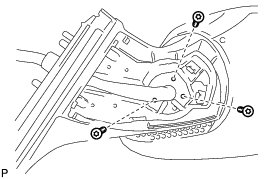
Using a T25 "TORX" socket wrench, remove the 3 screws.
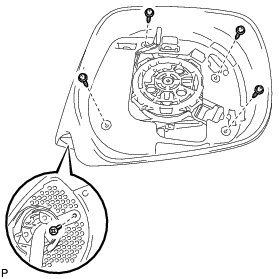
Remove the 5 screws.
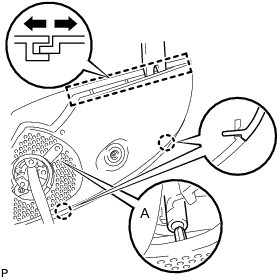
Using a moulding remover, open the mirror body as shown in the illustration.
(b) Using a moulding remover, detach the 2 claws.
NOTICE:
Be careful not to break the claw shown in the part of the illustration labeled A.
(c) Using a screwdriver, disconnect the connector.
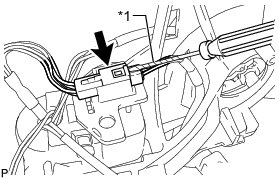
NOTICE:
When disconnecting the connector, be careful not to damage it.
HINT
Tape the screwdriver tip before use.
Text in Illustration

(d) Remove the 3 screws and side television camera.