Body - Driver's Door Lock Cylinder Hard To Operate
L-SB-0016-09February 20, 2009
Exterior Key Cylinder Difficult to Operate
Service Category
Vehicle Interior
Section
Door Lock
Market
USA

Applicability
Introduction
Some customers may complain that the driver's door exterior key cylinder may be difficult to open manually using the key. An improved lock cylinder has been developed for this condition. Follow the procedure in this TSIB to address customer concerns.
Production Change Information

This TSIB applies to vehicles produced BEFORE the Production Change Effective VIN shown.

Parts Information

Warranty Information
APPLICABLE WARRANTY
^ This repair is covered under the Lexus Comprehensive Warranty. This warranty is in effect for 48 months or 50,000 miles, whichever occurs first, from the vehicle's in-service date.
^ Warranty application is limited to correction of a problem based upon a customer's specific complaint.
Repair Procedure
Remove and replace driver's door lock cylinder, glove box lock cylinder, and manual keys.
1. Remove Driver's door lock cylinder.
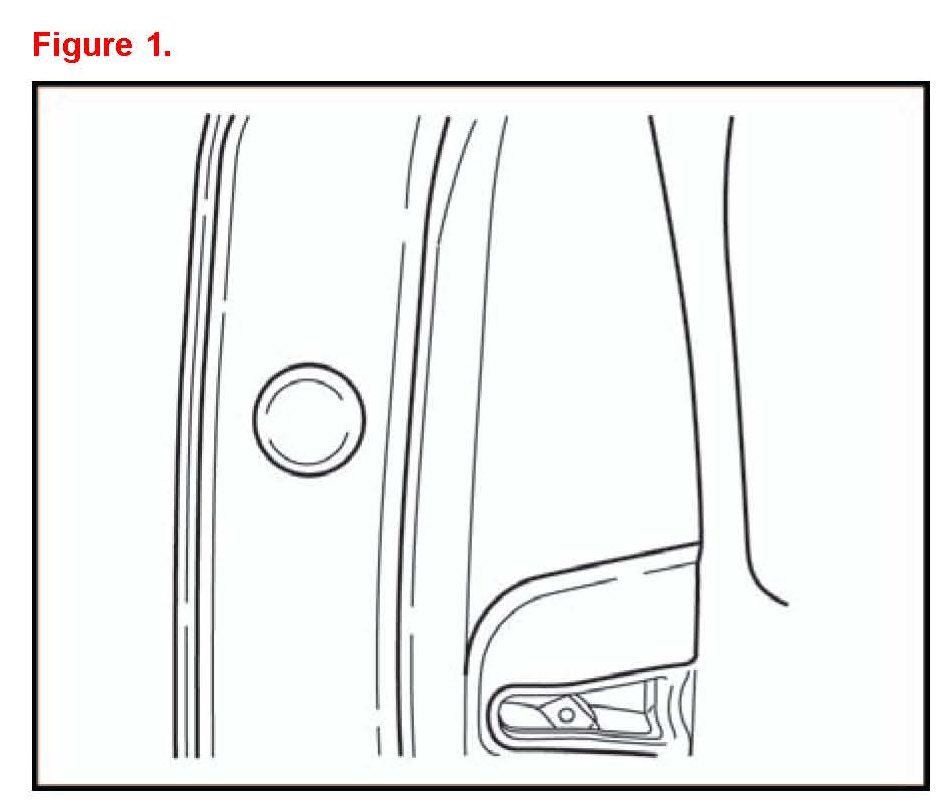
A. Open driver's door and remove cover shown in Figure 1.
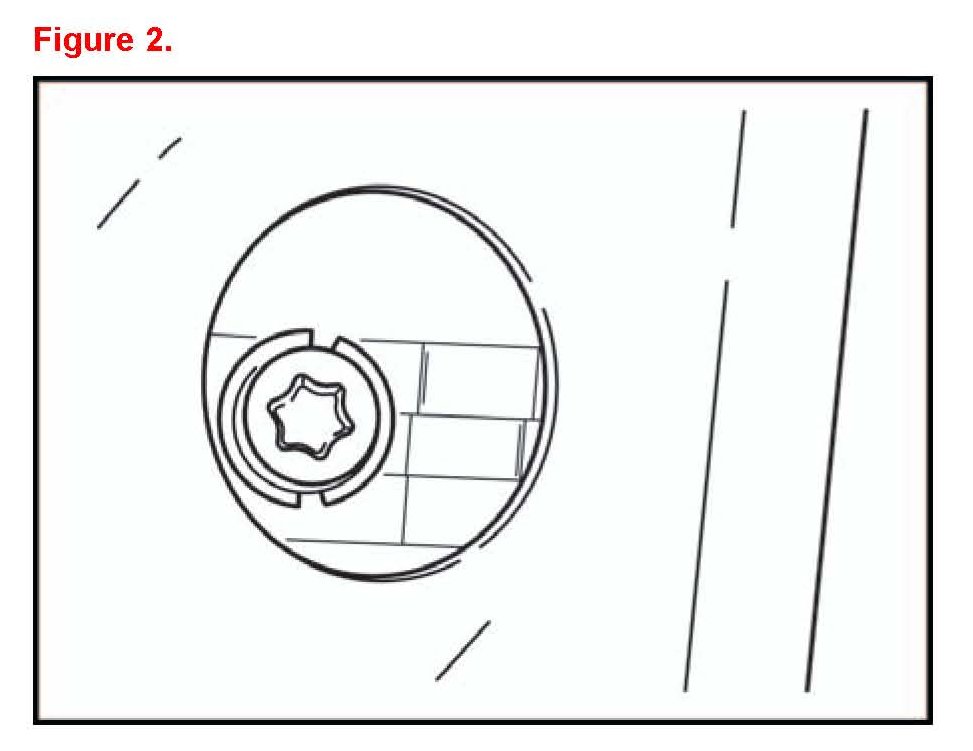
B. Remove t-30 Torx screw to remove cylinder assembly from handle.
C. Disengage the 2 claws and remove housing.
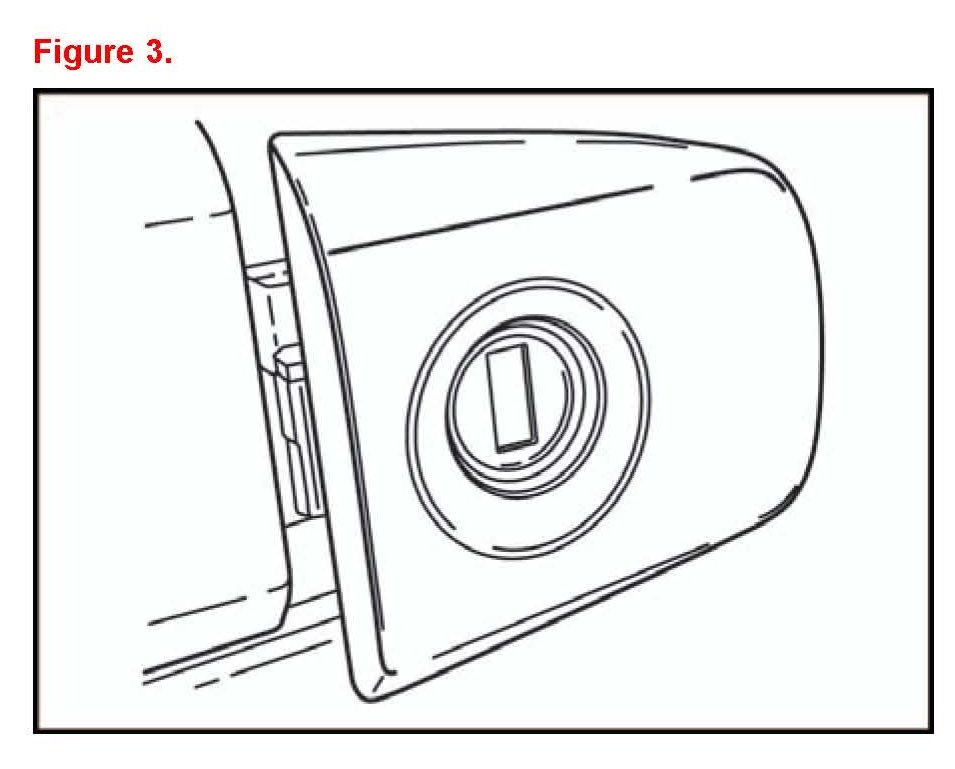
D. Install housing onto new door lock cylinder and install back into handle.
2. Remove glove box lock cylinder.
Refer to the repair manual instructions to remove and disassemble glove box assembly.
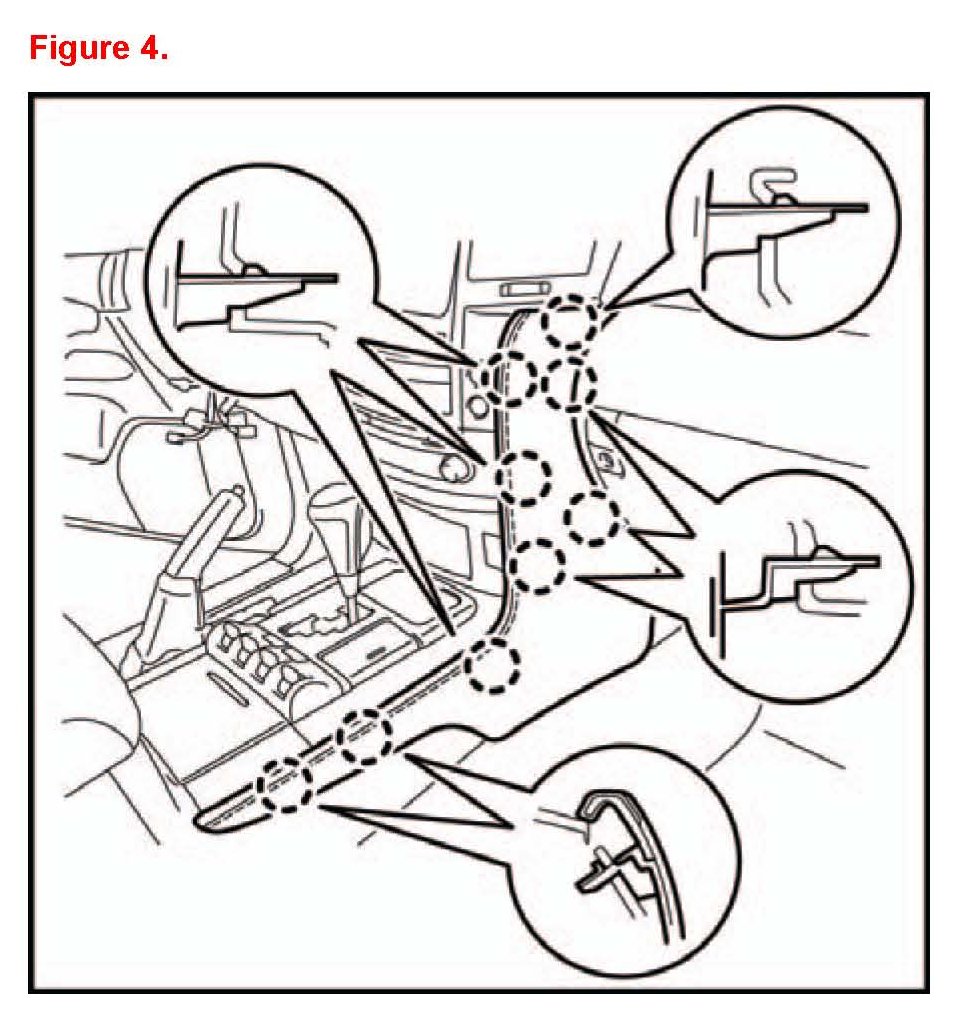
A. Detach the 9 claws and remove the right hand instrument panel pad sub-assembly.
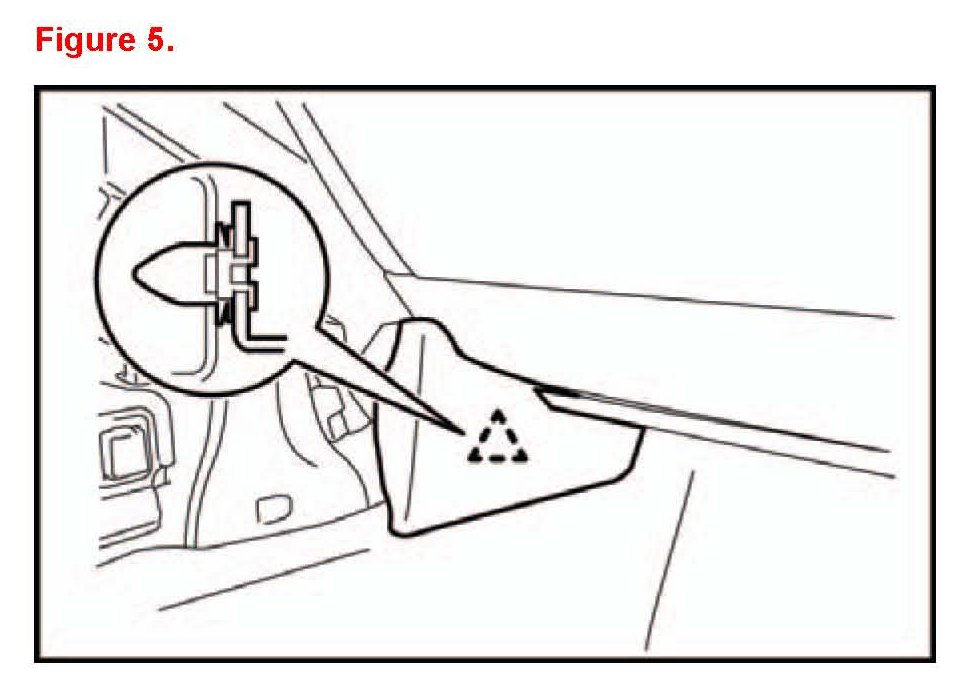
B. Detach the retaining clip and remove the instrument panel bracket cover.
C. Remove front door scuff plate RH.
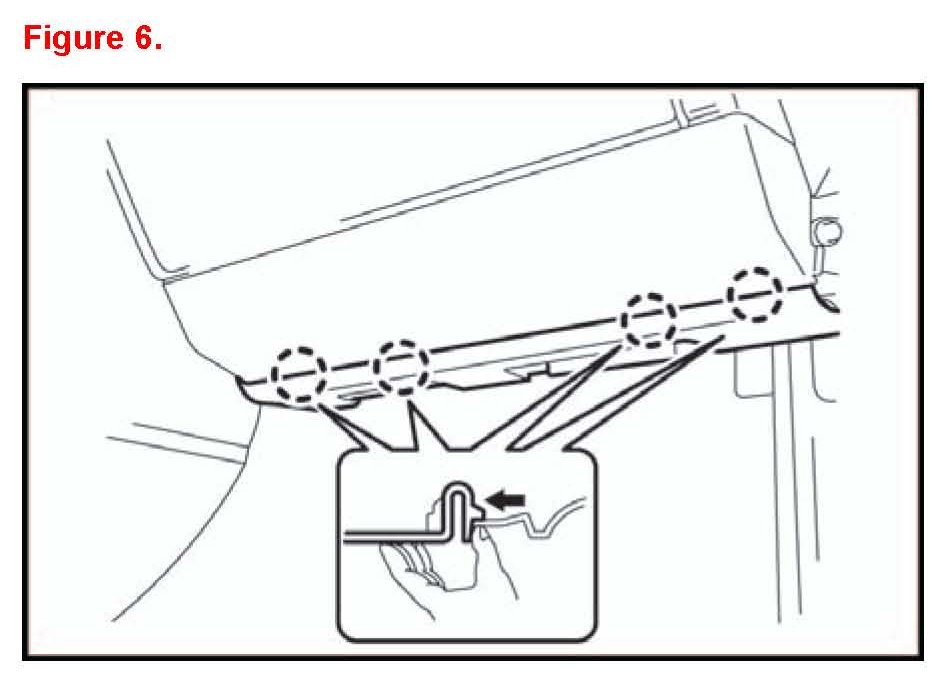
D. Remove No.2 instrument panel under cover sub-assembly.
(1) Detach the 4 claws.
(2) Remove the under cover and disconnect the connector.
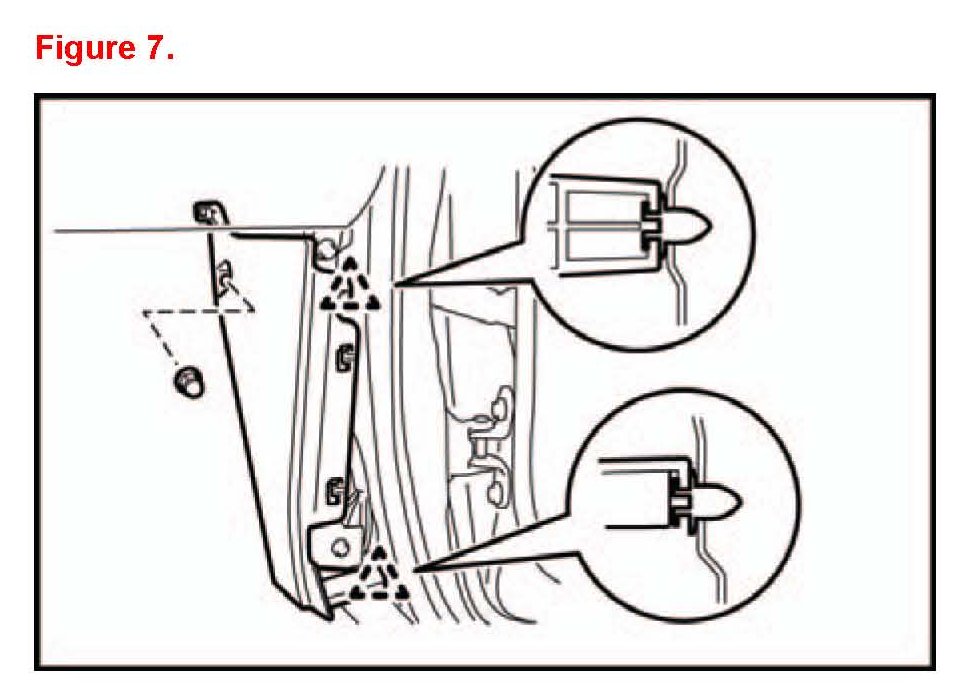
E. Remove cowl side trim board RH.
(1) Remove the cap nut.
(2) Detach the 2 clips and remove the trim board.
F. Remove the front passenger side knee airbag assembly.
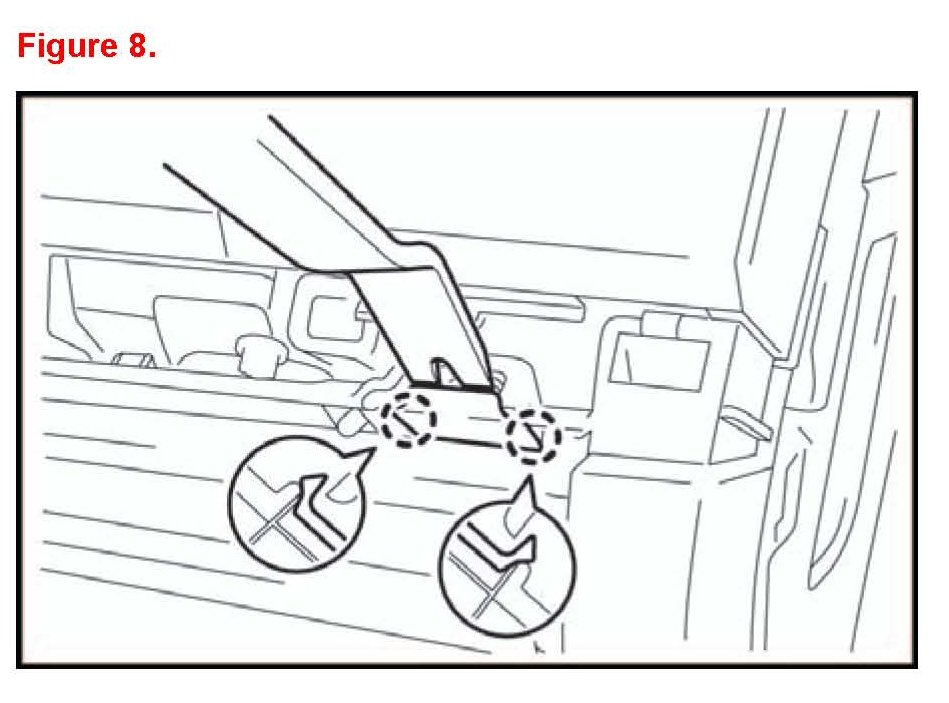
G. Remove instrument panel box door knob.
(1) Using a molding remover detach the 2 claws and remove the knob.
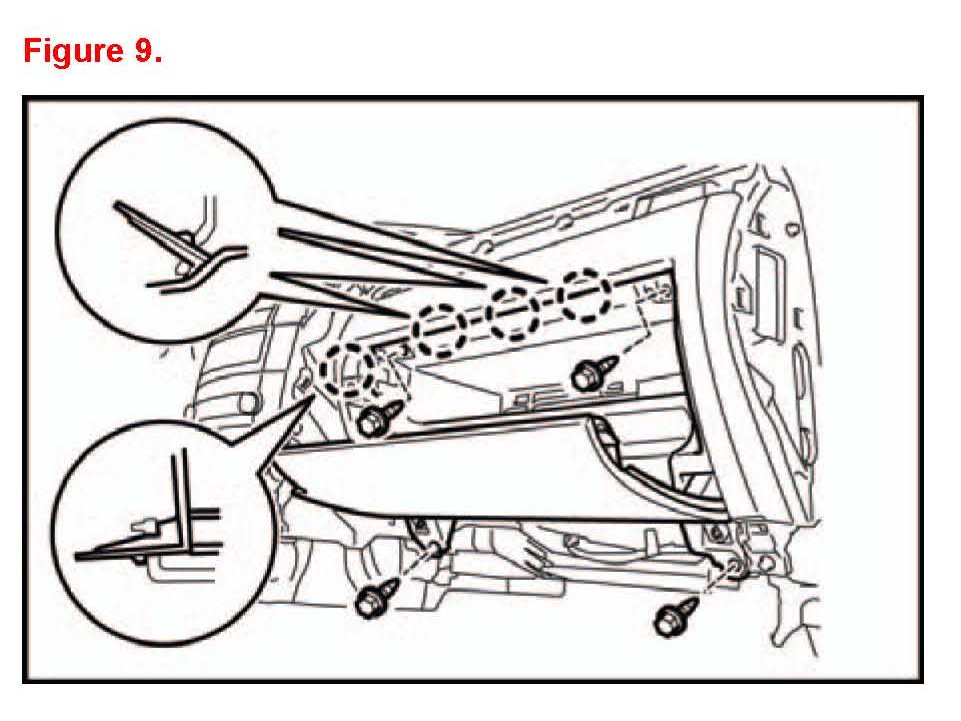
H. Remove lower No.2 instrument panel finish panel
(1) Remove the 4 bolts.
(2) Detach the 4 claws.
(3) Remove the finish panel and then disconnect the connector.
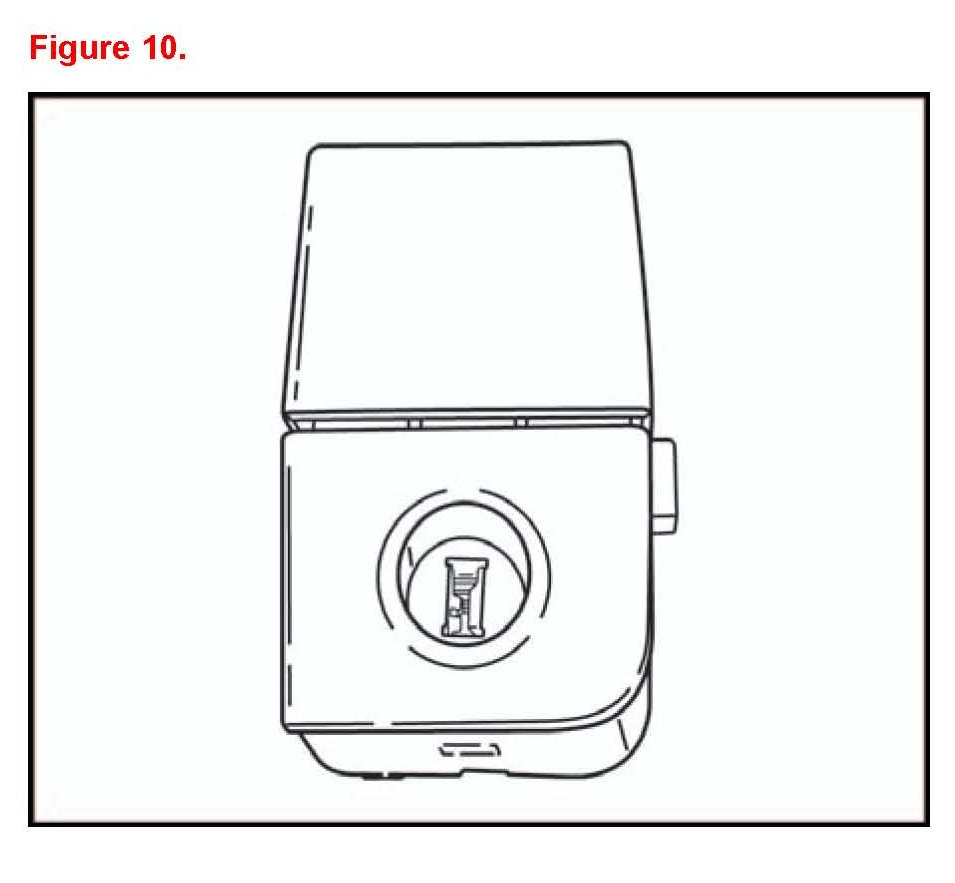
I. Remove the 2 screws and remove the lock and button assembly.
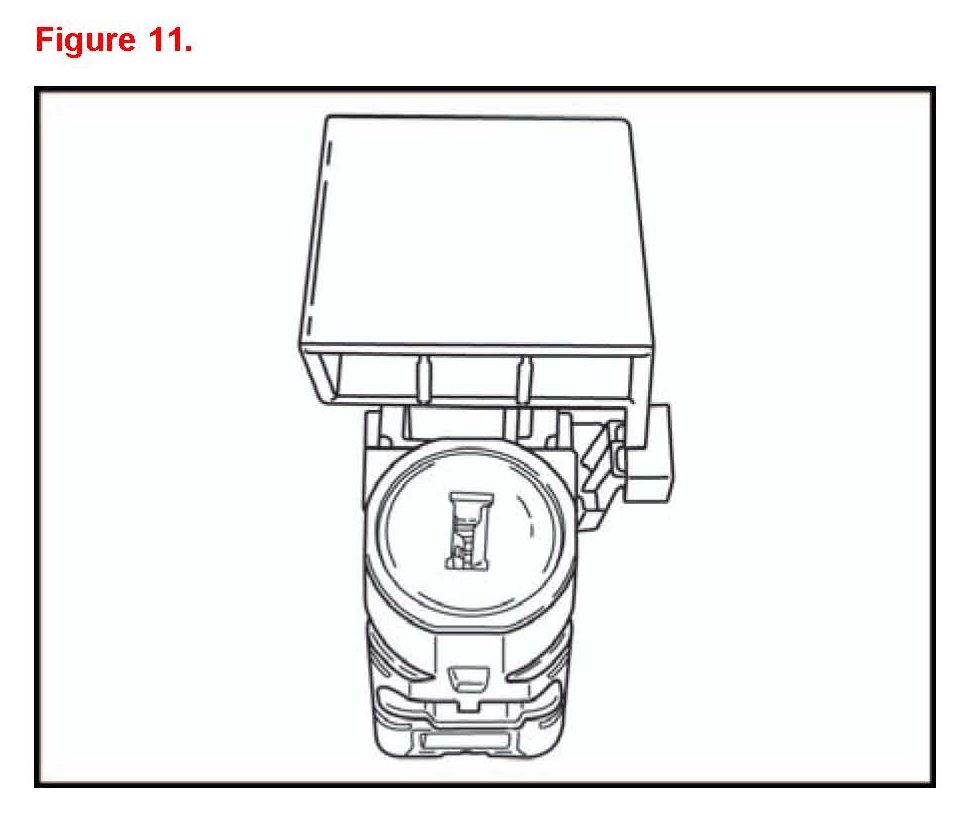
J. Remove the lower lock cover.
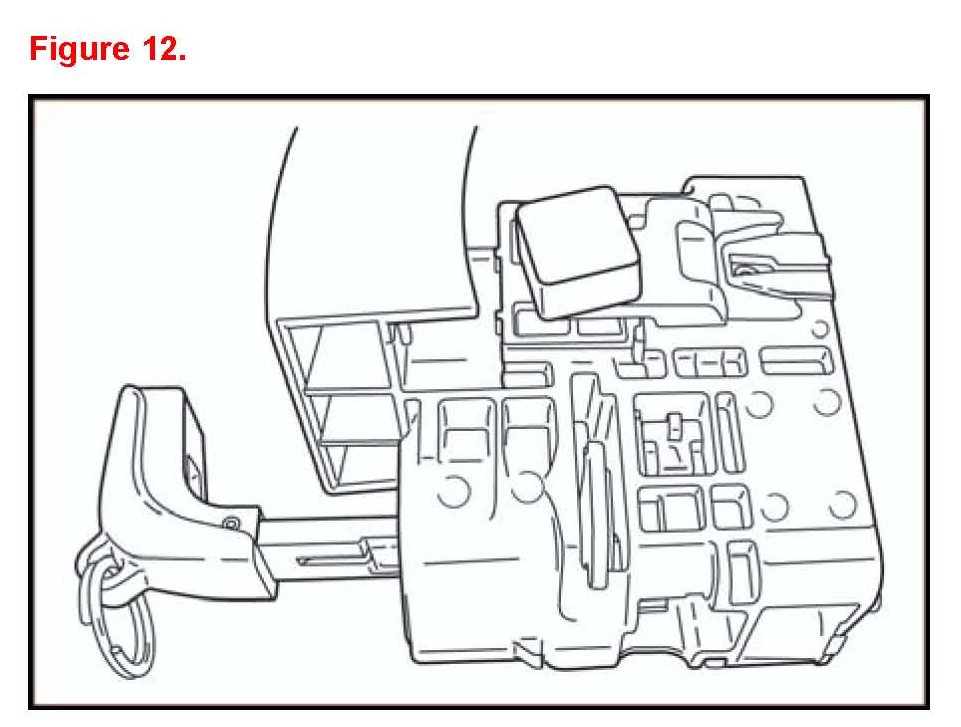
K. Insert manual key into the cylinder and turn lock to expose the rear lock tumbler.
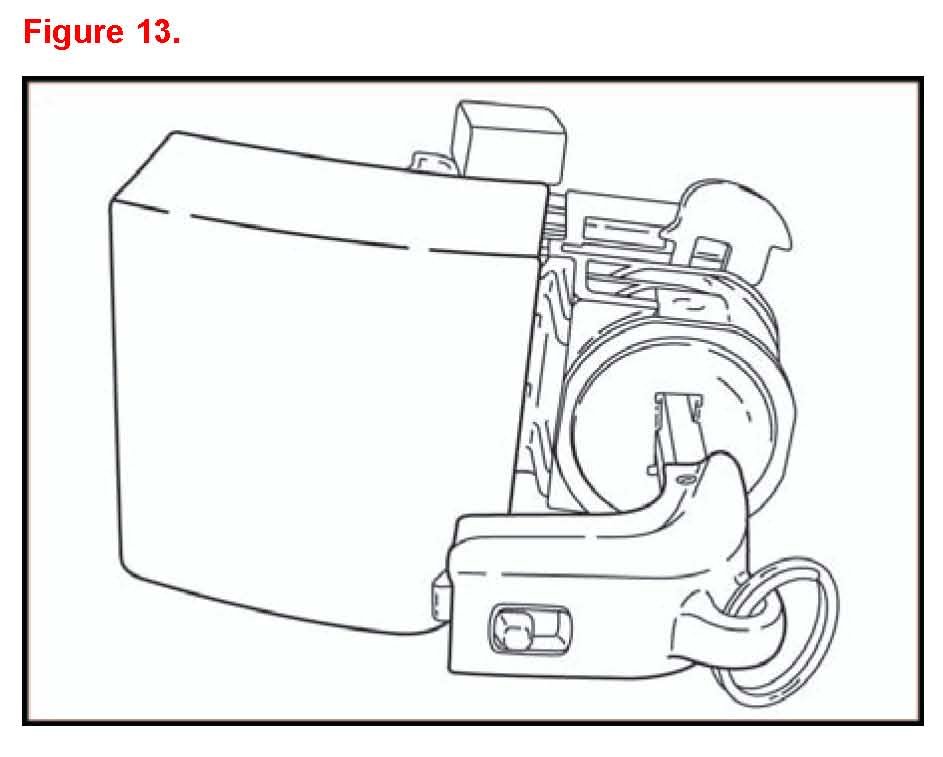
L. Remove the rear lock tumbler to remove the lock cylinder from the housing.
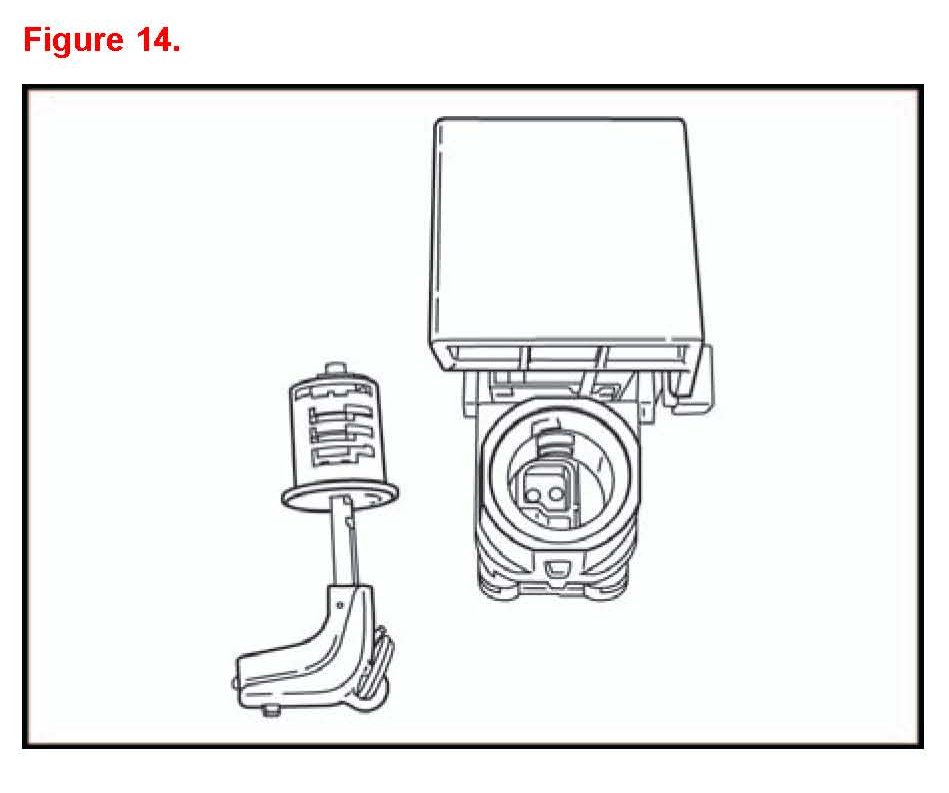
M. Install new lock cylinder and rear lock tumbler into the lock housing.
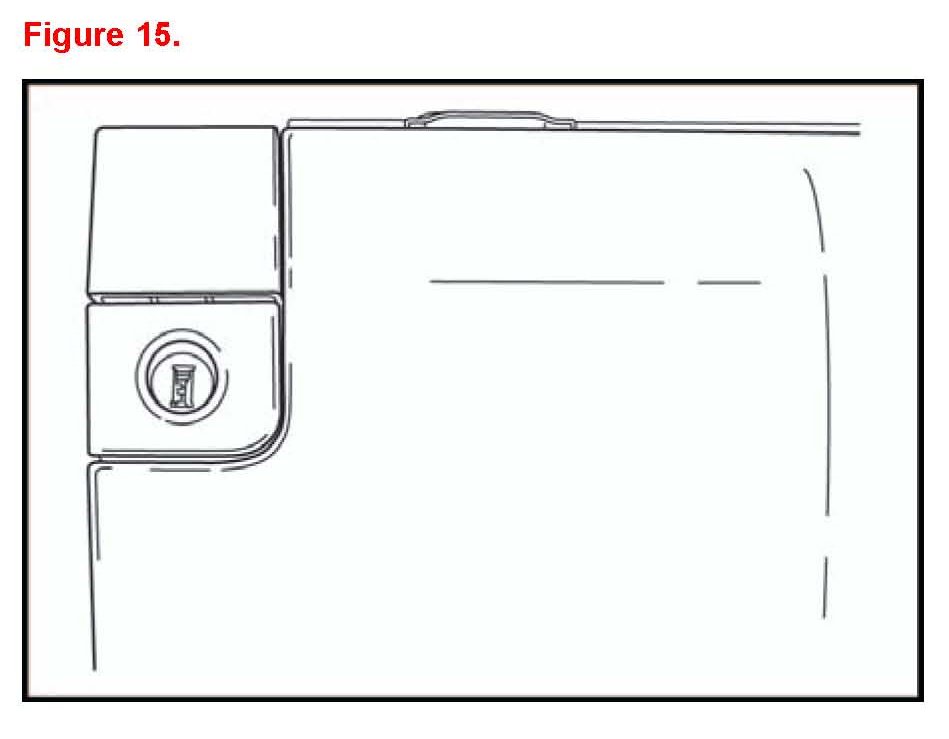
N. Install lock and button assembly onto the glove box assembly.
0. Install glove box assembly in reverse order.
P Confirm door lock and glove box lock operate with new manual keys.
3. Replace both existing manual keys with new keys supplied in cylinder and key set.