Inspection & Disassembly
- Check for and record any play or roughness in outboard axle shaft. Ensure inboard axle shaft slides smoothly in thrust direction. Ensure inboard axle shaft does not have excessive play in radial direction.
- Remove 6 bolts and 3 joint washers from CV joint. Remove inboard joint shaft and gasket from outboard joint shaft.
- Use bolts, washers and nuts to keep inboard joint assembled. Tighten bolts by hand to avoid scratching flange surface.
- Remove inboard and outboard CV joint boot clamps.
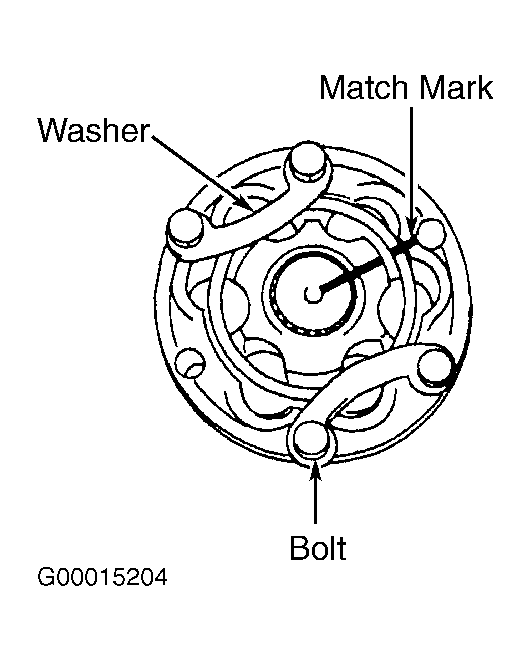
- Place match marks on inboard CV joint subassembly and outboard axle shaft for reassembly reference. See Fig 1. Remove snap ring.
 Courtesy of © TOYOTA, LICENSE AGREEMENT TMS1002
- Slide inboard CV joint boot toward outboard CV joint.
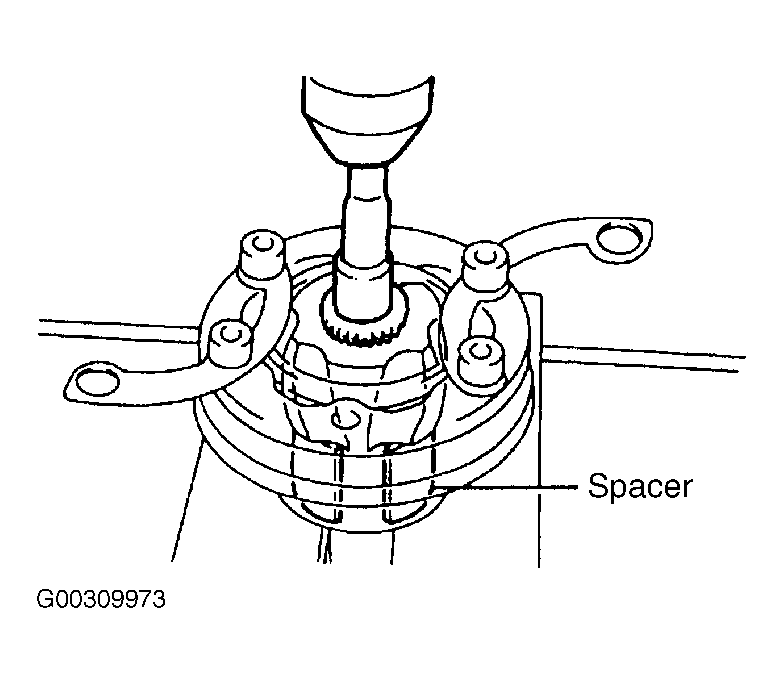
- Using a 17-mm socket and press, remove inboard joint subassembly from outboard axle shaft. Remove bolts, nuts and washers. See Fig 2.
 Courtesy of © TOYOTA, LICENSE AGREEMENT TMS1002
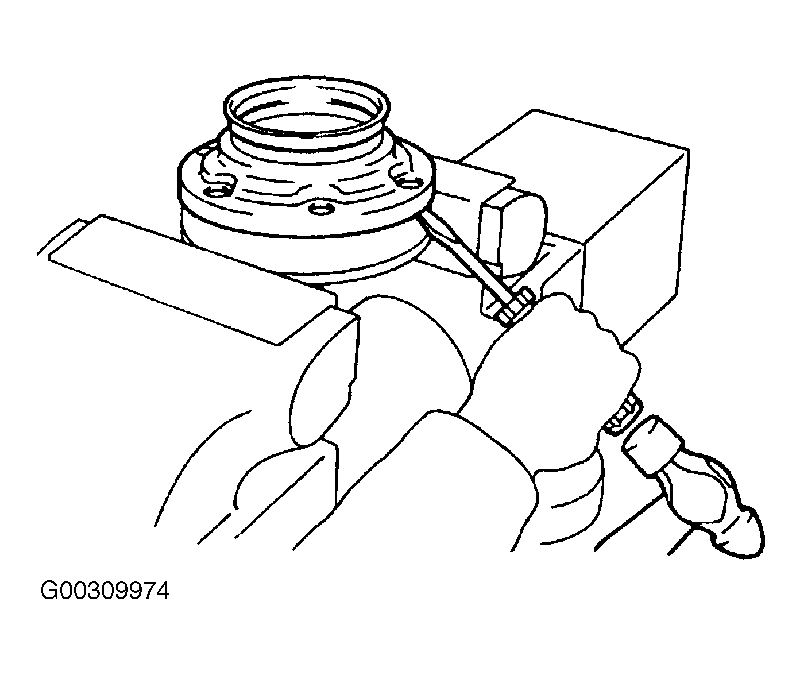
- Using a screwdriver and hammer, pry around perimeter of inboard joint cover. Remove inboard joint subassembly from inboard joint cover. When lifting inboard joint, hold onto inner and outer race. See Fig 3.
 Courtesy of © TOYOTA, LICENSE AGREEMENT TMS1002
- Slide out 2 boots and 4 clamps.
- Using a screwdriver, remove dust cover from left axle shaft.
- On right axle shaft, use press to remove transaxle side dust cover.
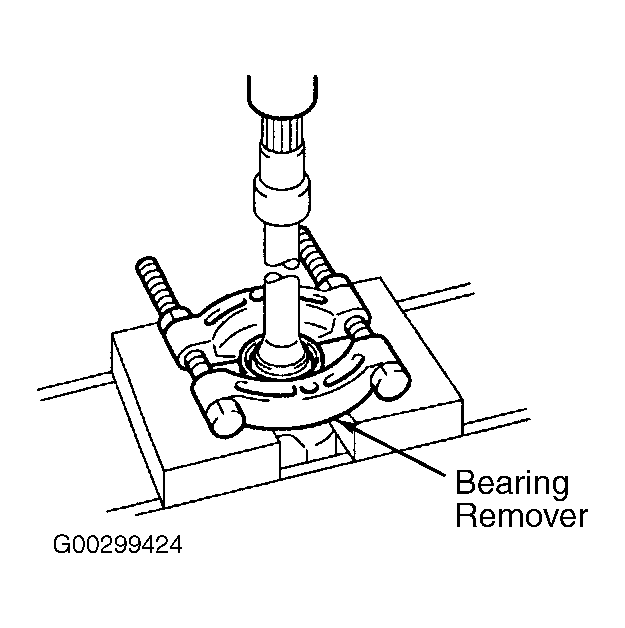
- On right axle shaft, use press to remove bearing side dust cover. Remove snap ring. See Fig 4.
 Courtesy of © TOYOTA, LICENSE AGREEMENT TMS1002
- On right axle shaft, use press to remove axle shaft bearing. Remove snap ring.
- Mount outboard axle shaft in soft-jaw vise. Using a screwdriver and hammer, remove No. 2 dust deflector. See Fig 5.
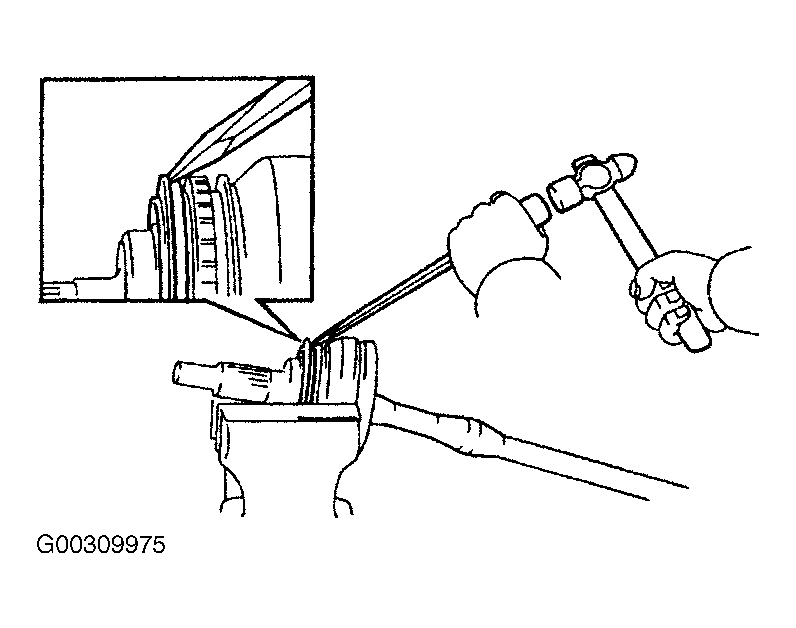 Courtesy of © TOYOTA, LICENSE AGREEMENT TMS1002