[Steering Column Shroud Upper Panel]
- Remove the crash pad side cover [LH] (A) by using a remover.
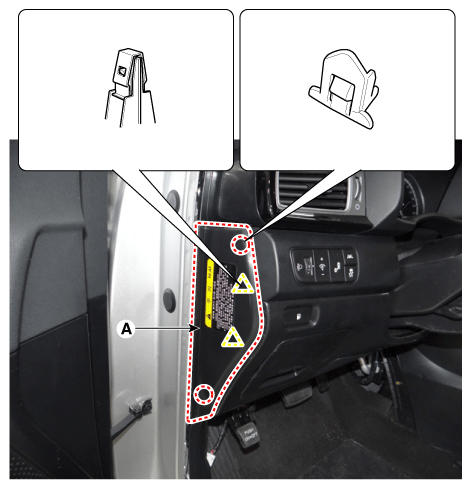 Courtesy of KIA MOTORS AMERICA, INC.
- Remove the crash pad lower panel (A) after loosening the screw.
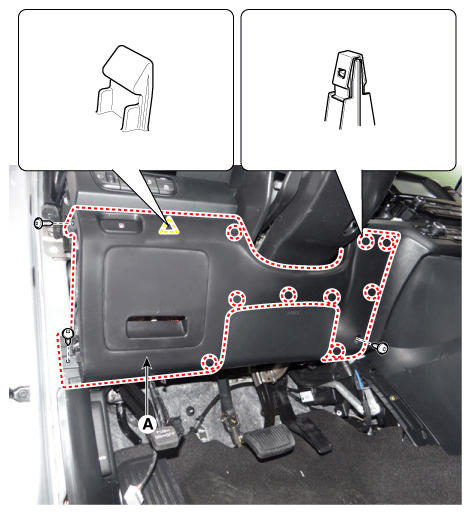 Courtesy of KIA MOTORS AMERICA, INC.
- Disconnect the fuel filler door switch connector (A).
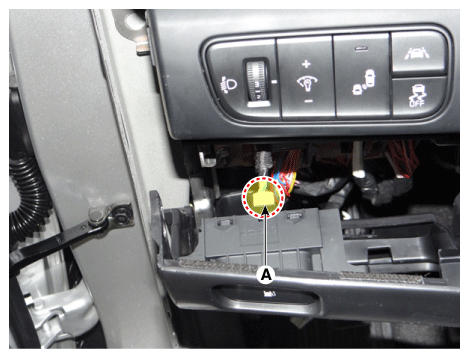 Courtesy of KIA MOTORS AMERICA, INC.
- Remove the crash pad plate [LH] (A) after loosening the screw.
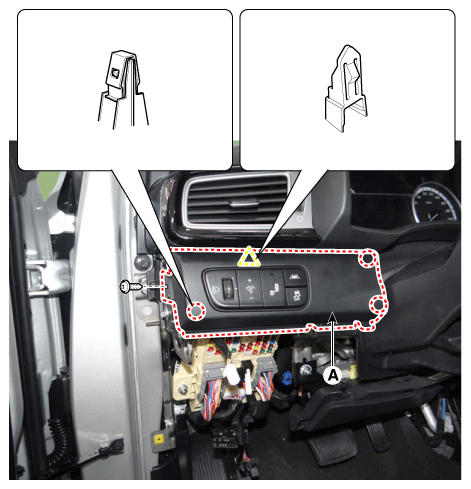 Courtesy of KIA MOTORS AMERICA, INC.
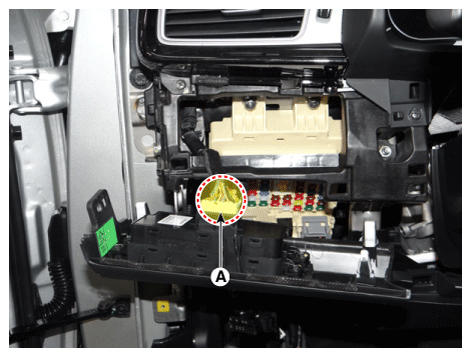
- Disconnect the crash pad plate [LH] connector (A).
 Courtesy of KIA MOTORS AMERICA, INC.
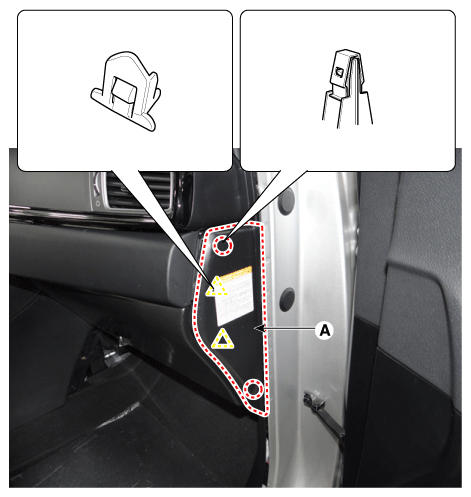
- Remove the crash pad side cover [RH] (A) by using a remover.
 Courtesy of KIA MOTORS AMERICA, INC.
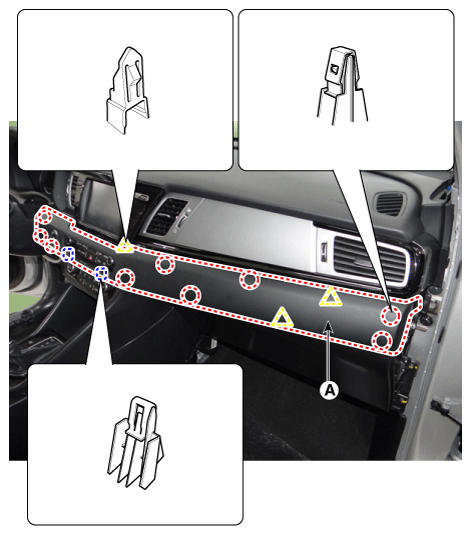
- Remove the crash pad garnish [LH] (A) by using a remover.
 Courtesy of KIA MOTORS AMERICA, INC.
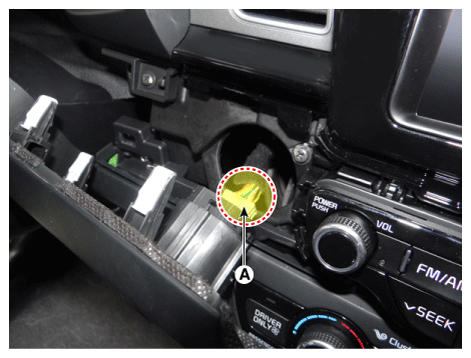
- Disconnect the start/stop button connector (A).
 Courtesy of KIA MOTORS AMERICA, INC.
- Remove the cluster fascia panel (A) by using a remover.
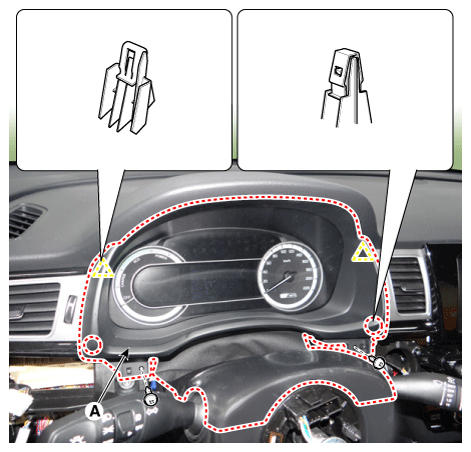 Courtesy of KIA MOTORS AMERICA, INC.
- Install in the reverse order of removal.