Front Axle - 186FBI
COLLAPSIBLE SPACERREMOVAL
1. Raise and support the vehicle.
2. Remove wheel and tire assemblies.
3. Remove brake rotors and calipers.
4. Mark the propeller shaft and pinion companion flange for installation reference.
5. Remove propeller shaft from the pinion companion flange.
6. Rotate pinion gear a minimum of ten times and verify pinion rotates smoothly
7. Record pinion gear rotating torque with a torque wrench for installation reference.
8. Remove pinion nut and washer. Using a short piece of pipe and Spanner Wrench 6958 to hold the pinion companion flange.
9. Remove pinion companion flange with Remover C-452 and Flange Wrench C-3281.
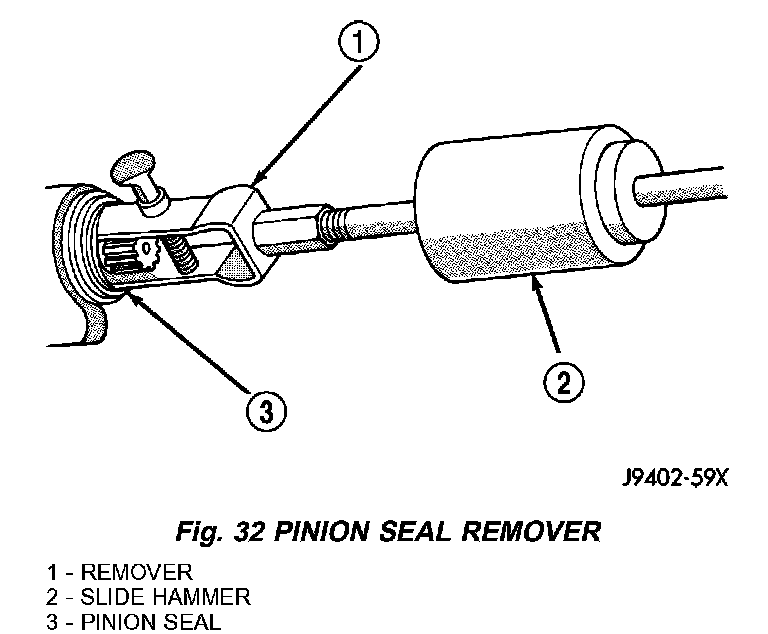
10. Remove pinion shaft seal with Remover 7794-A and slide hammer (Fig. 32).
11. Remove front pinion bearing using a pair of pick tools to pull the bearing straight off pinion shaft.
NOTE: If bearing becomes bound on the pinion shaft, lightly tap the end of the pinion gear with a rawhide/rubber mallet.
12. Remove the collapsible spacer.
INSTALLATION
1. Install a new collapsible preload spacer on pinion shaft.
2. Install pinion front bearing.
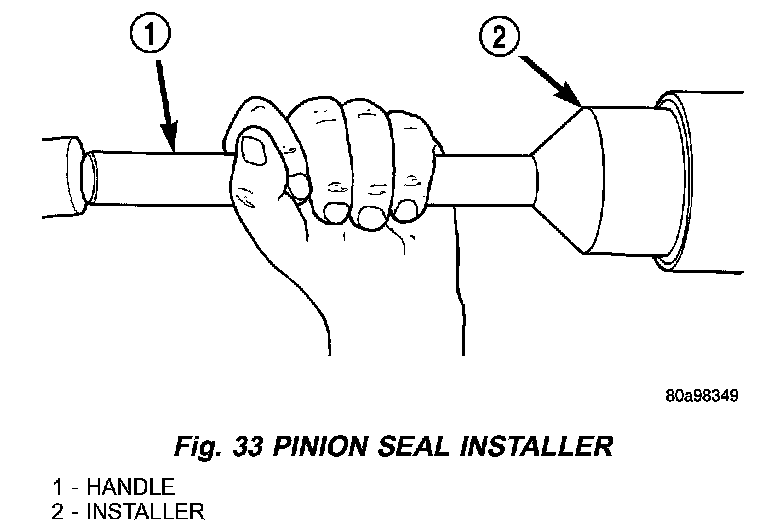
3. Apply a light coating of gear lubricant on the lip of pinion seal. Install seal with an appropriate installer (Fig. 33).
4. Install pinion companion flange with Installer W-162-D, Cup 8109 and Flange Holder 6958.
5. Install pinion washer and a new nut on the pinion gear. Tighten the nut to 298 Nm (220 ft. lbs.) minimum. Do not overtighten. Maximum torque is 500 Nm (368 ft. lbs.).
CAUTION: Never loosen pinion nut to decrease pinion rotating torque and never exceed specified preload torque. If preload torque is exceeded a new collapsible spacer must be installed.
NOTE: New collapsible spacers require high initial torque to start the collapsing of the spacer. This may reach 678 Nm (500 ft. lbs.).
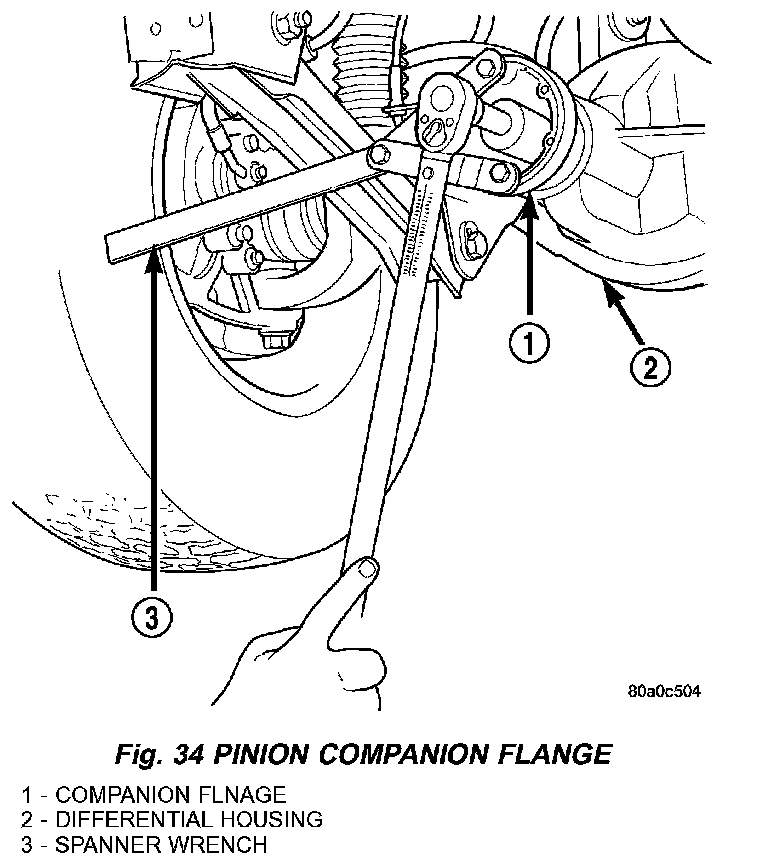
6. Using Spanner Wrench 6958, a length of 1 inch pipe and a torque wrench set at 500 Nm (368 ft. lbs.) crush collapsible spacer until bearing end play is taken up (Fig. 34).
7. Slowly tighten the nut in 6.8 Nm (5 ft. lbs.) increments until the required rotating torque is achieved. Measure the rotating torque frequently to avoid over crushing the collapsible spacer.
8. Rotate pinion gear a minimum of ten times and verify pinion rotates smoothly. Check rotating torque with an inch pound torque wrench. The rotating torque should be the amount recorded during removal plus:
- Original Bearings: 0.56 Nm (5 in. lbs.).
- New Bearings: 1.7 to 3.4 Nm (15 to 30 in. lbs.).
9. Install propeller shaft with reference marks aligned.
10. Install brake rotors and calipers.
11. Add gear lubricant if necessary.
12. Install wheel and tire assemblies.
13. Lower vehicle.