Front Crankshaft Seal: Service and Repair
CRANKSHAFT OIL SEAL FRONTREMOVAL
1. Disconnect negative cable from battery.
2. Remove accessory drive belt.
3. Remove A/C compressor mounting fasteners and set aside.
4. Drain cooling system.
5. Remove upper radiator hose.
6. Disconnect electrical connector for fan mounted inside radiator shroud.
7. Remove radiator shroud attaching fasteners.
NOTE: Transmission cooler line snaps into shroud lower right hand corner.
8. Remove radiator cooling fan and shroud.
9. Remove crankshaft damper bolt.
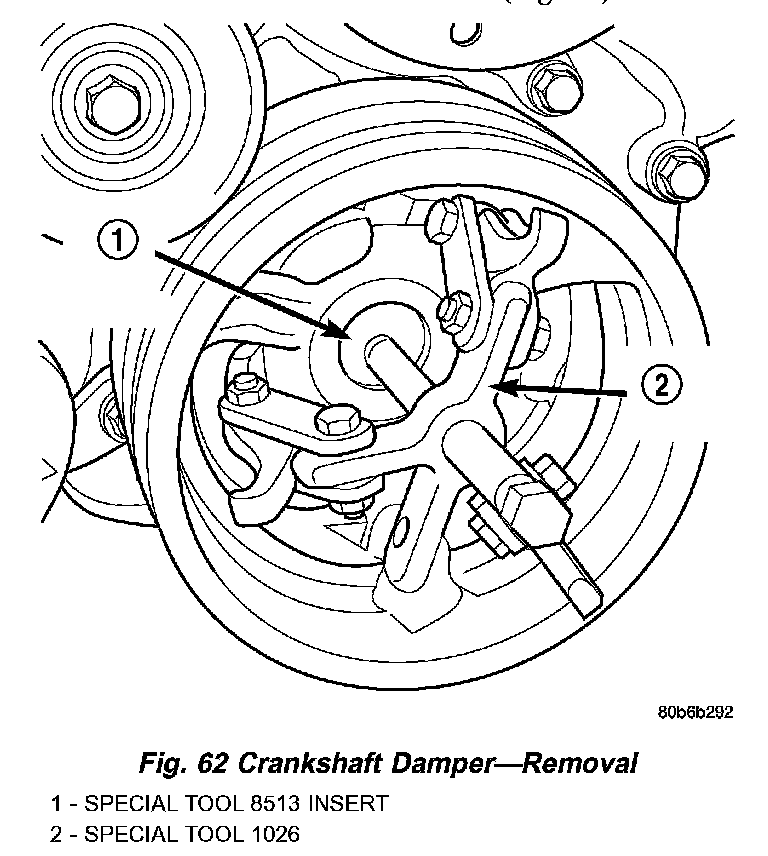
10. Remove damper using Special Tools 8513 Insert and 1026 Three Jaw Puller (Fig. 62).
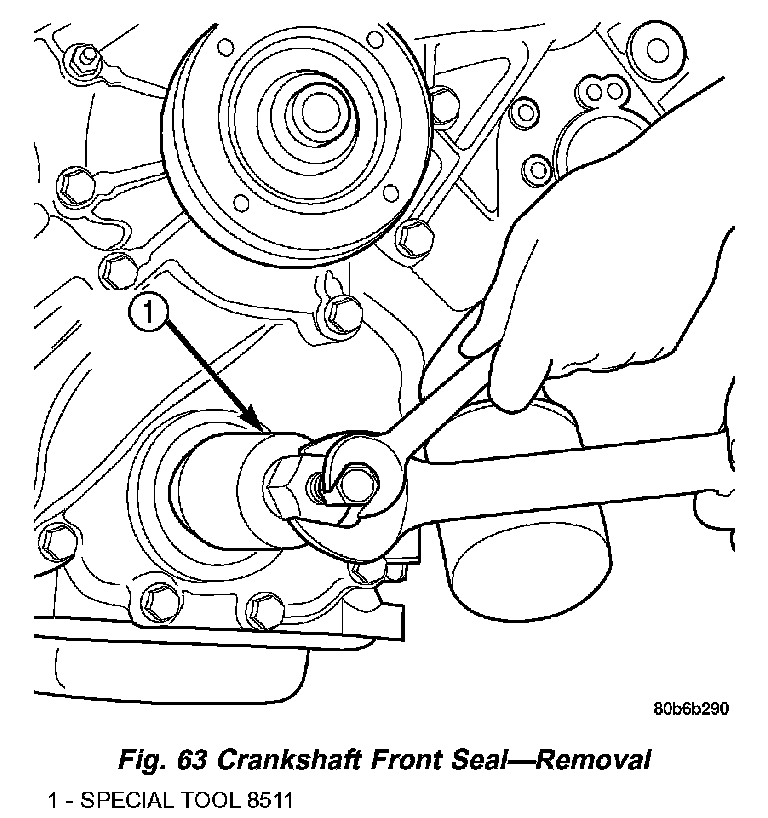
11. Using Special Tool 8511, remove crankshaft front seal (Fig. 63).
INSTALLATION
CAUTION: To prevent severe damage to the Crankshaft, Damper or Special Tool 8512, thoroughly clean the damper bore and the crankshaft nose before installing Damper.
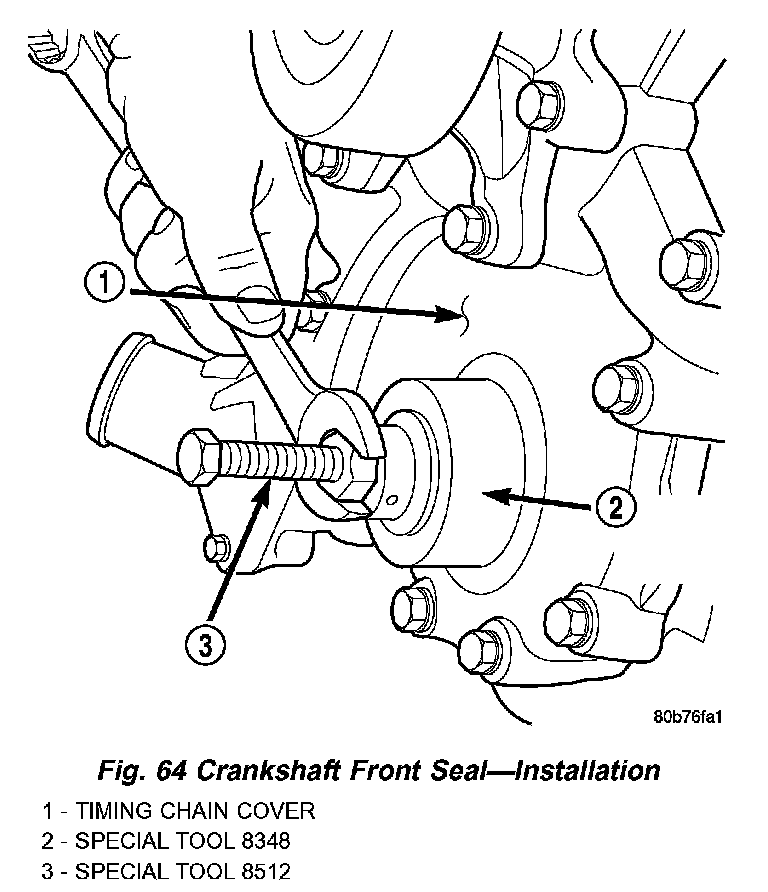
1. Using Special Tool 8348 and 8512, install crankshaft front seal (Fig. 64).
2. Install vibration damper.
3. Install radiator cooling fan and shroud.
4. Install upper radiator hose.
5. Install A/C compressor and tighten fasteners to 54 Nm (40 ft. lbs.).
6. Install accessory drive belt refer.
7. Refill cooling system.
8. Connect negative cable to battery.