Drive Axle Carrier
- Assemble side gears with thrust washers and install into carrier. Ensure side gear thrust washers were replaced if their measured clearance at disassembly was greater than .007" (.18 mm).
- Install carrier pinion gears and thrust washers into carrier. Ensure pinion bores are aligned with shaft bores. Recheck side gear clearance. If clearance exceeds .007" (.18 mm) at this time, side gears must be replaced.
- Install drive axle pinion shaft through pinions and secure with lockpin. Using bearing puller and hole insert, remove carrier bearings. See Fig 1
. Some carriers will use shims between carrier bearing and carrier. Reuse same shims if applicable.
- Install shims (if equipped) and install carrier bearings on to carrier, pressing each bearing on. Position and install ring gear on carrier. Install replacement ring gear bolts. Tighten ring gear bolts to 80 ft. lbs. (108 N.m) on 7 9/16" drive axles. Tighten ring gear bolts to 55 ft. lbs. (75 N.m) on 8 1/2" drive axles.
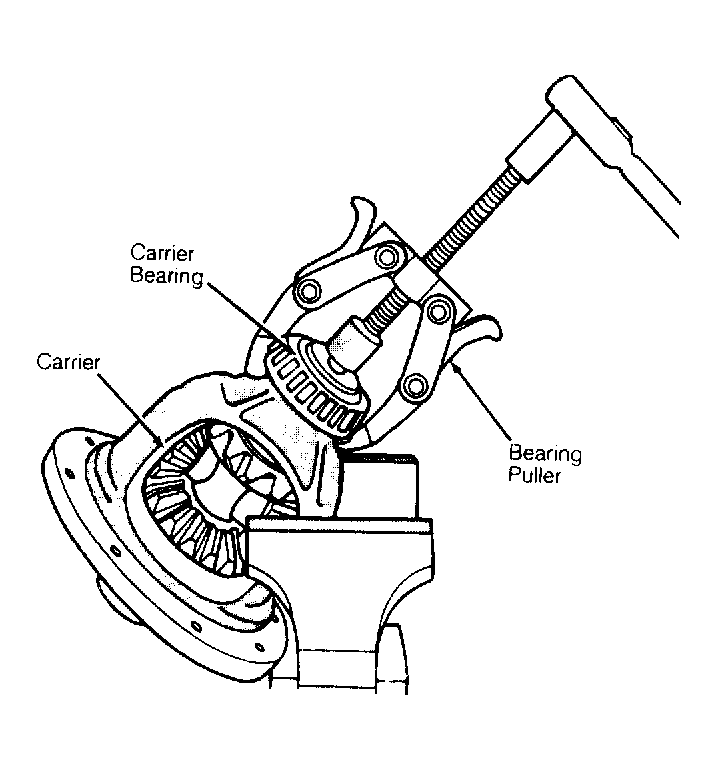 Courtesy of CHRYSLER MOTORS.
- Lightly lubricate carrier bearings, cups, gears and thrust washers with axle lubricant. Install bearing cups on carrier bearings. Install carrier assembly into axle housing.
- Using a soft faced hammer, tap outer edges of carrier bearing cups to seat them in housing. Install carrier bearing caps and tighten cap bolts to 57 ft. lbs. (77 N.m). Check ring gear backlash. See RING GEAR BACKLASH
under ADJUSTMENTS.
- Recheck and verify that ring gear backlash has not changed. Apply a bead of silicone sealer to housing and install housing cover. Tighten cover bolts to 14 ft. lbs. (19 N.m). Refill axle with required lubricant.