Rear Compartment Lid Lower Molding Replacement
WARNING: This page is about a different car, the 2007 Cadillac DTS. However, it is still accessible from the selected car via links, so may be relevant.
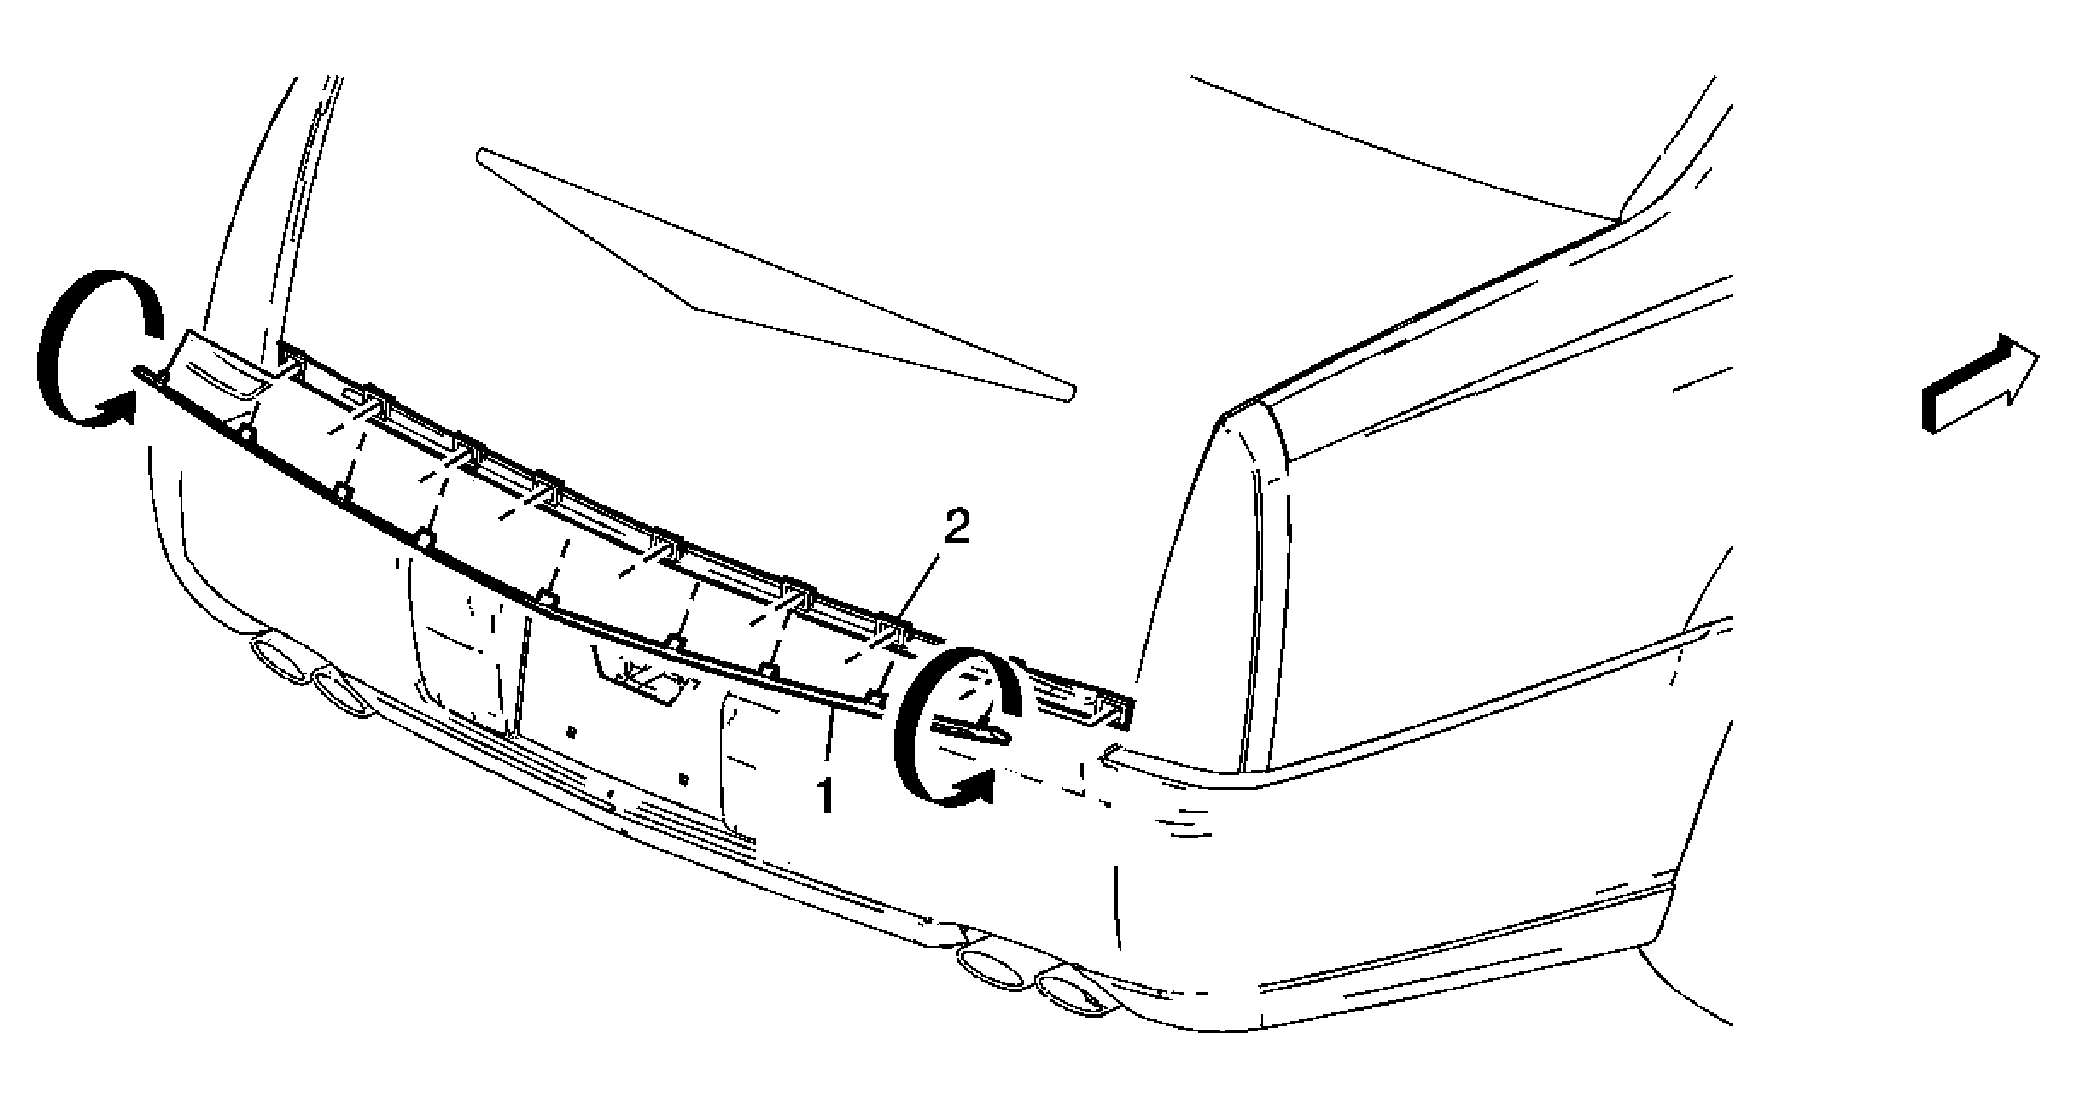 Courtesy of GENERAL MOTORS CORP.
 Rear Compartment Lid Lower Molding Replacement
| Callout |
Component Name |
| Fastener Tightening Specifications:
Refer to Fastener Tightening Specifications . Preliminary Procedures
- Open the rear compartment lid.
- Remove the 2 outer cap nuts from the lower molding from inside the rear compartment lid.
- Use a J 25070
Heat Gun or equivalent to remove the old molding assembly. Clean all adhesive from the rear compartment lid, wipe the surface dry with a clean lint-free towel prior to installing the new molding assembly.
- Remove the lower molding from the rear compartment lid by pulling one edge outward and then working across to the opposite edge.
|
| 1 |
Rear Compartment Lid Lower Molding Assembly
Tip:
- When removing protective liners from adhesive tape, be careful not to touch tape with hands and do not allow tape to come in contact with dirt or any foreign matter prior to adhesion.
- Upon installation of the new lower molding, position the outer pins to the alignment holes at the outer edges of the rear compartment lid.
- Remove the protective liner from the backside of the adhesive tape.
- Ensure full adhesion of the lower molding to the rear compartment lid using the palm of the hand and applying moderate pressure with a dry towel working from one side across the entire molding.
- Install the two outer cap nuts.
Tighten:
1.8 N.m (16 lb in).
|
| 2 |
Foam Adhesive Blocks
Tip:
Ensure all the foam blocks are in place prior to the lower molding installation. |